Do you have a question about the Sony XAV-AX8150 and is the answer not in the manual?
Covers installation safety, electrical hazards, and ignition system warnings for safe operation.
States Sony's non-responsibility for changes or termination of third-party services.
Instructions on proper disposal of the product and batteries according to environmental regulations.
Details Sony's liability limitations for incidental, indirect, or consequential damages.
Advises checking vehicle manuals for radio transmitter installation conditions.
Highlights safety regarding emergency calls and Bluetooth communication interference.
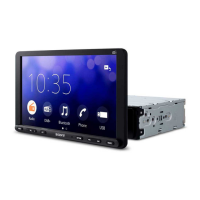
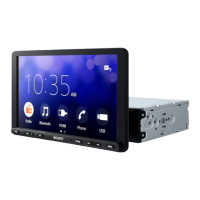
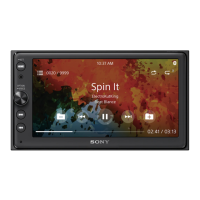
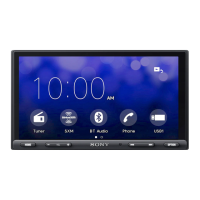
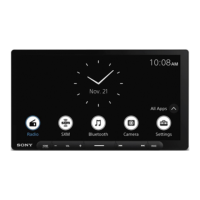
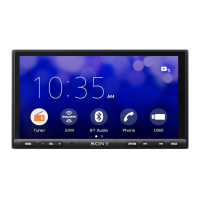
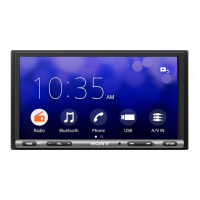
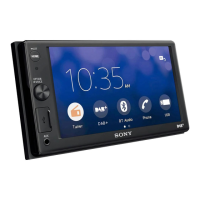
Identifies and describes the buttons, display, and terminals of the main AV receiver unit.
Explains various status icons, screen areas, and indicators displayed on the unit.
Step-by-step guide for pairing a Bluetooth-enabled device with the unit.
Instructions for connecting and displaying an optional rear view camera.
Procedure to disable the unit's demonstration mode.
Guidance on how to update the unit's firmware via the support site.
Covers driving safety, unit operation, and accident prevention measures.
Provides guidelines for maintaining and using the LCD panel and touch screen.
Details specifications for monitor, radio, USB, HDMI, and wireless communication.
Lists compatible iPhone models and provides notice on software licensing.
Specifies power output, speaker impedance, and related details for the amplifier.
Includes power requirements, dimensions, mass, and package contents.
Lists various trademarks, logos, and licensing acknowledgements for software and technologies.
Highlights critical cautions and specific notes for safe and correct installation.
Details on ensuring proper mounting location and adjusting the unit's angle.
Provides a visual list and identification of all parts included for installation.
Illustrates connection points and emphasizes insulation for preventing short circuits.
Guides on connecting speaker wires and power connectors to the car's system.
Details on connecting the parking brake lead and rear view camera.
Explains memory circuit connection and speaker impedance requirements.
Illustrates power connection options and considerations for different car systems.
Steps for installing the microphone for handsfree calling.
Instructions for using the wired remote control and rear view camera.
Instructions for detaching the trim ring and mounting sleeve from the unit.
Details on routing USB cables and preparing the unit for dashboard installation.
Guides on securely mounting the unit in the dashboard and attaching the joint cover.
Steps to adjust the display's depth position for optimal viewing.
Procedure for adjusting the display's tilt angle for better visibility.
Steps to adjust the display's vertical height position.
Ensuring the display does not obstruct driving operations after mounting.
Properly routing and securing the USB cable to prevent interference.
Securing the display to the main unit using provided screws.
Attaching the rear panel covers for protection and a finished look.
Instructions for safely replacing the unit's fuse if it blows.
| Wi-Fi | No |
|---|---|
| Bluetooth | Yes |
| USB port position | Rear |
| Bluetooth profiles | A2DP, AVRCP, HFP, PBAP |
| DIN size | 1 DIN |
| Output power | 220 W |
| Product color | Black |
| Ready for iPod | - |
| Audio output channels | 4.0 channels |
| Equalizer bands quantity | 10 |
| Maximum power per channel | 55 W |
| Aspect ratio | 16:9 |
| Display type | TFT |
| Display diagonal | 8.95 \ |
| Display brightness | 400 cd/m² |
| Display resolution | 800 x 480 pixels |
| Depth | 253 mm |
|---|---|
| Width | 229 mm |
| Height | 136 mm |
| Weight | 2400 g |