12
ASSEMBLY
(D1)
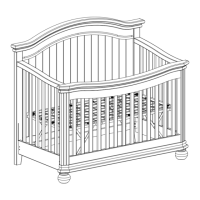
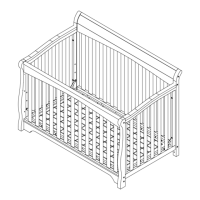
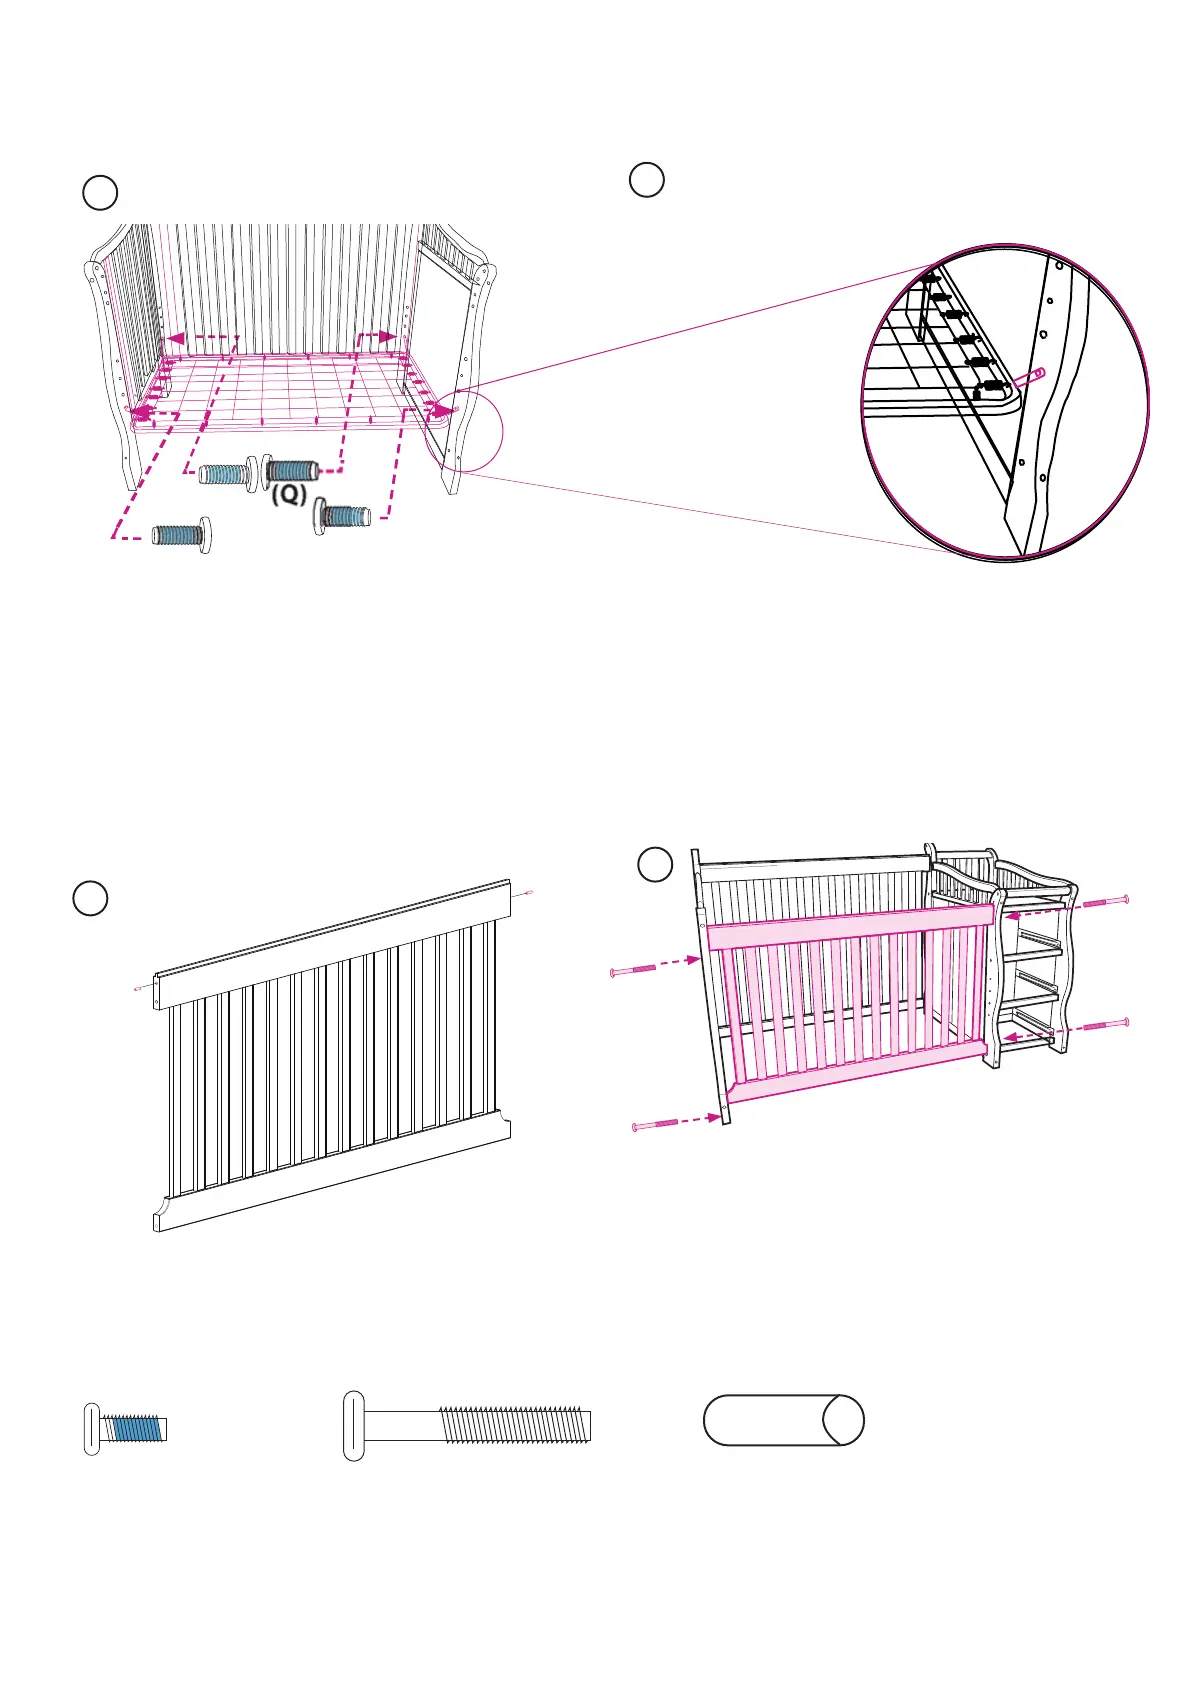
8. Attach Front Side Rail (C1) by threading two
(2) Bolts (D1) through Left Side Rail (A1) and two
(2) Bolts (D1) through inner right side of chang-
ing table. Figure 8.
NOTE: Bottom right side of Front Side Rail
(C1) must be bolted into top hole at bottom of
changing table.
(C1)
8
(D1)
(D1)
(D1)
6
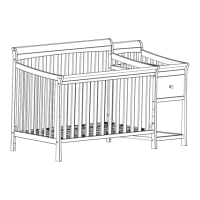
Attaching Mattress Support
5. Attach completed Mattress Support Assem-
bly to crib using four (4) Bolts with Loctite®
Threadlocker Blue (Q). Figure 5 & Figure 6.
NOTE: For infants, set mattress support
assembly in an upper position for greater
accessibility. As child grows and can stand,
mattress support assembly must be lowered.
See Warning Statements.
5
(D1) (x4)
(Q) Bolt with
Loctite® Thread-
locker Blue (x4)
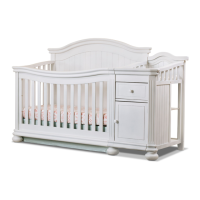
7. Dowel Pin Assembly
Slide one (1) Dowel Pin (X1) into each end of
Front Side Rail (C1) (total of 2). Figure 7.
(C1)
(X1)
(X1)
7
(A1)
(X1) (x2)
 Loading...