Do you have a question about the Sorelle Palisades Room in a Box and is the answer not in the manual?
| Product Type | Room in a Box |
|---|---|
| Brand | Sorelle |
| Collection | Palisades |
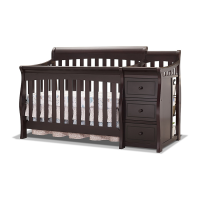
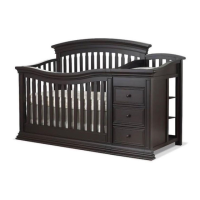
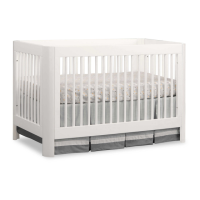
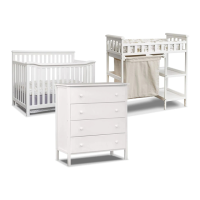
| Includes | Crib, Dresser, Changing Table |
| Crib Convertible | Yes |
| Material | Wood |
| Assembly Required | Yes |
Read all instructions BEFORE assembling crib and keep them for future use.
Warnings about soft bedding, strings, cords, and loose fasteners to prevent suffocation and strangulation.
Instructions on mattress support height and stopping crib use when child can climb out.
Check for damaged parts, tighten fasteners, and use specified finishes and covers.
Specifies minimum mattress dimensions and maximum thickness for crib safety.
Hazards related to openings, cords, and strings in toddler beds.
Requirements for mattress size and thickness to prevent dangerous gaps.
Keep child within arm's reach, inspect periodically, and tighten hardware.
Maximum child weight and requirements for using the correct changing pad.
Check screws/bolts against diagrams for correct size and shape during assembly.
Assemble on a soft, non-abrasive surface to prevent finish damage.
Prevent children from playing on, climbing, or hanging from furniture; monitor activity.
Avoid scratching, use damp cloth for cleaning, and avoid abrasive chemicals.
Avoid extreme temperatures and humidity to maintain structural integrity.
Avoid using vaporizers near furniture to prevent wood swelling and finish peeling.
Identifies all main parts of the crib, labeled A through E.
Lists all hardware and tools required for crib assembly, labeled a through g.
Connect left and right posts of the headboard to the headboard itself.
Attach the left and right ends to the posts of the footboard.
Connect the headboard posts to the side ends of the crib.
Assemble and install the mattress support platform into the crib frame.
Attach the assembled footboard to the main crib structure.
Guidance on adjusting the mattress support height based on baby's development.
Lists the optional parts needed for converting the crib into a toddler bed.
Instructions for assembling the toddler bed conversion, including removing the front frame.
Lists parts required for converting the crib into a fullsize bed.
Step-by-step guide for assembling the fullsize bed conversion.
Information on converting the unit to a fullsize bed with a changer table attachment.
Identifies all parts for the changer assembly, labeled J through V1.
Lists hardware and tools required for changer assembly, labeled a through k.
Assembling the basic frame of the changer using side frames and shelf supports.
Attaching the corner post to the assembled changer frame.
Inserting shelf components into the changer frame.
Attaching side shelf supports to the changer structure.
Connecting the left chute to the changer assembly.
Attaching side rails and the right chute to the changer.
Positioning the top shelf insert in the changer.
Assembling the hamper frames for the changer.
Installing the pad and securing straps onto the changer.
Placing the changer pad onto the surface.
Completing the assembly of the hamper frames.
Securing the changer to the wall using the provided strap kit for safety.
Instructions on how to fasten and release the safety straps.
Identifies all parts for the clothing organizer, labeled 1 through 10.
Lists hardware and tools required for organizer assembly, labeled A through L.
Assembling individual drawers for the clothing organizer.
Assembling the base structure of the clothing organizer.
Attaching vertical supports to the base frame.
Installing horizontal shelf supports onto the vertical frame.
Attaching the top panel and remaining shelves.
Securing the back panel to the clothing organizer structure.
Important safety warning about furniture tip-over and how to remove drawers.
Instructions for securing the unit to the wall using the provided strap and screws.