Page 17 / 22
Assembly instructions
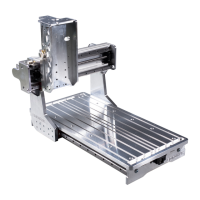
Compact-Line kit
www.sorotec.de V 2.1.0
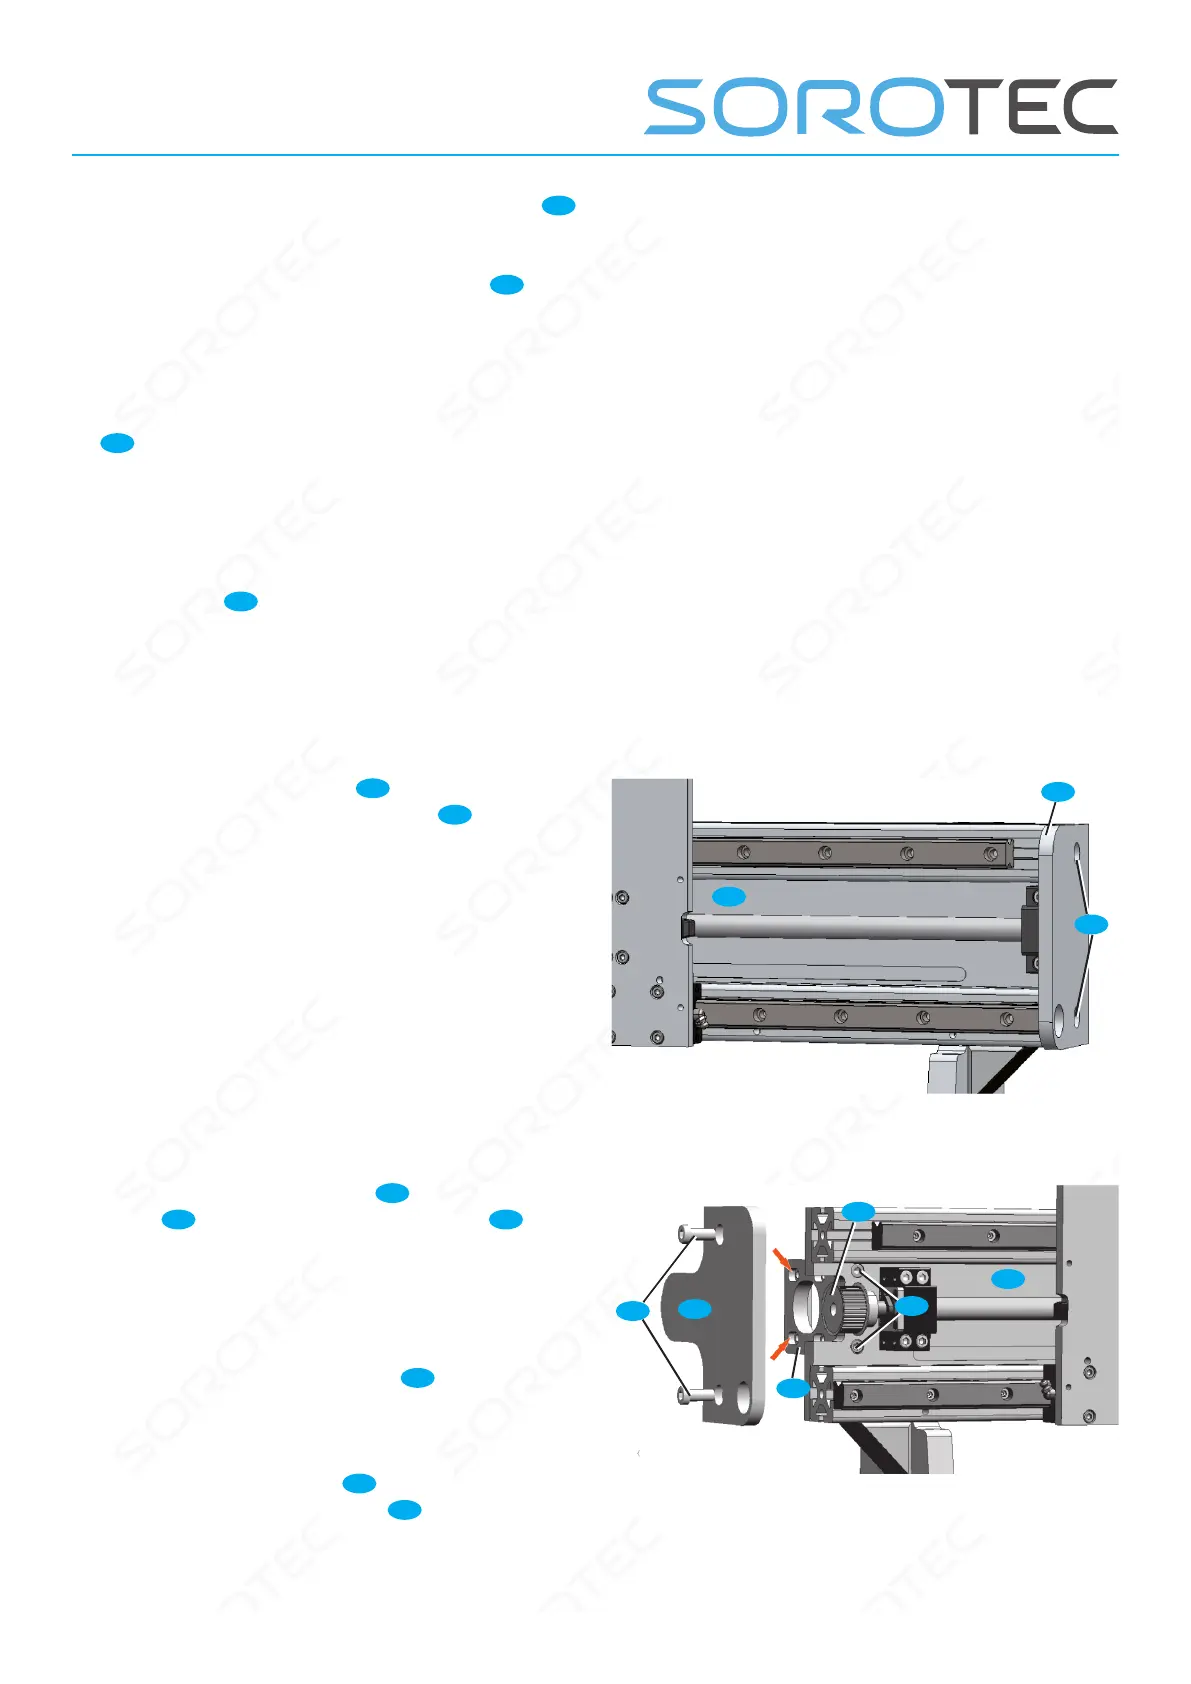
• Tighten the xed bearing mounting screws
E3
.
Tightening torque: 10 Nm
• Carefully tighten the retaining screws
C4
of
the recirculating ball nut on the ange bracket Y.
Tightening torque: 6 Nm
• Move sled Y towards the loose bearing by
turning the ball screw until the fastening screws
E3
of the loose bearing are just accessible.
• Tighten the oating bearing mounting screws.
Tightening torque: 10 Nm
• Degrease the adhesive surfaces and stick the
rubber pads
12
on both sides of the sled Y (see
Figure 18).
• Screw end plate Y right
1
to the portal beam
using cheese head screws M8x20
S3
.
Fig. 19: Assembly of the right end plate
S3
1
33
• Screw the motor ange Y
19
to the portal
beam
33
using cylinder screws M6x20
E2
it is
important to ensure that the recesses in the
motor ange (red arrows in Figure 20) point
outwards and that the motor ange is aligned at
an angle.
• Push the toothed belt wheel
36
as far as
possible onto the shoulder of the ball screw and
x it with the locking screw.
• Screw end plate Y left
2
to the portal beam
using cylinder screws M8x20
S3
.
Fig. 20: Assembly of motor ange Y and left end plate
E2
S3
19
33
2
36
 Loading...