What does that mean? Send the command twist.getCount() and you’ll get the number of steps the user has
twisted the knob. For example, 312 or -23 depending on the direction and amount the user and turned the knob.
The Twist takes care of all the various interrupts, switches, PWM'ing of LEDs and presents all those features over
an easy-to-use I C interface. The Qwiic Twist was designed to get rid of the large mass of wires that are needed to
implement an RGB encoder in a breadboard. Now you can get encoder position with something as
twist.getCount(); and your microcontroller can keep focused on other more important tasks.
The Qwiic Twist has an indent type encoder which gives the user a great ‘clicky’ feel as they turn. The Qwiic Twist
also has an RGB LED and a built-in button. We’ve written an Arduino library to make controlling these features as
easy as:
twist.setColor(255, 0, 0); //Red
if(twist.isPressed() == true) Serial.println(“Pressed!”);
And finally, the I C address of Qwiic Twist is software configurable which means you can hookup over 100 Twists
on a single I C bus!
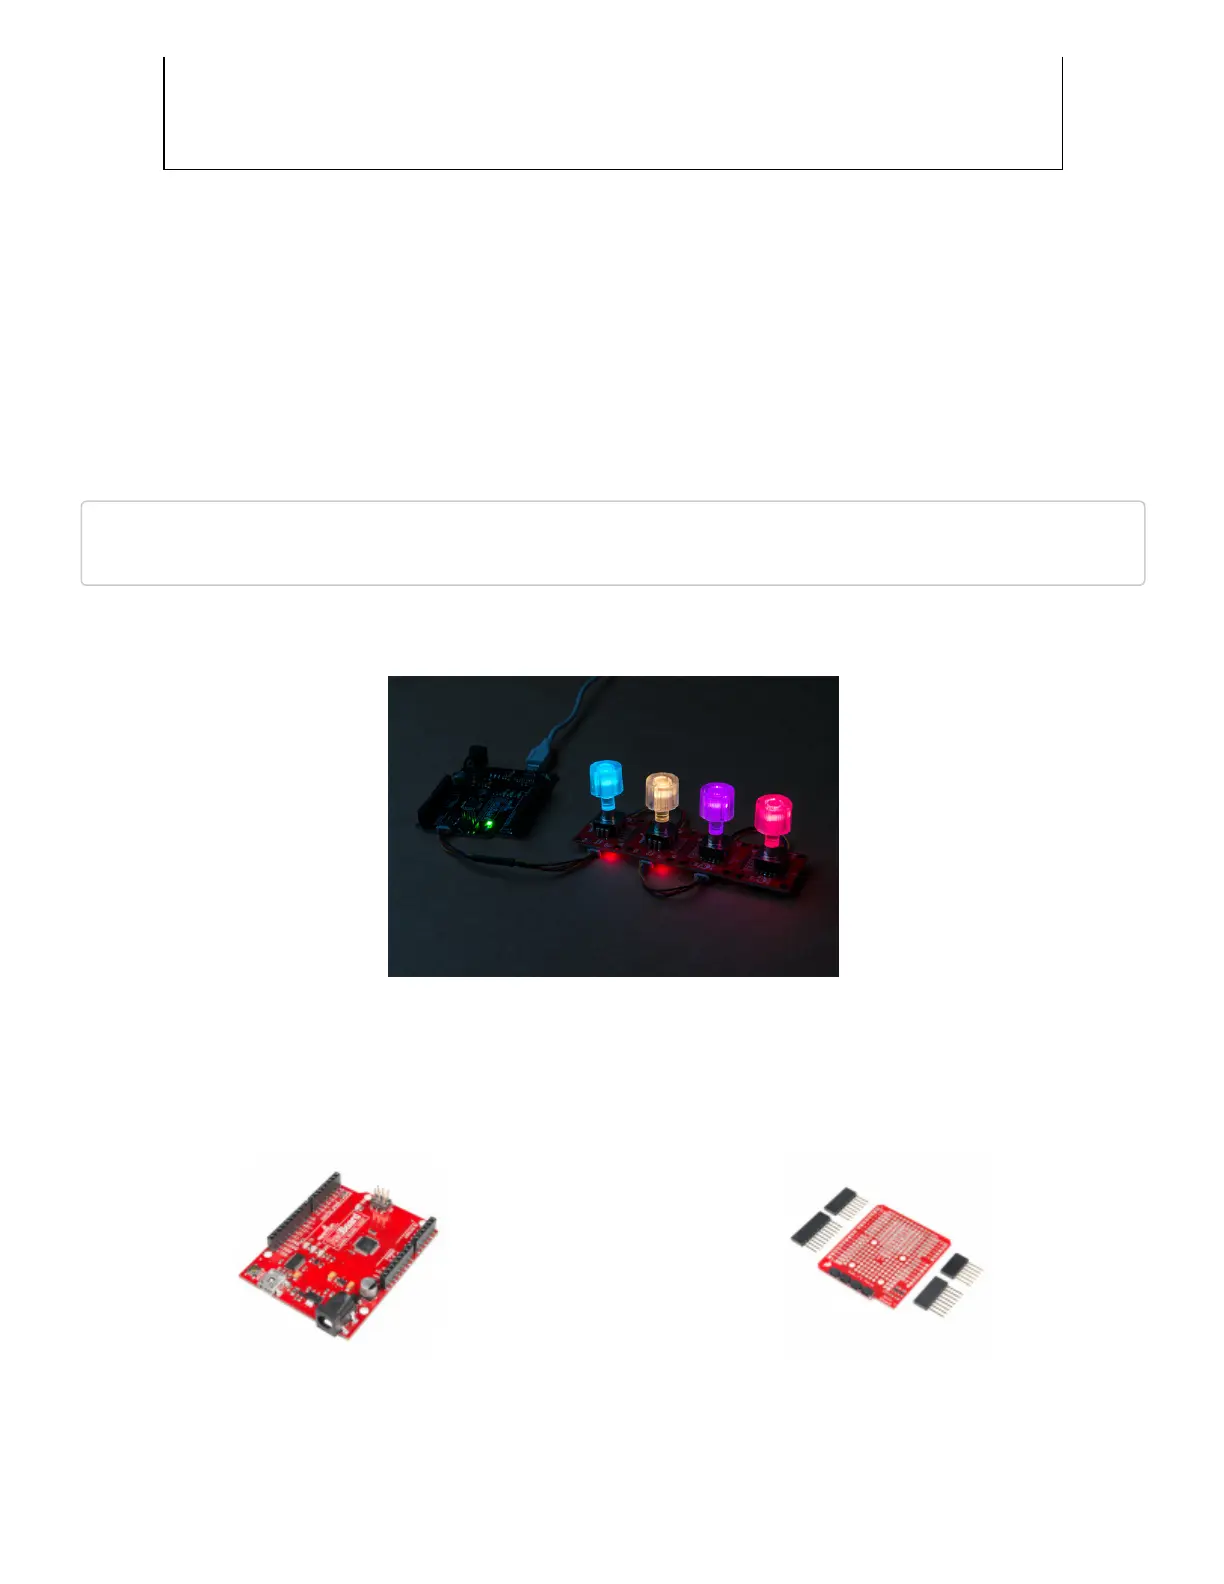
Required Materials
To follow along with this hookup guide, you will need one of the following Qwiic shields with an Arduino. You may
not need everything though depending on what you have. Add it to your cart, read through the guide, and adjust
the cart as necessary.
2
2
2
SparkFun RedBoard - Programmed with
Arduino
DEV-13975
SparkFun Qwiic Shield for Arduino
DEV-14352