Do you have a question about the Spectrum Brands Kwikset Passage and is the answer not in the manual?
Twist the knob side with holes and pull to separate the two knobs.
Verify if latch holes are centered; adjust if necessary using the pin.
Steps for installing privacy or passage type door knobs, including alignment and screw tightening.
Steps for installing entry type door knobs, focusing on alignment and twisting mechanisms.
Procedure for installing non-rotating dummy knobs.
Close door, test latch, and make adjustments to strike for proper operation.
Select and use the template to mark hole locations on the door face and edge.
Drill the required holes through the door for latch and knob installation.
Measure and mark the center for the strike hole on the door frame.
Chisel and install the strike plate into the door frame.
| Brand | Kwikset |
|---|---|
| Model | Passage |
| Keying | Non-Keyed |
| Handing | Reversible |
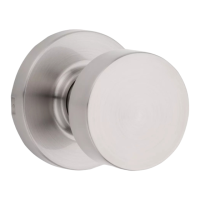
| Type | Door Knob |
| Function | Passage |
| Material | Metal |
| Backset | 2-3/8 inches or 2-3/4 inches |
| Door Thickness | 1-3/8" to 1-3/4" |
| Installation | Residential |
| Installation Area | Interior |
| Finish | Various (Satin Nickel, Venetian Bronze, etc.) |