EN
7
10. Place a pitch gauge on a main rotor blade and zero it out.
• Align the blade with the roll axis, apply full right cyclic, and adjust the
AFR until your pitch gauge reads 12.5.
• Align the blade with the pitch axis and zero the pitch gauge. Apply full
aft cyclic, and adjust the AFR until your pitch gauge reads 12.5.
11. Adjust the Collective AFR to set your desired collective pitch range.
Remove the pitch gauge.
Select Back twice to return to the Setup menu. The swashplate setup is
complete.
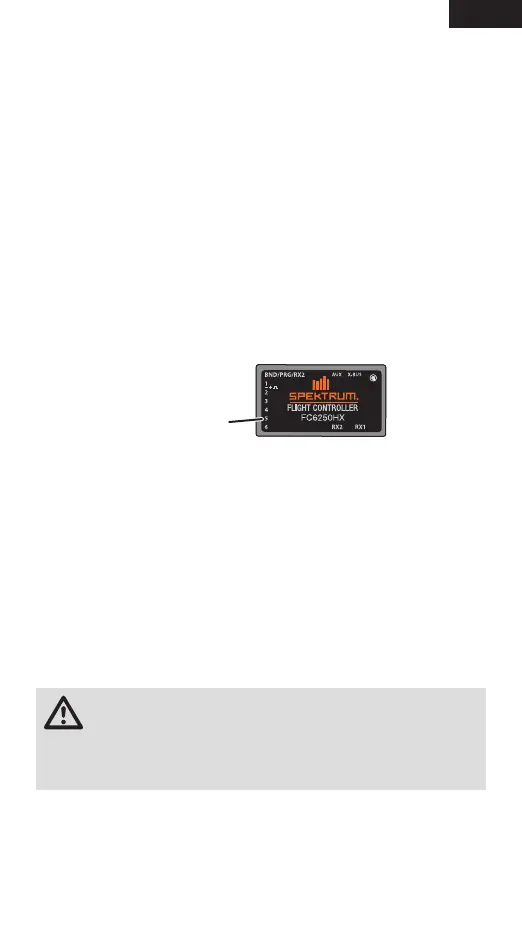
12. Navigate to the TailrotorOutput Setup menu.
13. Set the Frame Rate to the operating frequency specified by your tail rotor
servo manufacturer.
14. Connect the tail rotor servo to Slot 5 and navigate to the Direction menu.
Move the tail rotor stick on the transmitter to the right and ensure the
tail rotor servo is moving the correct direction. If not, reverse the channel
direction on the FC6250HX.
Select Back to return to the previous menu.
15. Select Subtrim to center the tail rotor servo.
Select Back to return to the previous menu.
16. Select the Travel menu.
• Select Left travel. Hold the transmitter tail rotor stick full left, and
adjust travel to ensure full travel and that no binding occurs.
• Select the Right travel. Hold the transmitter tail rotor stick full right,
and adjust travel to ensure full travel and that no binding occurs.
TIP: 90% to 100% is recommended to achieve optimal flight
performance.
Press Back twice to return to the Setup menu. Tailrotor setup is complete.
WARNING: Always remove the pinion gear or disconnect the main
drive motor from the ESC to disengage the drive system during
initial setup. The main rotor blades may turn in response to setup changes or
transmitter inputs. Failure to do so could result in serious personal injury or
property damage.
Tail Rotor Servo
 Loading...