8
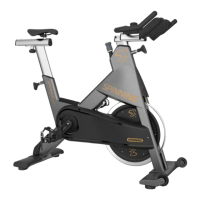
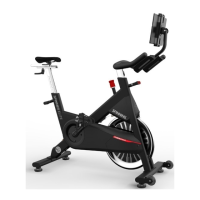
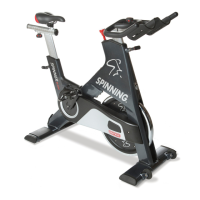
Bike Maintenance
Before you begin
• Spinning® recommends owners implement a thorough maintenance program that incorporates regular safety inspections
by qualified maintenance technicians as outlined in this Maintenance Guide (“Guide”). Also, Spinning® recommends that
technicians thoroughly read and understand the safety guidelines and maintenance procedures covered in this Guide.
• This Guide provides information about items that need to be inspected and maintained on a daily, weekly, and monthly basis.
• It is the duty of the gym owner or bike owner, during maintenance, to place an “Out Of Order” sign on the bike.
Important: It is the duty of the owner to maintain equipment in accordance with the instructions in this material and any
accompanying material. Always purchase replacement parts and hardware from Spinning
®
. If you use parts not approved
by Spinning®, you could void the Spinning® Limited Warranty. Use of parts not approved by Spinning® may cause injury
and potential damage to your equipment.
Recommended Tools
• Standard set of hex keys
General Care
• Never use abrasive cleaning liquids or petroleum-based solvents on the bike. Use a soft nylon scrub brush to clean
grooves and textured surfaces on pedals.
For commercial bikes:
o Release all tension from the resistance knob after each use to allow for perspiration to evaporate. If bikes are used in a
class setting, the instructor should direct class participants to release all tension from the resistance knob after each use.
For bikes used in a home setting:
o Wipe down the bike after each use. Pay special attention to wipe under the resistance knob. When done, turn the
resistance knob clockwise (+) to put tension on the flywheel so that the pedals do not rotate freely.
o When the bike is not in use, always keep some resistance on the flywheel.
• Clean all surfaces of the frame and plastic components. Keep excess moisture away from electronic components and
dry completely with a lint-free cloth to prevent electrical shock or damage.
• After the first ten hours of use and every 100 hours of use thereafter, re-torque the pedals to 33 ft-lb (45 N-m).
• If your facility allows members to interchange pedals, check all pedals after each class to ensure pedals are properly
secured to prevent damage to them, which may lead to injuries.
Daily Maintenance Tasks
Note: Raise seat and handlebar posts to their highest setting to expose moisture.
• Wipe the bike frame using a clean lint-free cloth dampened with 30 parts water to 1 part non-abrasive detergent.
• Use a lint-free cloth to dry the bike. Pay special attention to the handlebar, pop-pins, resistance knob, chain guard,
flywheel, and seat adjustment assembly.
• Check warning and instruction labels.
• If your facility allows members to interchange pedals, check all pedals after each class to ensure pedals are properly
secured to prevent damage to them, which may lead to injuries.
Bike Assembly Checklist
Use this checklist to make sure your bike is assembled properly.
☐ Check that all bolts are tightened to proper torque specification and no parts are missing.
☐ Check that the handlebar and seat post move freely and lock in dierent positions.
☐ Check that the seat is level and does not rotate or tilt. Tighten and adjust as needed.
☐ Test the seat for movement from front to rear.
☐ Brake tension is adjustable by turning the resistance knob in the front of the seat. Pressing down on the knob will apply
the brake if you need to stop quickly.
☐ Pedal the bike at a moderate pace and test the resistance knob for smooth resistance changes.
☐ Press down on the knob to ensure the bike stops quickly.
Once testing is complete, tip the bike forward using the handlebars and roll it on a smooth surface to its final use location.
Turn the adjustable feet to level the bike.
 Loading...