The Touchscreen comes with its own articulating mounting
bracket and hardware using either the sheet metal screws or the
machine screws with nuts.
The Touchscreen has a standard 1/4-20 threaded stud on the
back for additional mounting options.
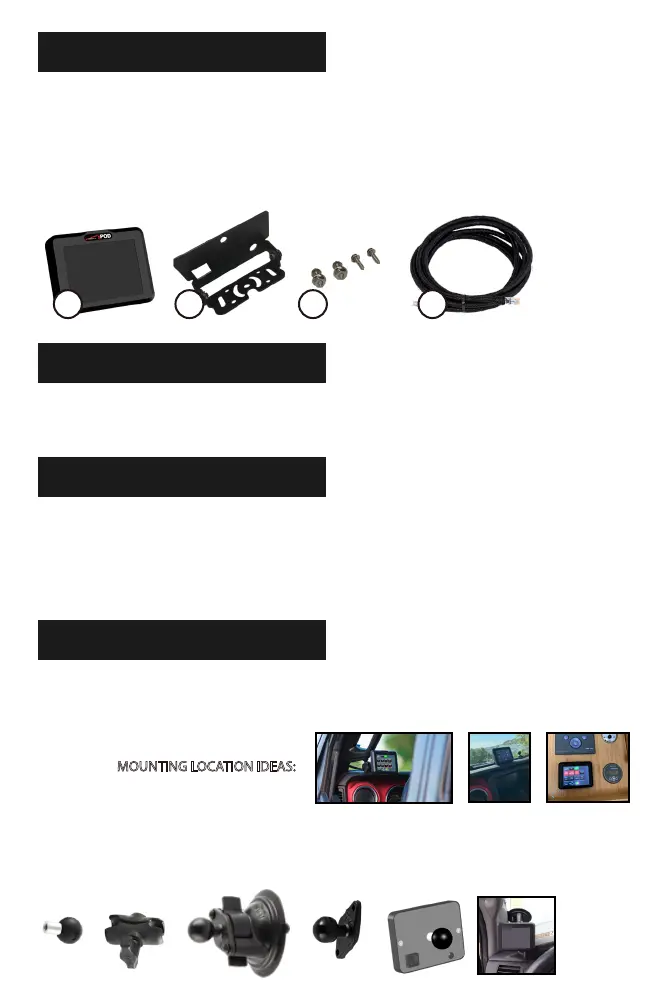
NOTE: The items shown below can be purchased separately.
1. Touchscreen control panel
2. Mounting bracket assembly
3. Installation hardware: 2 sheet metal screws, 2 machine screws
with 2 machine nuts
4. Control cable
COMPONENTS INCLUDED
TOOLS REQUIRED
ASSEMBLY
Attach bracket assembly using the 1/4-20 nut. Use a 7/16” socket
or open ended wrench to tighten. Use a Phillips head screw-
driver to tighten the bracket base. The bracket can be installed in
two dierent orientations (top and bottom).
1 2 3 4
• 7/16 Socket or opened end wrench
• Phillips head screwdriver
MOUNTING LOCATION IDEAS:
+ + or =
MOUNTING OPTIONS