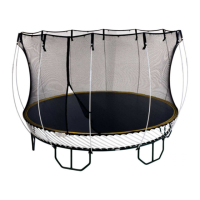
9Springfree™ Trampoline Model SF90E Trampoline and Enclosure Assembly, Installation, Care, Maintenance and Use Instructions Version 6.4
TRAMPOLINE AND ENCLOSURE
ASSEMBLY INSTRUCTIONS
Preparation
Conrm all components are present (Table 1).
If you are missing any parts please call your
authorized Springfree™ service centre listed in
the end section of this manual.
Note: Bolts & Nuts
Standard - 5/16” X 2”
Metric - M8 X 50 mm
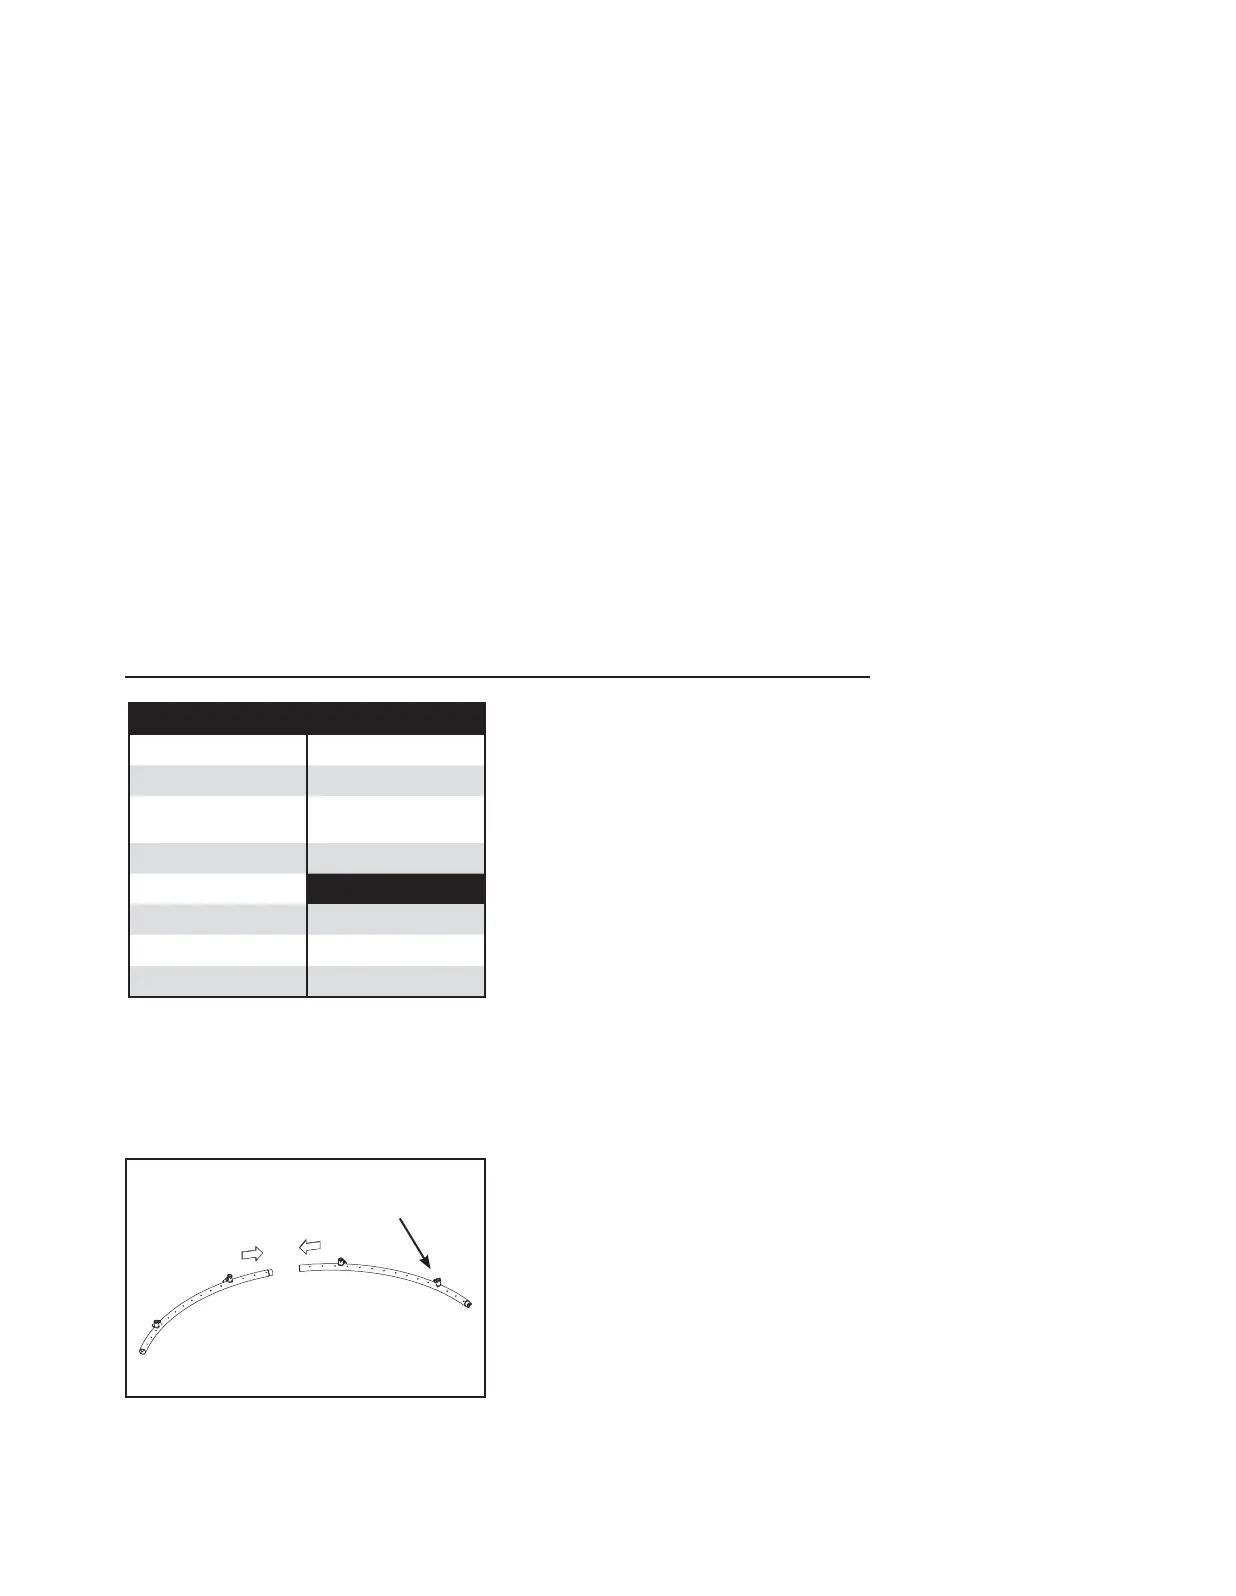
Step 1: Assembling the frame
sections
Assemble one pair of frame sections, with the
leg sockets facing upwards.
Figure 1: Assembling frame sections
leg socket
TRAMPOLINE ENCLOSURE
Frame Sections 6 Net 1
Legs 6 Collapsible Rods 12
Vertical Leg
Supports
6 C-clips (attached
to frame)
12
Rods 90
Mat 1
SPARES
Bolts and Nuts 12 1 Spare Bolt/Nut
Wrench
Sandbags
2
6
3 C Clips
Read through the following steps before
beginning the assembly process.
Precautions
Keep small children at least 25 feet away t
while assembling or disassembling the
trampoline; they could be injured by
improperly assembled rods releasing
and ejecting from the frame.
Do not attempt to use the trampoline t
until it is completely assembled.
Two people are recommended for tram-t
poline assembly.
Gloves are recommended during the as-t
sembly process.
Be aware that when loaded, the rods can t
spring back and may cause injury.
Treat any loaded rod with caution until t
you are sure it is properly installed. In
particular, keep your face well clear of
the rods during assembly or disassembly.
An improperly installed rod could release
and cause facial injury or blindness.
The sheath on the rod is intended to pro-t
vide protection from any berglass bres
or splinters. Do not remove the sheath.
Once a rod ball is in the socket in the t
mat, a small clip automatically engages
to lock it in place. To release a rod ball
from a socket, push and hold the clip
towards the mat centre before pushing
the rod out of the socket.
Table 1: Parts Itinerary
 Loading...