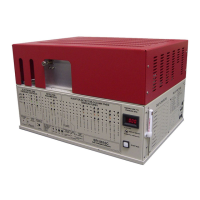
Do you have a question about the Sri 8610C GC and is the answer not in the manual?
| Brand | Sri |
|---|---|
| Model | 8610C GC |
| Category | Laboratory Equipment |
| Language | English |
Ensure the GC's AC power cord is disconnected before proceeding with installation steps.
Remove six screws, tilt GC, and detach bottom cover to access internal components.
Detach the four screws and un-clip the connector of the chassis circulation fan.
Secure the relay to the aluminum plate by marking, drilling, and fastening with screws.
Crimp a ring terminal onto the black wire and secure it to Terminal #1 of the Solid State Relay.
Crimp a ring terminal onto the fuseholder wire and attach it to Terminal #2 of the Solid State Relay.
Crimp terminals onto yellow and green/yellow wires, connecting them to Relay terminals #3 and #4.
Snap the protective plastic cover over the installed solid state relay module.
Remove the knockout plate on the GC's rear panel using tools, then smooth the hole edges.
Solder wires to the power jack terminals (L, N, Ground) and secure the jack with screws.
Crimp two green/yellow wires to a ring terminal and connect it to the chassis ground stud.
Connect the yellow wire from the relay to the A/D board terminal labeled 'D'.
Connect white and black wires to specific terminals on the display board.
Label the GC's Relay Function table with the assigned letter for the Vacuum Pump Interface.
Test the vacuum pump by toggling its assigned relay via the View/Relay Window in PeakSimple.
Review the provided schematic for a visual representation of the vacuum pump interface wiring.
 Loading...