A. Load roll onto spool
Open the printer, remove the
adjustable label spool and pull apart.
Put the NetStamps label roll on the
spool and reassemble spool.
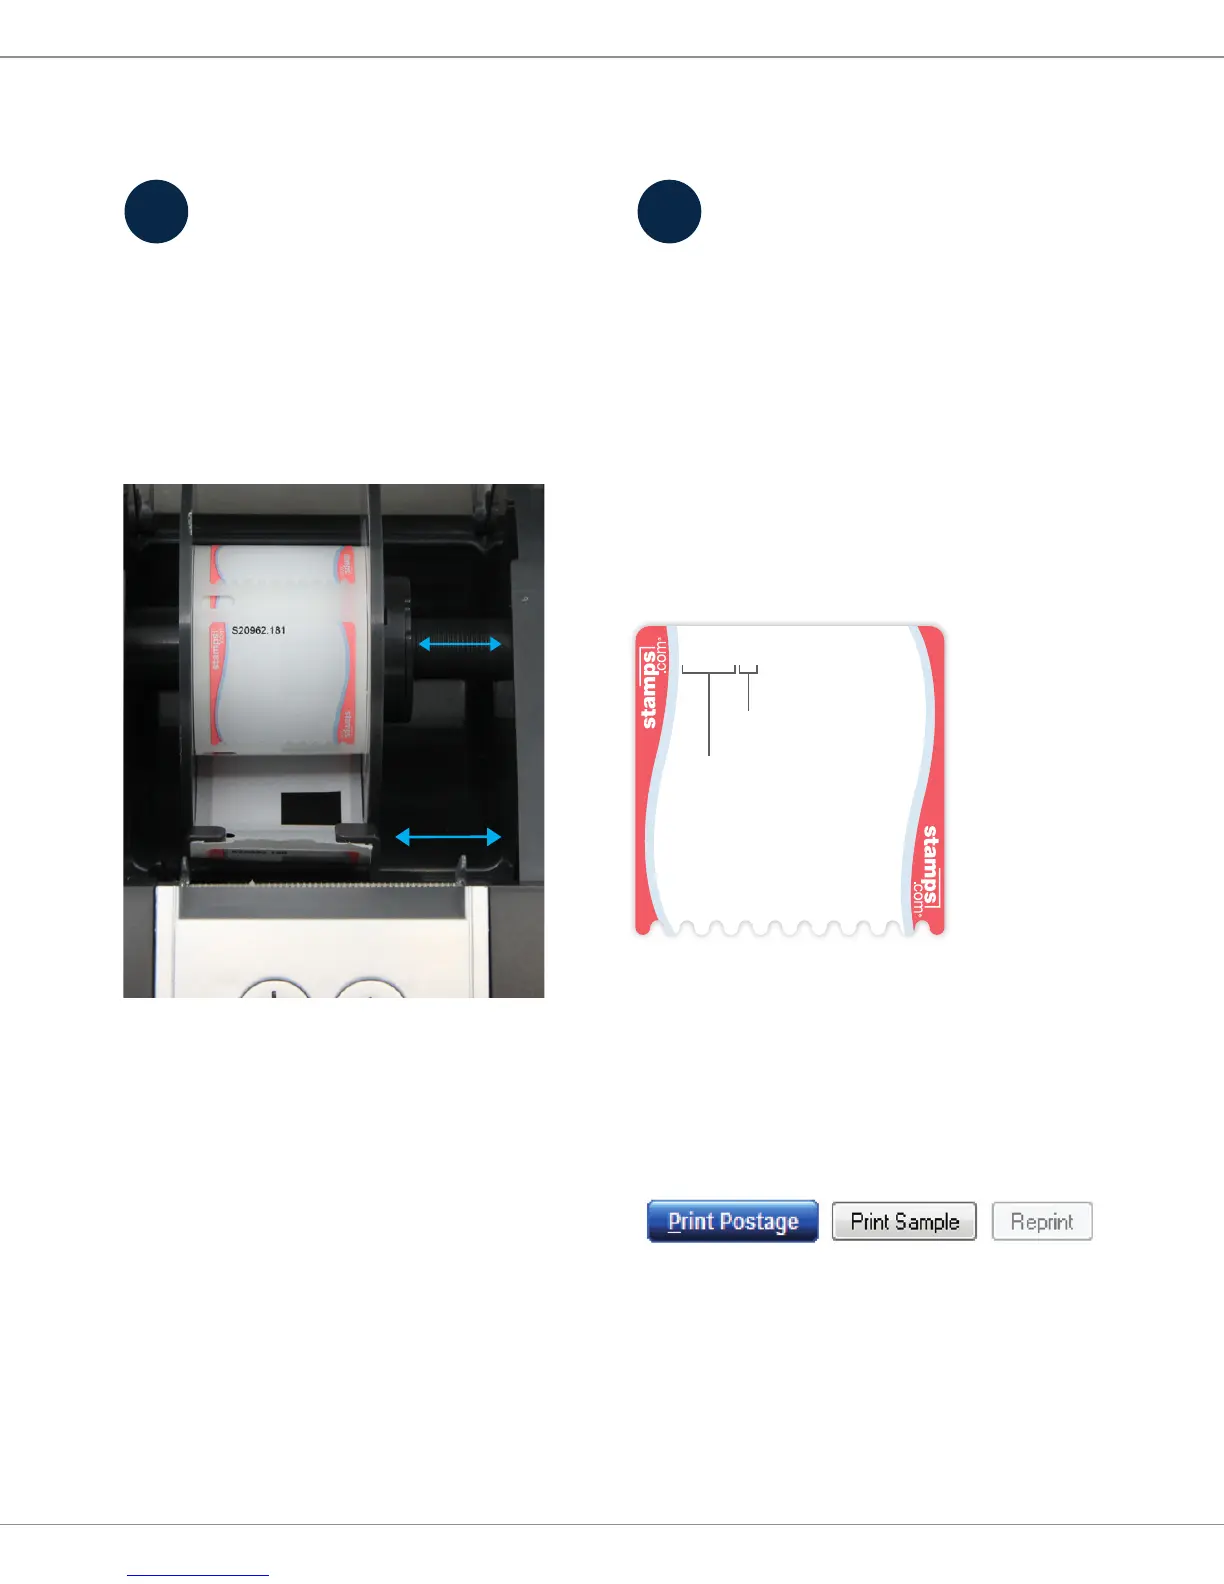
B. Load spool into printer
Load the spool into the printer with
the labels facing down. Make sure
the label strip falls between the two
adjustable label guides. The rst
label should extend past the cuto
blade. Close printer cover.
Note: See Frequently Asked Questions
if the Power Button ashes.
3
Load labels Print postage
You are now ready to print postage.
A. Enter required postage information
In the Stamps.com Software click the
STAMPS tab and set the desired postage
options in POSTAGE DETAILS.
B. Enter NetStamps label roll
serial number
C. Print a sample
Print a sample to make sure you have
correctly loaded the label roll and that
all printer settings are correct. To print a
sample, click on the “Print Sample” button.
D. Print postage
When you are ready to print your postage,
click on the “Print Postage” button.
3 4
label number
serial number
S12345.01
Adjustable
label guides
and spool