12
77-117
13
77-117
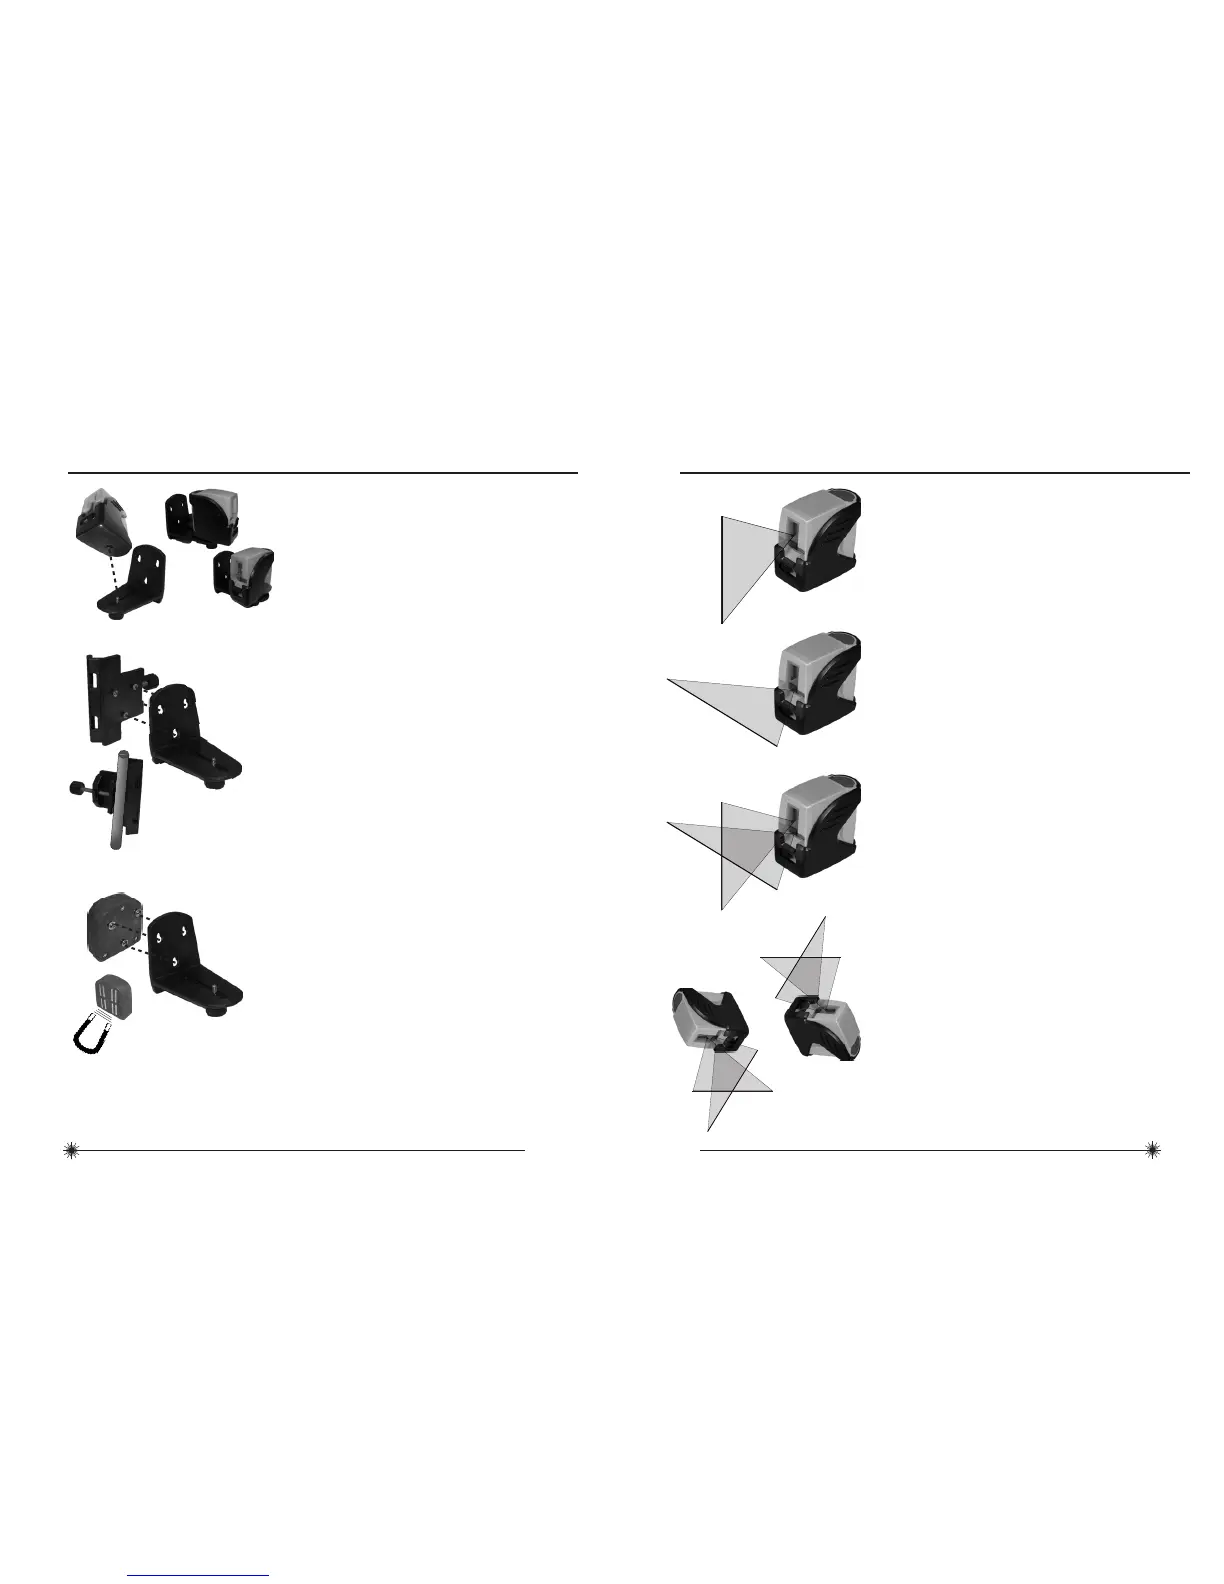
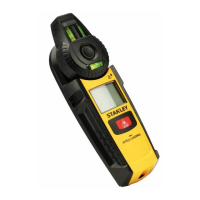
L-Type Bracket, Pole Clamp, and Magnet Mount Applications
1. 1/4 - 20 screw mount to attach laser unit.
Allows for full 360° placement of the laser
unit.
360° Placement
2. Fasten pole clamp to L-type bracket to allow
use with tripod or other optional accessories.
3. Fasten magnetic mount to L-type bracket to
allow connection to stable and supportive
magnetic objects.
3. Square:
Using both the vertical and horizontal laser
beams, establish a point where the vertical
and horizontal beams cross. Position the
desired object(s) until they are aligned with
both the vertical and horizontal laser beams
to ensure object(s) are square.
1. Plumb:
Using the vertical laser beam, establish a
vertical reference plane. Position the desired
object(s) until they are aligned with the
vertical reference plane to ensure object(s)
are plumb.
2. Level:
Using the horizontal laser beam, establish
a horizontal reference plane. Position the
desired object(s) until they are aligned with
the horizontal reference plane to ensure
object(s) are level.
4. Self-Leveling Disabled:
Disabling self-leveling function allows laser
unit to project a rigid laser beam in any
orientation.