10
GB
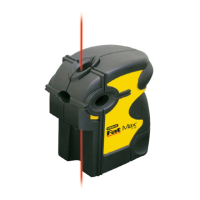
Installing AA Batteries
STHT77499-1 laser.
1.
2.
On the bottom of the laser, lift up the latch to
(Figure
B
1
).
3.
batteries, making sure to position the - and +
compartment (Figure
B
2
).
4.
it snaps in place (Figure
B
3
).
When
(Figure
A
2
.
Turning the Laser On
1.
,
º position).
2.
horizontal and
vertical laser beams. Either:
•
the cross beams in manual mode
(Figure
A
1
).
• Move the to the
cross beams in self-leveling mode
(Figure
A
3
).
3.
Check the horizontal and vertical laser beams.
• If the laser is tilted so much that it cannot self-
level (> 4°), or the laser is not level in manual
• the laser is not level
(or plumb) and should NOT BE USED for
repositioning the laser on a level surface.
4.
a project.
•
temperatures).
•
•
Checking Laser Accuracy
It is
check (in
• closest
to the operating distance
the laser.
•
that is level in both directions.
• Mark the center of the laser beam.
Horizontal Beam - Scan Direction
Checking the horizontal scan calibration of the
is important to conduct a calibration check using
a distance no shorter than the distance of the
1.
(Figure
D
1
).
2.
Move the
right (Figure
A
3
) to turn the laser ON in
vertical beams.
3.
Turn the laser 45º
.

 Loading...