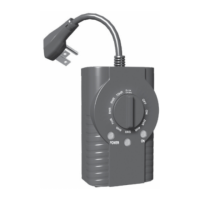
1 - Locate the electrical outlet that is close to the
device you want to control.
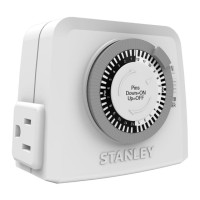
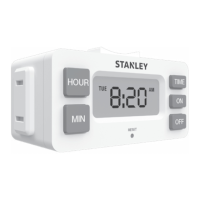
2 - Set the ON / TIMER switch located next
to the dial to the TIMER position. Plug the
timer into the outlet.
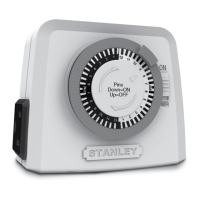
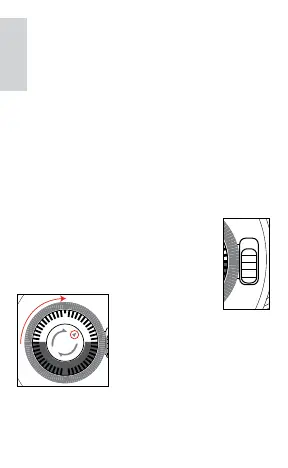
3 - Set the current time - turning clockwise,
align the Arrowhead (See diagram) on TOP
of the timer to the
present time (lines
between numbers
are in increments of 30 minutes).
There is no need to touch the
pins to set current time. NOTE:
Dial is based on AM/PM.
4 - Determine desired start time and push “DOWN”
all pins until desired OFF time. When pins are pushed
down the timer will be on and working. When pins are
in the UP position timer is OFF (note: “pins” are grey
12
11
10
9
8
7
6
5
4
3
2
1
12
9
3
1
11
10
8
7
6
5
4
2
AM
PM
ON
TIMER
12
11
10
9
8
7
6
5
4
3
2
1
12
9
3
1
11
10
8
7
6
5
4
2
AM
PM
Pins
Down=ON
Up=OFF
ENGLISH
Timer pins are factory preset in the
“pushed down” (‘ON’) position.
Pull pins up for timers ‘OFF’ intervals.
OPERATING INSTRUCTIONS
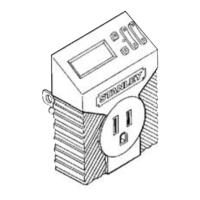
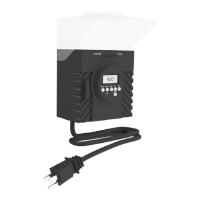
Install the cord and unit at least 5ft (1.5m) above
ground level with the outlet receptacle facing
downward. Let the switch hang downward so
moisture doesn’t accumulate in the outlet. Plug the
lights or appliances into the outlets at the bottom.
INITIAL USE: