LEAK TESTING
WARNING!
Always perform a leak test before each use. Leak test must be performed outside in a well-ventilated area.
NEVER perform a leak test on a grill while in use or hot. If you detect a gas leak that cannot be corrected by
using the leak test procedures below, DO NOT use the LP gas grill.
Supplies Needed for a Leak Test:
Clean paintbrush or basting brush, water, and dishwashing liquid.
Check for leaks:
Test for gas leaks each time while you connect the gas cylinder to your gas grill. NEVER use a flame to test for
a leak. Mix one cup of water with one cup of dishwashing liquid. Apply the solution to the connection at the top
of the gas cylinder and end of the regulator valve and also where regulator connects to the burner. If bubbles
form at either of these connections there is a leak present and must be corrected immediately! Remove the
soap solution with cold water and towel dry. Turn off the gas and wait 5 minutes for gas to clear. Attempt
to re-connect the gas cylinder.
DANGER!
To prevent fire or explosion hazard when testing for a leak:
- No smoking. Do not use or permit sources of ignition in the area while conducting a leak test.
- Conduct the leak test outdoors in a well-ventilated area.
- Do not use matches, lighters or flame to check for leaks.
- Do not use grill until any and all leaks are corrected.
- If you are unable to stop a leak, disconnect the propane supply.
Call a gas appliance Service man or your local propane gas supplier.
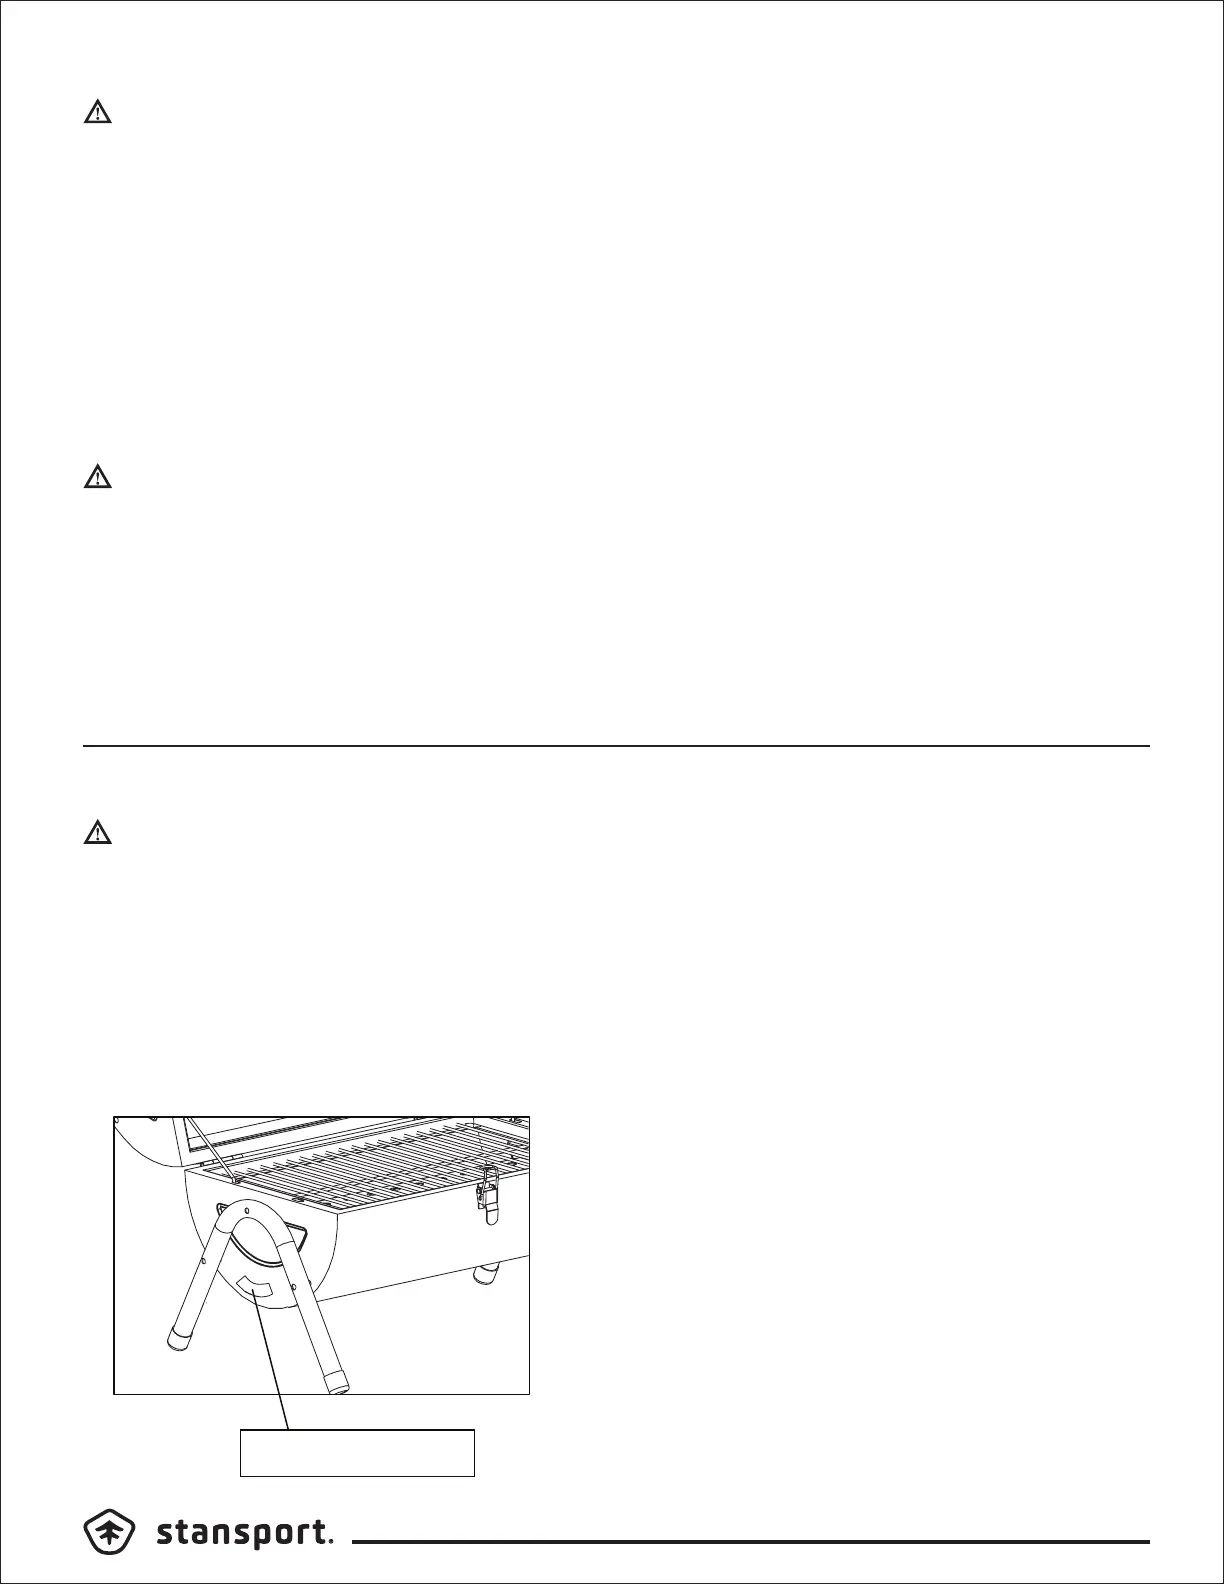
Match Ignition Hole
LIGHTING OPERATION & CONTROL OPERATION
WARNING!
Attempting to light the burner with the lid closed may cause an explosion!
1. Make sure there are no obstructions of airflow to the gas unit.
Spiders and insects can nest within the burner or orifices.
2. Clean burner holes with a pipe cleaner if obstructions are found.
3. Place a lighted match through the hole on the side of the unit or near the burner ports.
4. Turn the regulator valve to its “HIGH” setting. After lighting, please observe the burner flame; make sure all
burner ports are lit — a blue/yellow flame of 1-2 inches from the burner rod should appear. If burner does not
light after first try, turn the gas to its “OFF” position, and wait 5 minutes for gas to clear before trying again.
If burner flame goes out during operation, immediately turn the gas “OFF” and wait 5 minutes to allow gas
to clear, before attempt to re-light.
2801 East 12th Street, Los Angeles, CA 90023
 Loading...