6
Side Panels
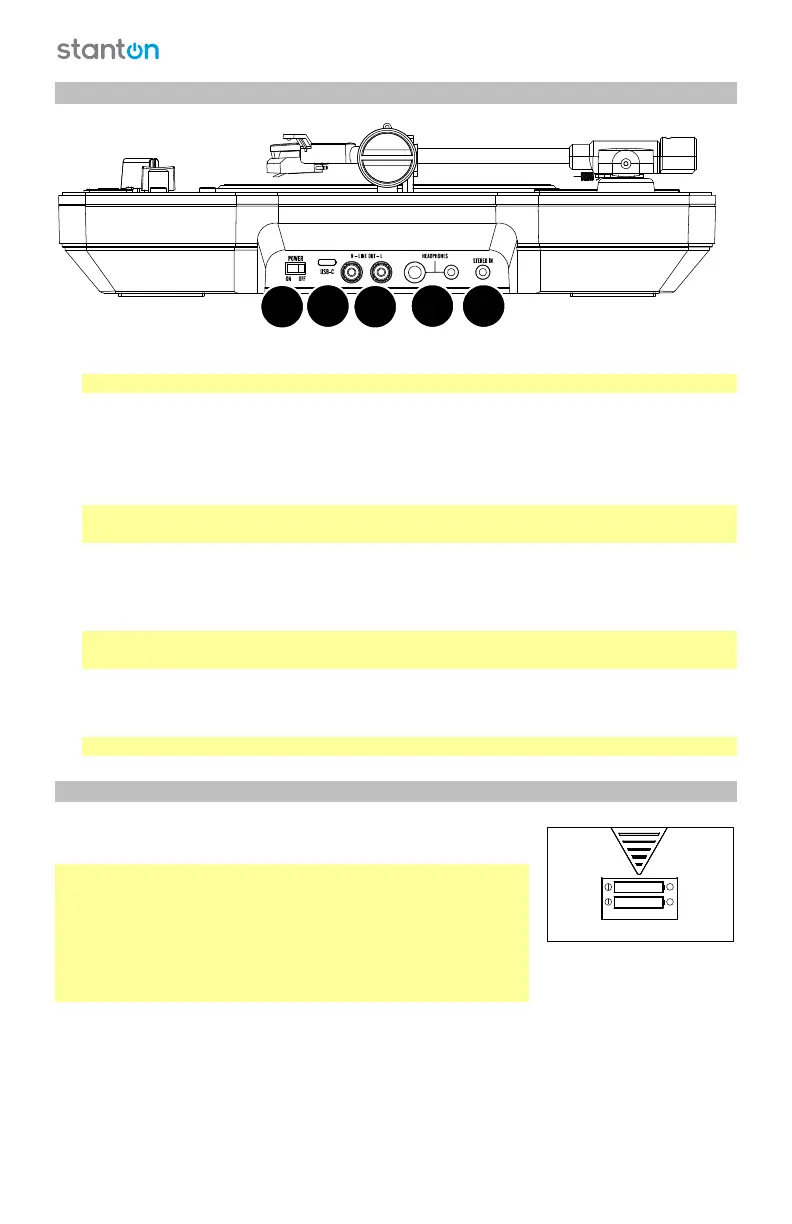
1. Power Switch: Use this switch to turn power on and off.
Note: When the unit is plugged in to power, there will be no charging LED or indicator.
2. Line Outputs (RCA): Connect these line-level outputs to the inputs of an external audio
device (mixer, PA system, powered speaker, etc.). Use the Audio knob to control the level
of the output signal.
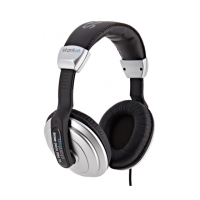
3. Headphone Outputs (1/4”, 1/8” / 6.35 mm, 3.5 mm): Connect stereo headphones to
either of these audio outputs.
Important: To avoid hearing damage, set the Audio knob to the Off position before
connecting headphones to either of these outputs.
4. Stereo Input (1/8” / 3.5 mm): Connect this input to an additional audio device (computer,
smartphone, tablet, etc.). Use your source audio device’s volume control to set the level of
the input signal. While using this input, make sure that your line outputs are connected to
an external audio device and that the cables are not in contact with metal.
Note: The stereo input signal is sent to the line outputs, not to your computer (through
the USB port).
5. USB-C Port: Use the included USB-C cable to connect the unit to a power adapter (sold
separately) connected to a power outlet and let the battery charge for up to 4 hours. The
signal from the stereo input is not sent over this connection.
Note: Only use 5V, 2A rated power supplies.
Battery Compartment
Insert Li-ion batteries into the compartment on the bottom panel
to power STX. The second slot is for holding a spare battery.
Note: While the unit is charging, only the main battery will
charge, not the spare battery.
Important! Make sure to insert the batteries (18650 lithium-ion,
3.7V) in the proper direction in the battery compartment on the
bottom panel. The spare battery slot holds an additional battery
that can be used as a backup. Replace batteries only with the
equivalent type.
2
3
1
45
LI-ION 3 .7V
+
+
SPARE