Page 11 SPINNER
®
OWNER’S GUIDE
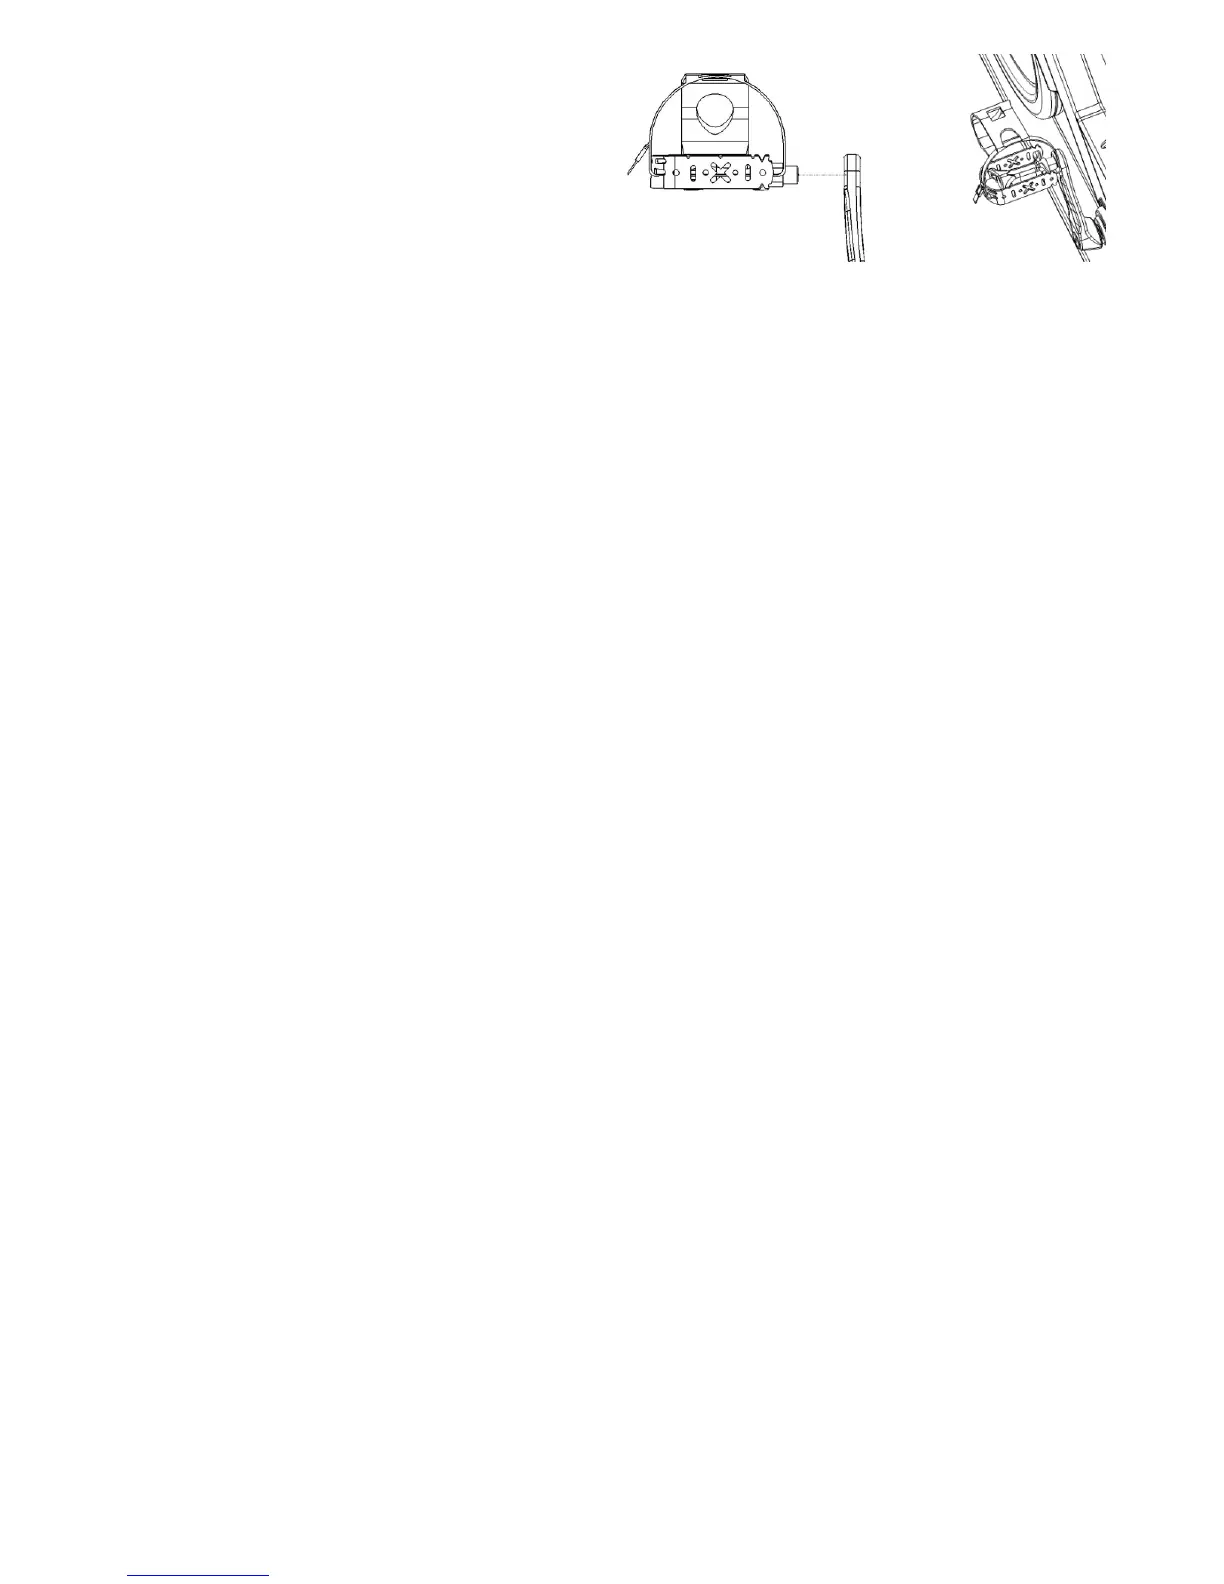
5. Install the Pedals
NOTE: The pedal shafts are marked “R” and “L”. Trying to install the
pedals on the wrong side may damage the pedal and the crank arm take
caution to attach the pedals to the correct side of the bike.
Install the pedals on the pedal cranks using a 15mm
open-end wrench and tighten securely.
Turn the left pedal spindle counterclockwise when
threading into the left crank arm; turn the right pedal
spindle clockwise when threading into the right
crank arm.
Step 5
You have now completed the assembly of your SPINNER® NXT.
!Attention! Crank bolt must be re-torqued after the first 10 hours of use. Refer to Preventive Maintenance section page 27.
 Loading...