OPERATION OPERATION
6
To Load a Drywall Panel
1. Set (lower) the backstop, so the Lift won’t roll backward
2. Swing open the panel support hooks on the two crossarms. Be
sure the cradle is turned so the support hooks are on the opposite
side from the winch wheel.
3. Extend the crossarm outriggers on the cradle as needed to fully
support the length of the drywall panel (see page 7).
4. Release the tilt latch to tilt the cradle (see page 8).
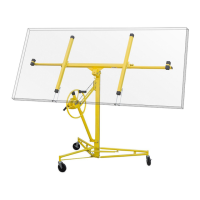
5. Hold the drywall panel with its face paper toward the tilted cradle,
and load the panel onto the Lift as shown. Set the panel onto the
support hooks, and carefully lean it against the crossarms.
6. If installing the panel on a at ceiling, tilt the cradle back up to its
level position and lock the tilt latch. If installing the panel on a side
wall or a sloped ceiling, leave the cradle tilted.
7. Raise the backstop on the base, and carefully roll the Lift close to
the position where the panel will be installed.
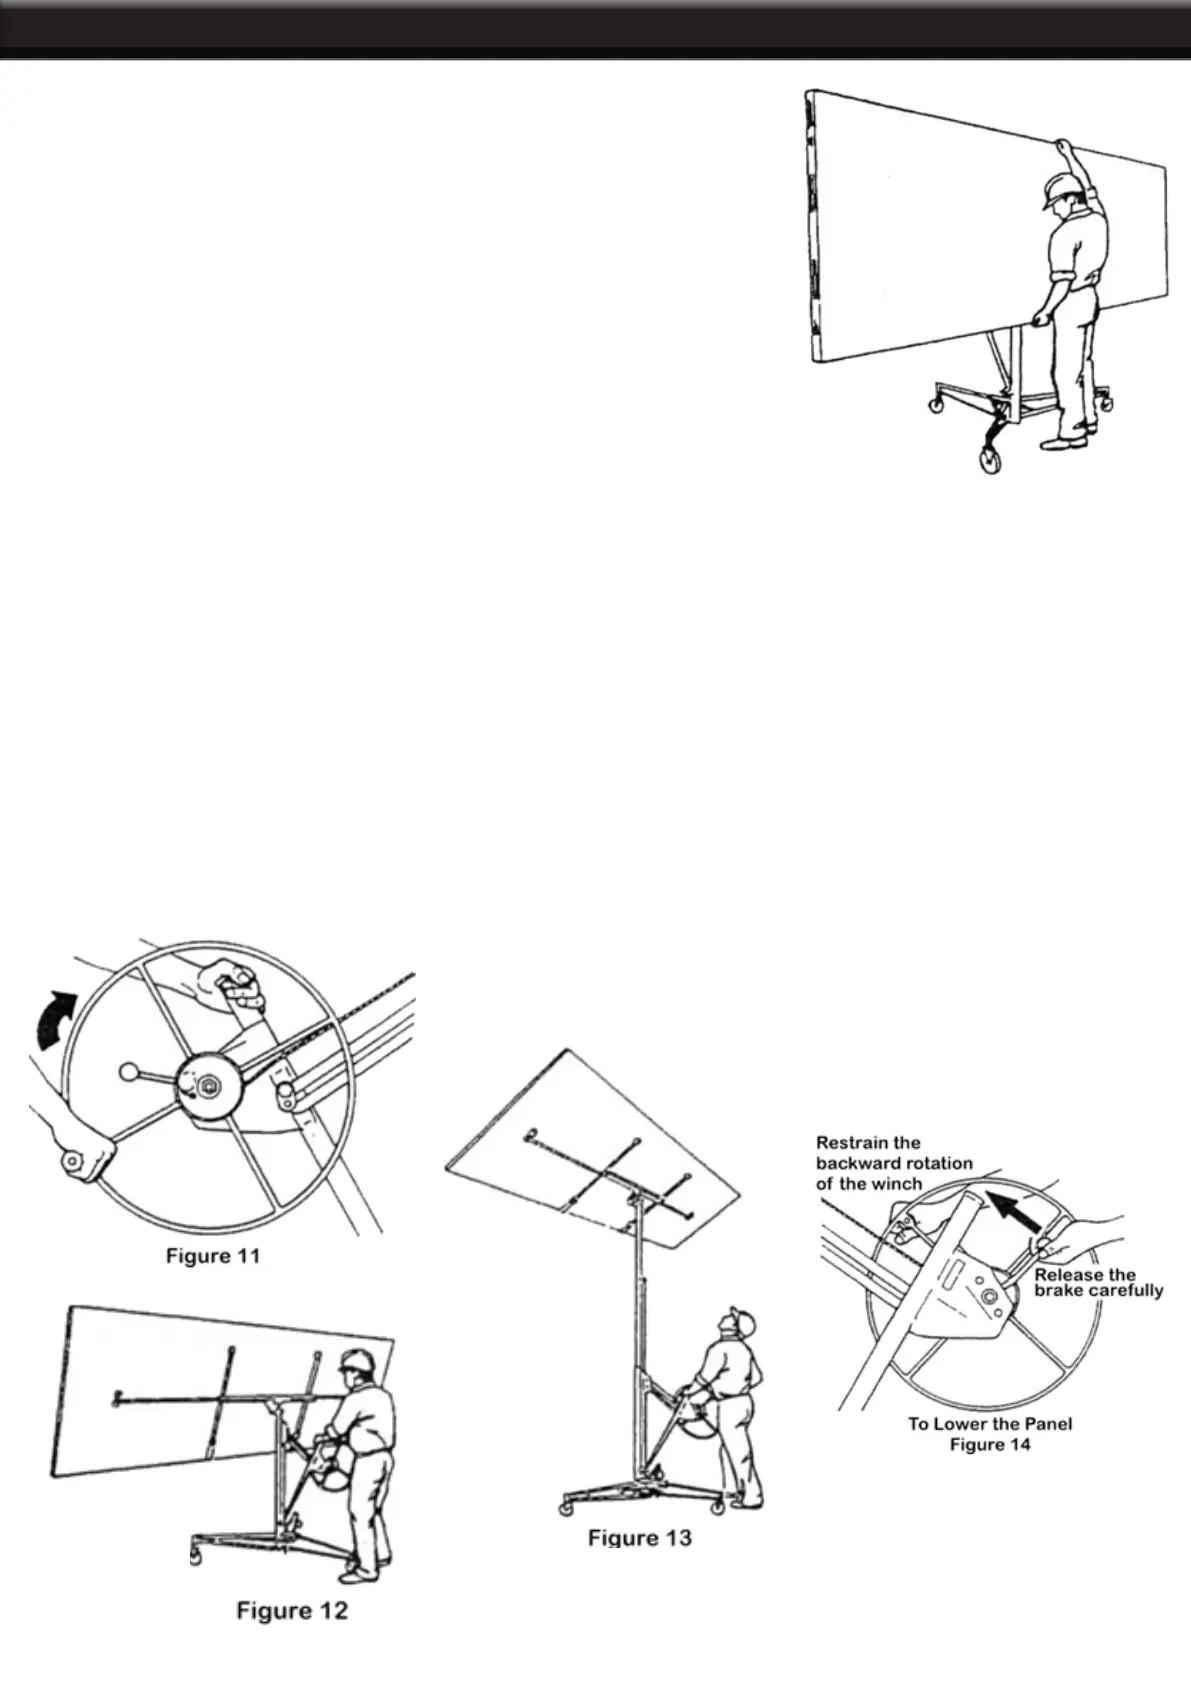
To Raise the Panel
IMPORTANT: Always lower the backstop before raising the panel to a sloped ceiling or a side wall. Crank
the winch wheel in the direction shown (hold the post for leverage) until the panel is at the desired height.
The brake is spring-loaded to automatically hold the cradle at the selected height when you stop cranking.
To Lower the Panel
1. Grasp the wheel handle with your right hand so you can restrain the backward rotation of the winch.
2. Retain your hold on the winch handle. Carefully release the brake with your left hand and slowly rotate the
wheel backward to lower the cradle to the desired height.