QUICK START GUIDE
1. Lay out your tools
2. Mix the oil
3. Check that the chain brake is in the unlocked position by pulling the front hand guard toward the front
handle
4. Loosen and remove the bar nuts and the clutch cover from the saw
5. An adjusting pin and screw are used to adjust the tension of the chain. It is very important when assembling
the bar that the adjusting pin aligns in a hole in the bar. Turning the screw will move the adjusting pin up and
down the screw. Locate this adjusting pin before you begin mounting the bar into the saw.
6. Turn the adjusting screw by hand until the adjusting pin is positioned between the indicator marks, this
should allow the adjusting pin to be near the correct position.
7. Slide the guide bar with chain on bar bolts. Cutters must face in the direction of rotation.
8. Check that the drive links of the chain t correctly on the drive sprocket and that the chain is in the groove
on the bar.
9. Fit the clutch cover and insert the adjusting pin in the cut out in the bar
10. Tighten the bar nut nger tight
11. Tension the chain by turning the chain tensioning screw clockwise. The chain is correctly tensioned
when it does not sag from the underside of the bar but can still be turned easily by hand.
12. When tting a new chain, the chain tension has to be checked frequently until the chain is run-in. Check
the chain tension regularly.
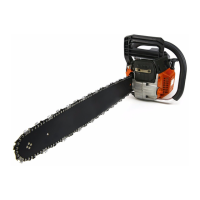
Scan the QR code below to watch a video on assembling your new 45cc Gas Chainsaw:
12