1. Your mount should be installed on a structurally sound, horizontal
surface away from other equipment to give your Starlink a clear view
of the sky.
NOTE: Don’t allow salt water to collect around your Starlink. Periodically
check the sealant on your fasteners and rinse with fresh water.
2. Choose the installation hardware for your mounting surface:
• Option 1: Machine Screws and Nuts — for surfaces with backside access
NOTE: The included machine screws can accommodate mounting surfaces up
to 0.3” (11.44 mm) thick. Replacement hardware should be 1/4”-20 (M6) thread,
Grade 2, or better. Bolt must protrude through nut 2 threads or more. Use 316
Stainless Steel in marine environments.
• Option 2: Lag Bolts — for wood or plywood
NOTE: Lag Bolts work with a minimum surface thickness of 0.25” (6 mm) thick.
• Option 3: Blind Hole Nuts and Machine Screws — for composite surfaces
NOTE: Blind hole nuts work with surfaces 0.19 – 0.31” (4.5 – 7.85 mm) thick.
SETUP
Plan Your Install
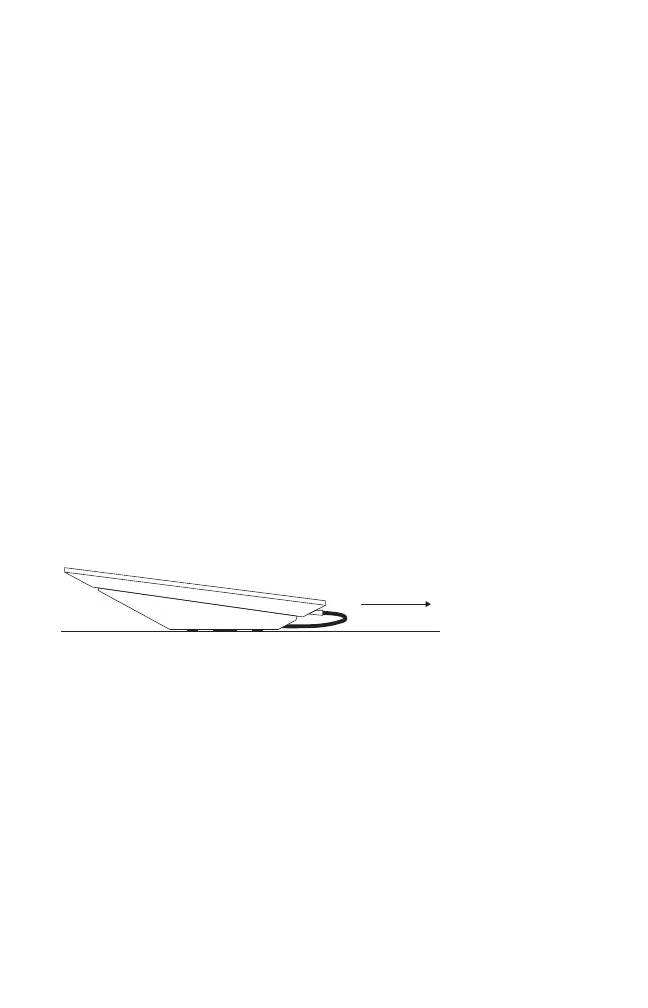
3. For use on a vehicle, orient your mount so the low end is pointing forward.