Operating Instructions & Parts Manual
Page 8
Please be sure to make very slight adjustments when calibrating the 3814 as this machine is
extremely sensitive to any movement.
Always test first in Rockwell C scale. Install diamond indenter and set weight selector to
150kg(1471). Remove the top cover from the 3814.
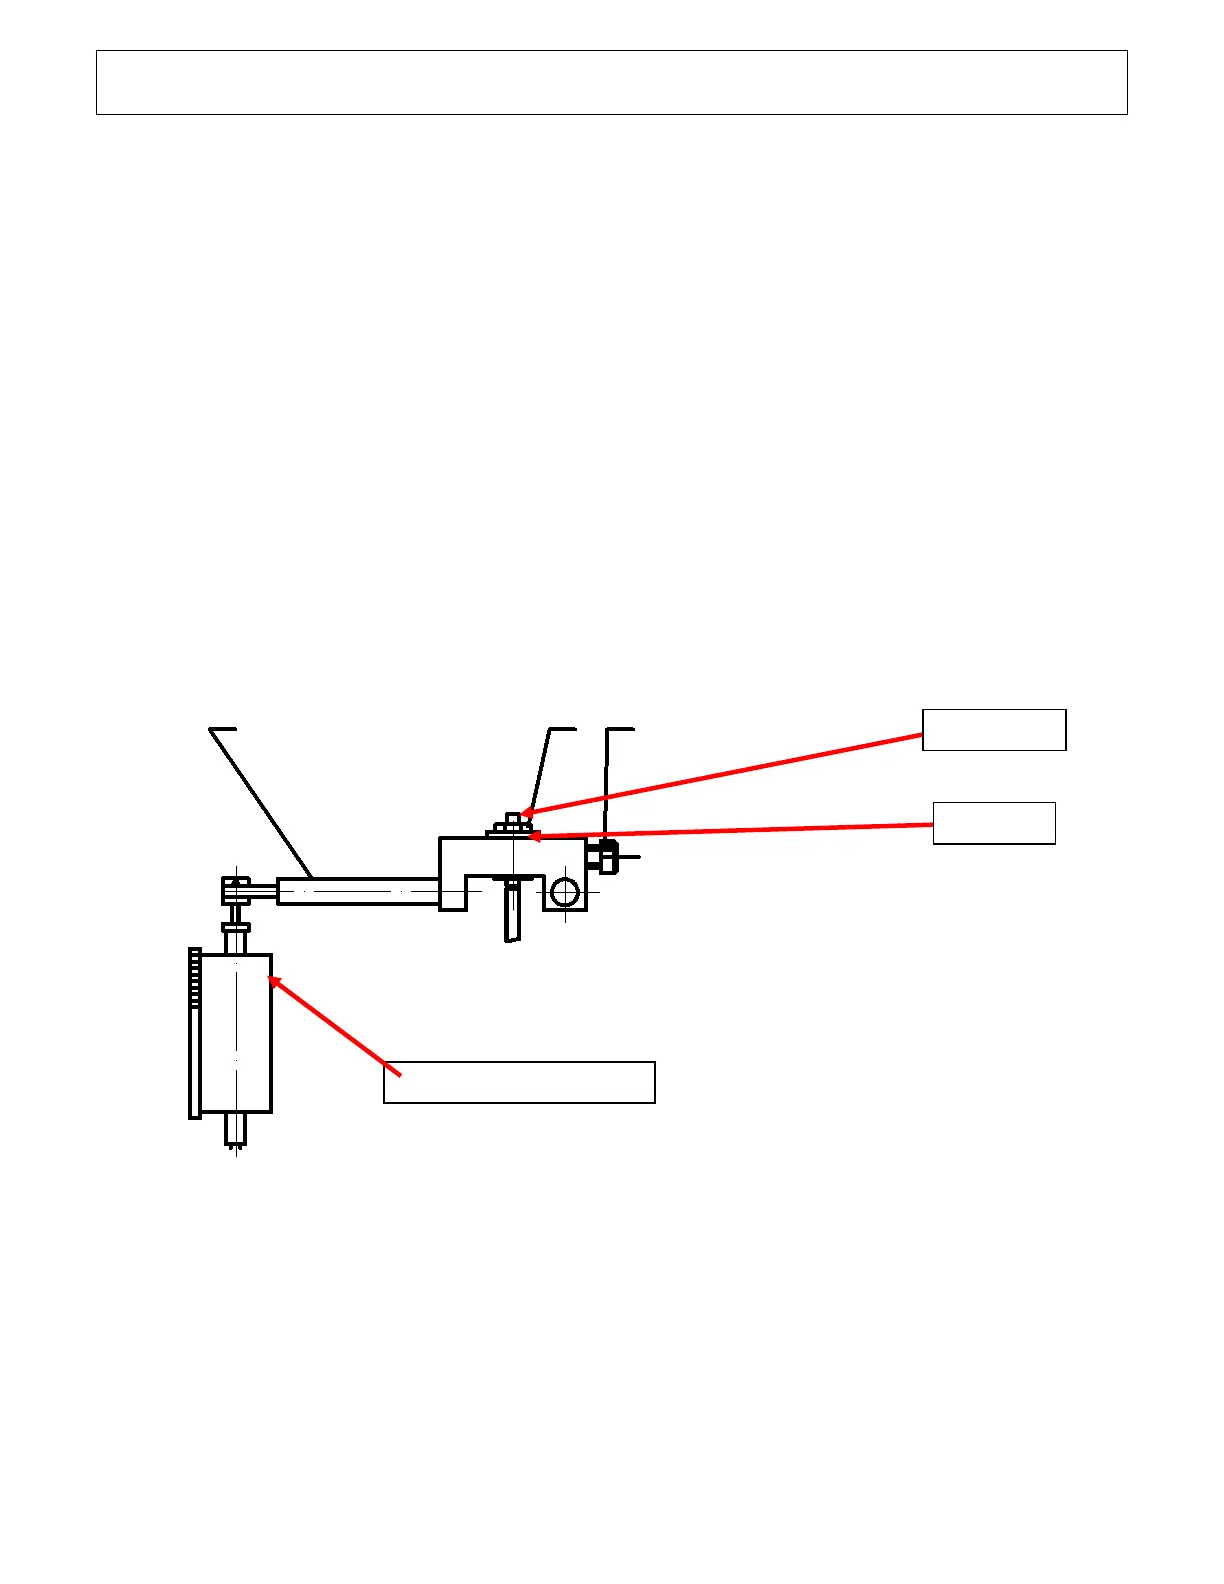
Adjusting the Indicator needle starting point:
While holding this screw steady, carefully loosen the set screw hex nut. By a slight turn of the set
screw, you will see the large needle on the dial begin to move.
Move to rest position which is 3 lines left of center.
Compensation adjustment for calibration:
Loosen the set screw hex nut. Facing the back of the machine, turn the knurled knob #31
clockwise to increase the number and counterclockwise to decrease the number. Take a minimum
of 3 tests on your test block to make sure the machine is reading correctly. If readings are low or
high you will need to raise or lower as just described. Make sure you start with indicator at rest
position which is 3 lines left of center on analog or set to zero on digital as the indicator setting
may move during knurled knob adjustment.