Page 3
Basic Set Up Information:
1) Loosen the 4 nuts on the bottom of the crate. Lift the crate off the platform being careful not to scratch the side of
the hardness tester
2) Remove the tool kit from the platform
3) Remove the plastic dust cover
4) Remove the string holding the handles and top cover of the machine
5) Lift the top cover straight up and off the machine
6) Remove the rubber band holding the indicator lever and discard it.
7) Remove the back cover of the machine by removing the 2 phillips head screws from the top and bottom of this
cover
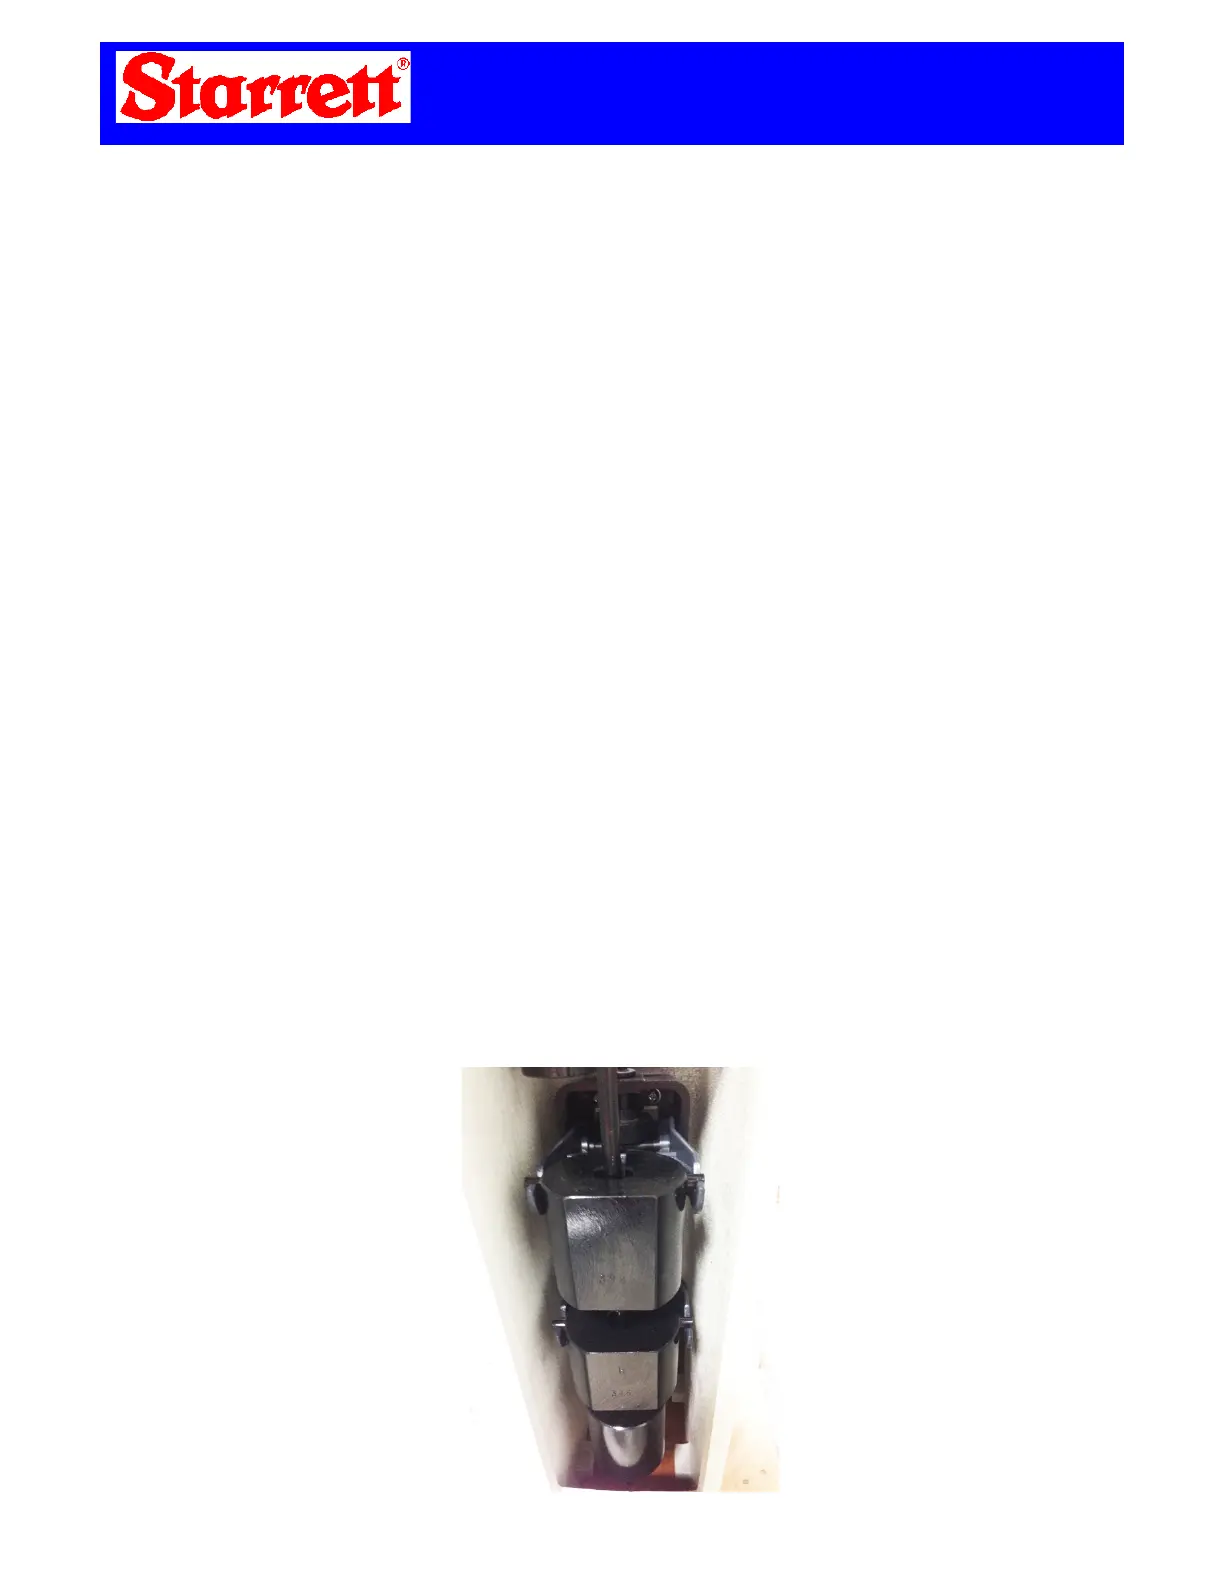
8) Carefully remove the string that is holding the weight bar to the loading bar
9) Remove the weight bar from the loading arm by lifting the hook of the bar from the loop on the arm.
10) Remove the 2-nuts from the bottom of the bar.
11) Open the test kit and remove the 3 weights. Clan and oil/grease from these weights.
12) Take the round weight marked “A” or “1” and slide it up the bottom of the weight bar and proceed to place both
nuts back on the threaded part of the weight bar effectively holding the round weight in place.
13) Carefully place the weight bar back in the loop of the loading arm with the hook facing the front of the machine.
14) Place weight “B” or “2” and place on the middle section of the weight bar keeping the flat side of the weight facing
the rear of the machine. Place weight “C” or “3”on top of the weight bar keeping the flat part towards the rear of the
machine.
15) Install the rear cover with the 2-screws.
16) Install the top cover by placing it straight down while lining up the pins on each side.
17) Lower the rotary handle and remove the black plastic shaft protector. Keep this for future safety use.
18) Choose the applicable work table (anvil) and install on the machine.
19) Remove the Diamond penetrator from the tool kit and install in the penetrator shaft making sure the flat lines up
with the set screw on this shaft. Be sure that the diamond sits flush inside this shaft. See “Seating Diamond” section in
this manual prior to testing. Do not overtighten this set screw!
20) Remove all C-scale test blocks from the tool kit and clean off all grease or oil from both sides.
21) Set the weight selector know to 1471 (150kg).
22) Place one of these test blocks on the anvil and rotate until the block just makes contact with the diamond. Begin to
turn the rotary handle making sure the large needle on the dial goes around 3 times. On the 3
rd
time you must be sure
that you stop when the large needle lands on the “0” at top dead center.
23) Push the black handle towards the rear of the machine. At this time the tester is putting the load on the test block
and you will see that the large needle will slowly move counter-clockwise. Once the needle stops moving you need to
pull the black handle back towards the front of the machine. At this time you take the reading off the black numbers
off the dial. Repeat this a minimum of 5 times to achieve an accurate reading.
 Loading...