ENGLISH ENGLISH
22 23
22 23
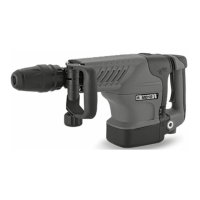
Left rotation: Turn the selector switch for drilling/hammer
drilling 5 on both sides to the stop in the position.
Set the direction of rotation for hammer drilling, drilling
and chiselling always to right rotation.
Switching On and O
push the lock-on button 6.
release it.
Setting the Speed/Impact Rate
The speed/impact rate of the switched on power tool can
switch 7/10 is pressed.
increases the speed/impact rate.
Safety Clutch
If the tool insert becomes caught or jammed, the
drive to the drill spindle is interrupted. Because of the
forces that occur, always hold the power tool rmly
with both hands and provide for a secure stance.
If the power tool jams, switch the machine o and
loosen the tool insert. When switching the machine
on with the drilling tool jammed, high reaction torques
can occur.
4.2 Working Advice
Changing the Chiselling Position
In this manner, the optimum working position can be set
for each application.
Insert the chisel into the tool holder.
Turn the mode selector switch 8
Turn the tool holder to the desired chiselling position.
Turn the mode selector switch 8 to the “chiseling” position.
The tool holder is now locked.
Switching On/O: A
it depressed.
Switching On/O: B
top ( I ) until it locks.
the bottom (O) and release it.
hammer/impact capacity only after a certain time.
Setting the Speed/Impact Rate
The electronic control 10 enables stepless speed and
impact preselection in accordance with the material to be
worked.
The maximum hammering capacity is achieved when the
thumbwheel 10 is set to position “6”.
due to technical reasons.
Setting the Impact Rate HD3C K
You can set the impact rate of the switched on power tool
continuously, depending on how far you press down the
causes a low impact rate. Stronger pressure increases
the impact rate.
OPERATION MD15K - MD15BK
4.3 Starting Operation
Observe correct mains voltage! The voltage of
the power source must agree with the voltage
specied on the nameplate of the machine.
Power tools marked with 230V can also be
operated with 220V.
Switching On and O
position.
the “O” position.
rate only after a certain time.
This start-up time can be shortened by striking the chisel
4.4 Operating Instructions
While working, hold the power tool with both hands by the
handle 1.
moderate pressure.
5. Maintenance and Service
5.1 Maintenance and Cleaning
Before any work on the machine itself, pull the mains
plug.
For safe and proper working, always keep the machine
and ventilation slots clean.
A damaged dust protection cap should be changed
immediately. We recommend having this carried out
by an after-sales service.
Clean the tool holder 2 each time after using.
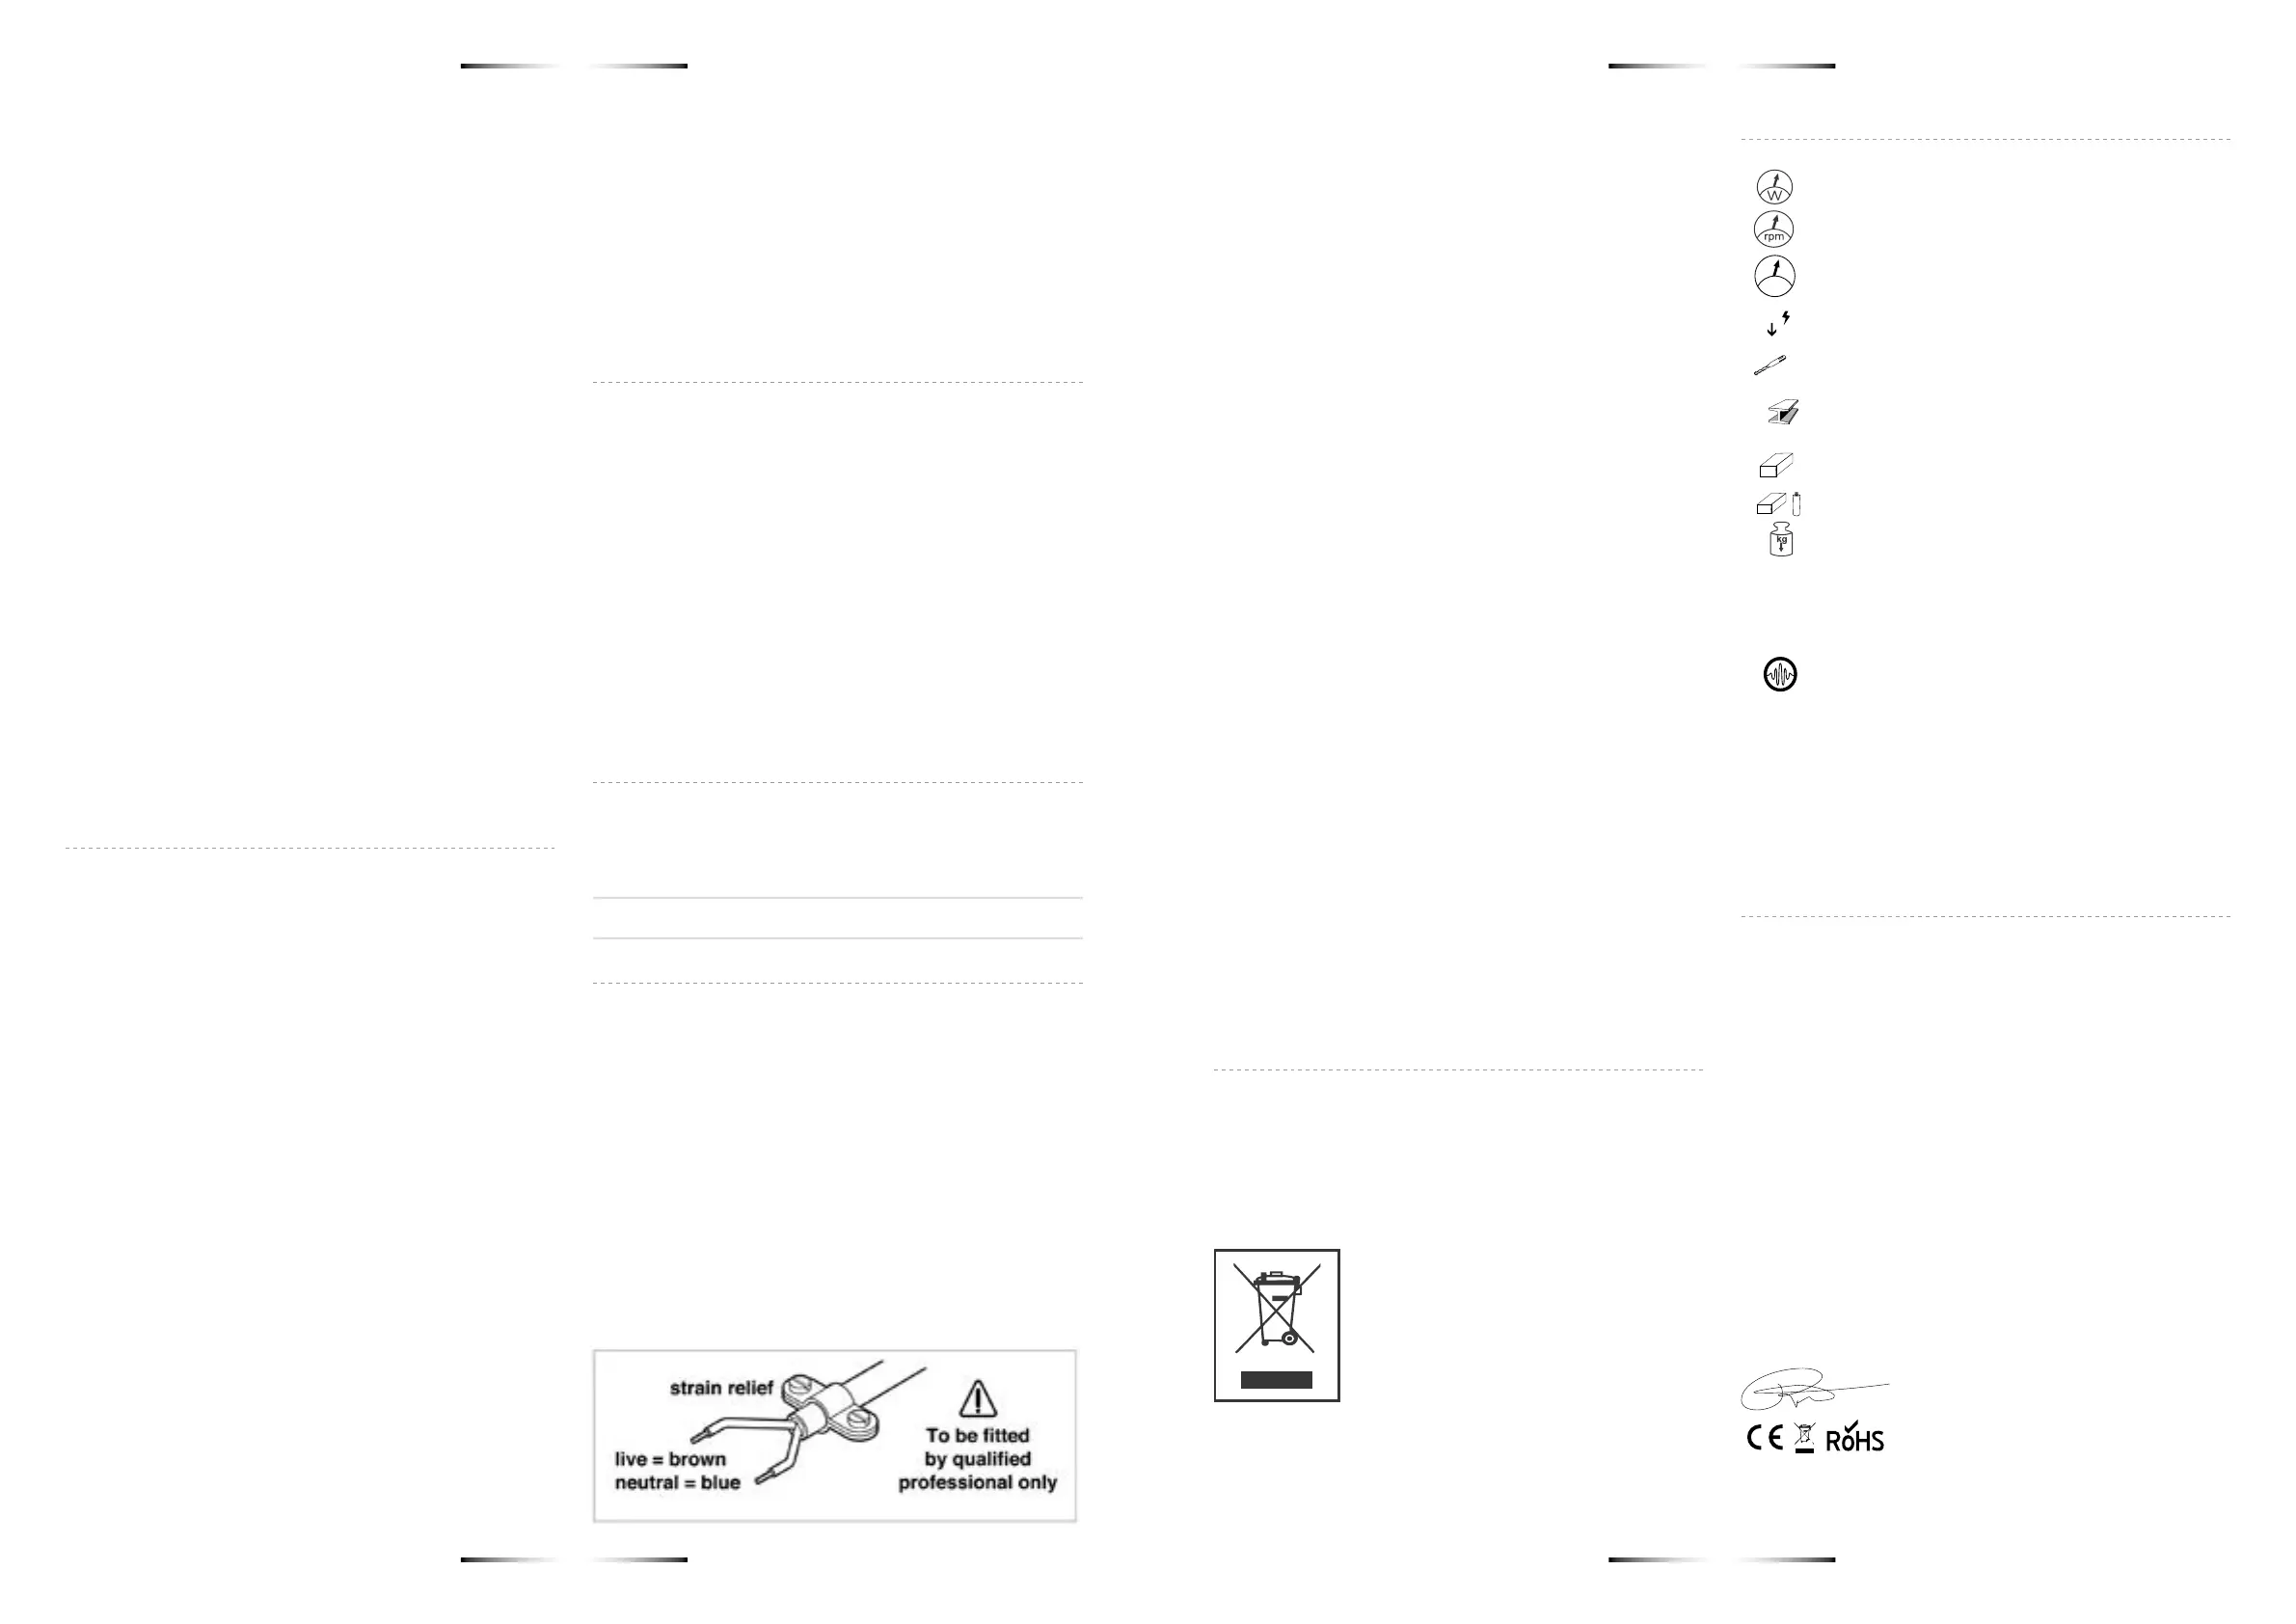
WARNING! Important instructions for
connecting a new 3-pin plug to the 2-wire
cable.
The wires in the cable are coloured according to the
following code:
Do not connect the blue or brown wire to the earth terminal
of the plug.
Important: If for any reason the moulded plug is removed
from the cable of this power tool, it must be disposed of
safely.
When the carbon brushes wear below acceptable
service tolerances, the machine will automatically cut
out. The machine must be sent to customer service for
maintenance for address, see the “Service and Customer
Assistance” section.
Sharpening Chisels
Good results are only achieved with sharp chisels;
therefore, sharpen the chiselling tools in good time. This
ensures a long service life of the tools and good working
performance.
Re-sharpening
Sharpen chiselling tools using grinding wheels (e.g.ceramic
bonded corundum wheel) with a steady supply of water.
no annealing coloration appears on the cutting edges; this
forging, heat the chisel to between 850ºC and 1050°C
(bright red to yellow).
hardening, heat the chisel to approx. 900 °C and
quench in oil. Then anneal in an oven for approx. one hour
at 320°C (annealing colour = light blue).
If the machine should fail despite the care taken in
manufacturing and testing procedures, repair should be
carried out by an after-sales service centre for Stayer
power tools.
In all correspondence and spare parts order, please
always include the article number given on the type plate
of the machine.
5.2 Disposal
We recommend subjecting electric tools, accessories and
packaging to a recovery process that respect the
environment.
Do not throw away electric tools!
In accordance with European Directive
2012/19/UE on unserviceable electric and
electronic apparatus, after transposition
into national law, electric tools must be
collected separately to subject them to
ecologic recycling.
Subject to change without notice.
5.3 Technicaldata
= Power input.
= Load speed.
= Percussion.
= Percusive energy.
= Insertion.
= Maximum drilling, steel.
= Maximum drilling, stone.
= Maximum drilling, with core bit.
= Weight.
L
pA
= Sound pressure level.
L
WA
= Sound power level.
= Vibration.
The values given are valid for nominal voltages [U]
can vary. Please observe the article number on the type
plate of your machine. The trade names of the individual
machines may vary.
5.4 Declaration of conformity
The undersigned: STAYER IBERICA, S.A.
With address at:
Calle Sierra de Cazorla, 7
Área Empresarial Andalucía - Sector 1
28320 PINTO (MADRID)
Tel.: +34 91 691 86 30
We declare under our own responsibility that the product
as describe und “Technical data” is in conformity with the
following standards or standardized documents:
EN 60745-1, EN 60745-2-6, EN 55014-1, EN 55014-2,
EN 61000-3-2, EN 61000-3-3 in accordance with the
provisions in Directives 2000/14/EC, 2006/42/EC,
2011/65/EU, 2014/30/EU.
Director General
January, 2021
ipm
e
STEEL
STONE
STONE
 Loading...