20
The Custom Lens Saddle for large, heavy camcorders:
Even on heavy camcorders, the mounting structures are often less than rigid,
and we have tried not to make the Merlin 2 too massive, so if you’re moving
violently or running and your hand is shaking there may be some relative
motion between the front of the camera and the Merlin 2 stage.
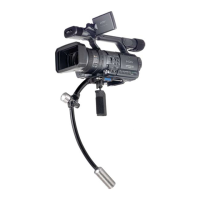
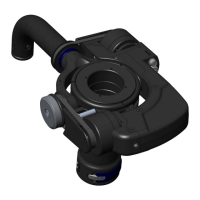
Here’s the solution: We provide the custom lens saddle – the little screw-in
platform that goes into the 1/4-20 threaded hole at the front of the Merlin 2
stage to dampen these vibrations.
If you have a large, heavy camcorder, insert the saddle and screw the
support screw into the threaded hole at the front of the Merlin 2 before
you mount your camera.
Mount your camera at the correct Stage Position, and then look under
it from the side and carefully adjust the lens saddle upward until it just
touches the underside of the camera body. Stiffening the connection
between camera and Merlin 2, dampens any relative motion between
them and you will be able to shoot more telephoto without vibration in
your shots.
Be careful not to over-tighten the lens saddle screw against the
underside of your camera; it can make the Dovetail Plate harder to
mount or dismount from the Merlin 2, and may even bend it or cause
excessive strain to the camera’s threaded insert.
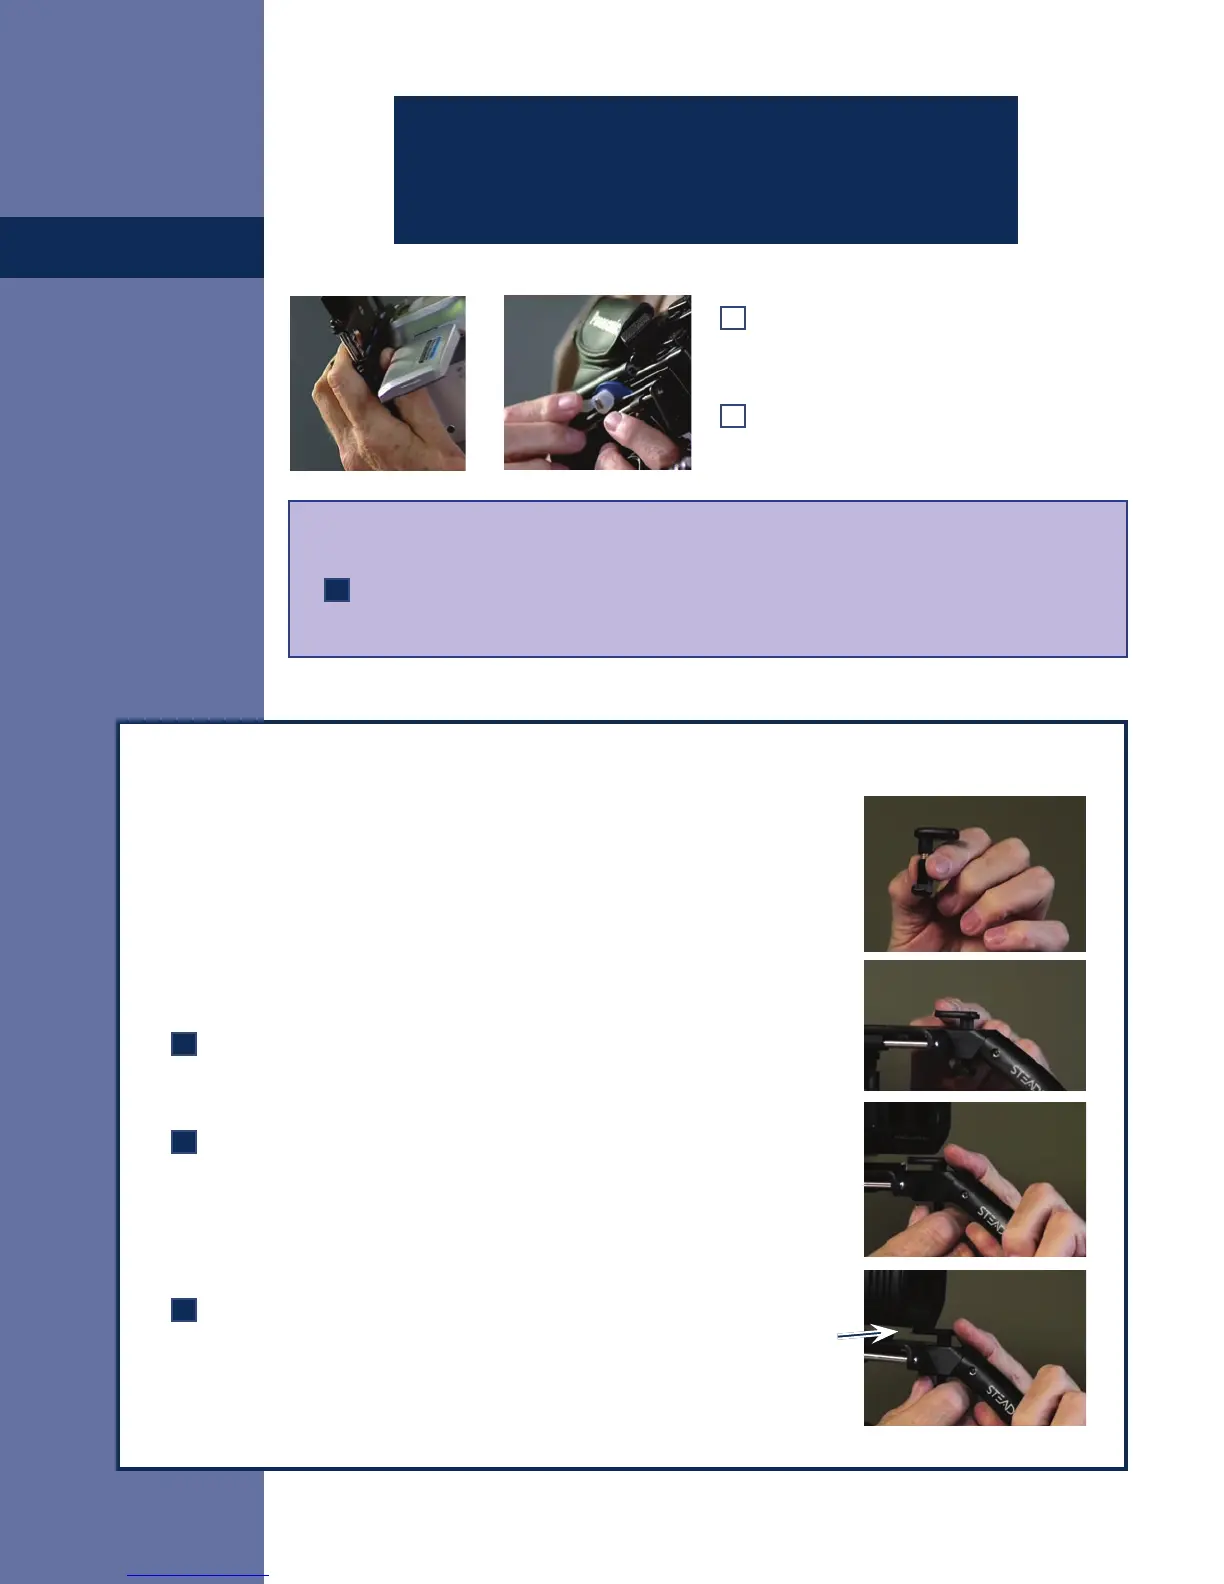
Camera
Slide the Dovetail Plate until the forward
edge is at the correct Stage Position
(according to the Cookbook as noted).
Now, swing the Locking Lever toward the
rear to lock the Dovetail to the Stage.
Balancing from Scratch IV:
If your camera is not in the Online Cookbook, set the default stage position to “0” before
locking the lever.
CAUTION: Be sure to keep a hand on your camera
whenever the locking lever is unlocked to keep your
camera from falling off.
 Loading...