21
Basic Set-up
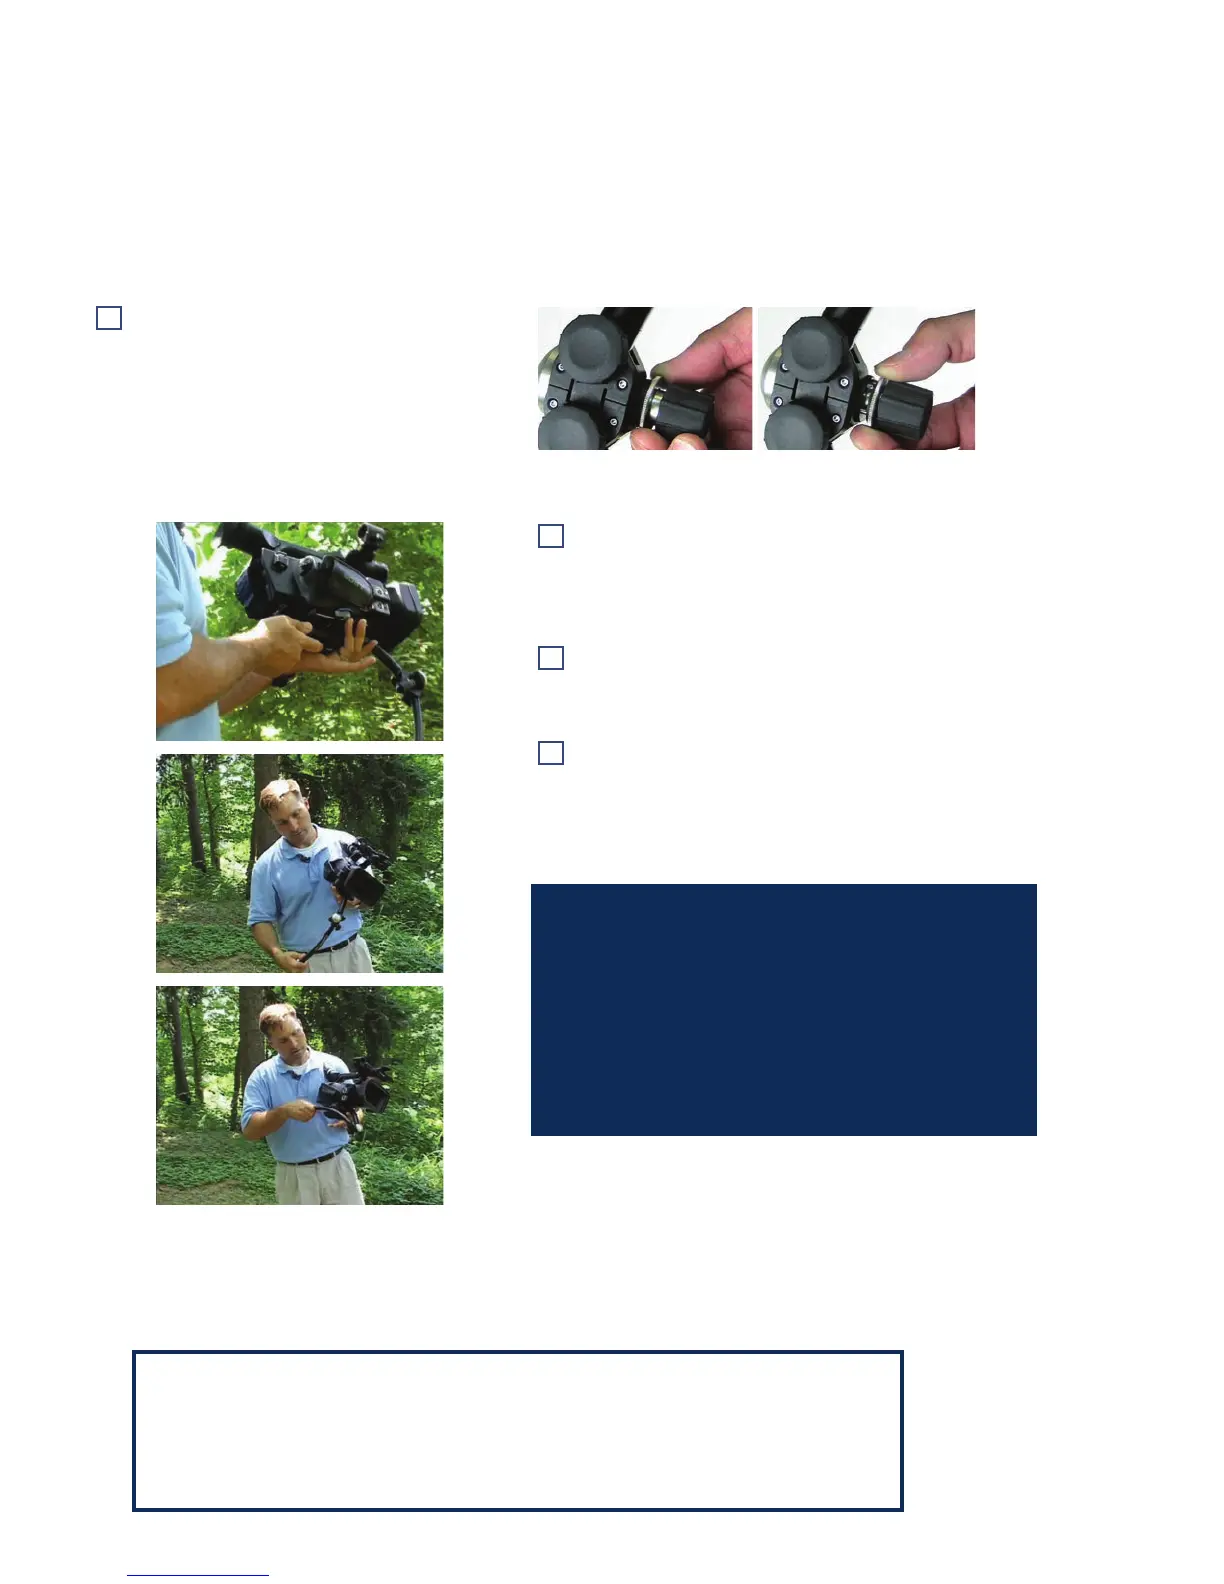
The Caliper Hinge Release Ring
If you have more than three or four weights attached to the Lower Spar, the ‘click-stop’ catch that
keeps the Merlin 2 in the Flying Mode, may not be strong enough to restrain the weight when held out
sideways and the hinge may open. With heavier cameras, get in the habit of locking and unlocking the
Caliper Hinge Release when you unfold and fold the Merlin 2. (That will also prevent it from opening
inadvertently when set down sideways between shots.)
Now watch Section 7 of the DVD, Horizontal and Vertical Trim.
Then continue with the Manual.
Practice opening and locking the Caliper
Hinge Release Ring.
Note how it prevents the Merlin 2 from
folding inadvertently.
Practice folding the Merlin 2 with the
camera mounted: Secure the Gimbal
up under the Stage; hold the Stage, and
Gimbal with one hand.
Swing up the Lower Spar in an arc to
nd it’s notch. Now open it fully into the
Flying Mode.
Be sure the Caliper Hinge Release is open. Pull
it out to fold the unit, be sure to push it back in
to lock the hinge when in use
DON’T RUSH these maneuvers and
pay attention to what you are doing. If
you forcefully fold the unit, for example
and the Caliper Hinge Release is still
locked, or if it’s in the way when you try
to unfold, it could be damaged.
 Loading...