8
LOW VOLTAGE - OUTDOOR TEMPERATURE SENSOR (OPTIONAL)
The outdoor sensor monitors outdoor temperature and
provides this information to the heater. The heater responds by
automatically storing heat in its brick core according to outdoor
temperature and the heating requirements.
Installation Methods:
OR
B)
Location of: The outdoor sensor must be placed in a location where it can accurately sense outdoor
Wiring to heater:
• Route low voltage wire from the outdoor sensor to the electrical compartment through one of the
low voltage wire knockouts.
• Connect to the two gray wires in the low voltage raceway.
• Mount the sensor using the bracket provided.
• If the sensor wiring is routed through an external wall, the opening through which the wire is
sensor.
• The outdoor sensor can be extended up to a total of 250 feet if needed.
•
any line voltage cabling.
•
•
IMPORTANT
If connecting to the Stees power line
carrier (PLC) system, refer to the PLC
Owner’s and Installer’s Guide.
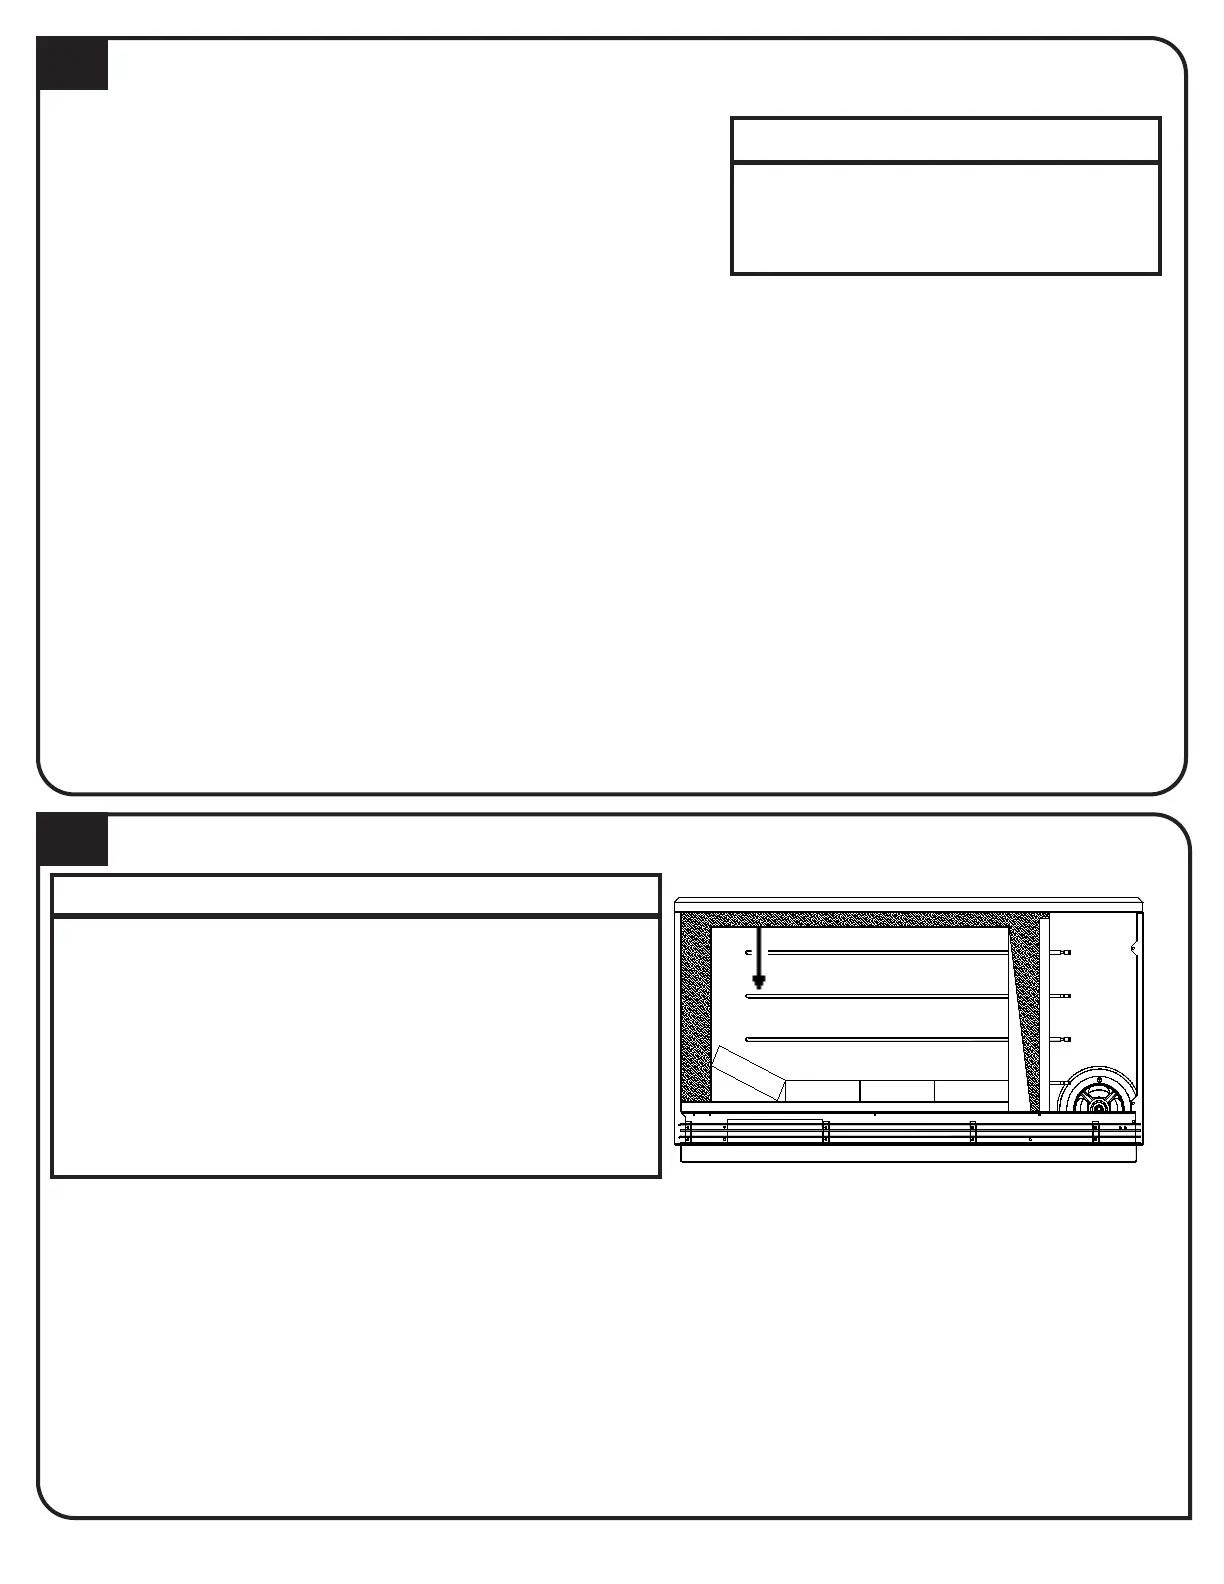
BRICK LOADING
1. Verify you have the correct number of bricks for your application. Ceramic bricks are shipped separately
and come two bricks per package.
2. Verify the heater is not energized.
3. Place shipping box in front of the heater for ease in cleanup of brick debris.
4. Remove the screws on the right side of the galvanized front panel. Rotate the panel to the left to remove.
loading the bricks for Row 1. The insulation on the left side may need to be compressed to install the last
brick on each row.
CONTINUED on PAGE 7
9
IMPORTANT
• The heater MUST be securely mounted to the base prior
to brick loading.
• Install bricks carefully to avoid damage to the bottom
and back insulation panels of the storage cavity.
• Maintain an even horizontal line across the brick core
during brick installation so air ow through the heater
is not obstructed.
• To properly seal the brick core, verify all bricks are
installed correctly.
 Loading...