Installation 2.09 2100 Series
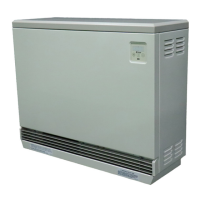
Figure 10
Note: Row 8 brick faces down
Row 7
Row 6
Row 5
Row 4
Row 3
Row 2
Row 1
Brick Loading
BRICK LOADING
Step 1 Verify that the heater is not energized.
Step 2 Direct Wired Room Heating Units Only - Place the heater
against the wall support bracket and use the carriage bolts
provided to securely mount the heater to the wall.
Step 3 Place the shipping box in front of the heater before loading the
brick to catch brick debris, to protect the ooring, and for easy
clean-up upon completion of the installation.
Step 4 Remove the screws on the right side of the galvanized front panel
and rotate the panel to the left to remove.
Step 5 If installing a Model 2104, 2105, or 2106, remove and discard the
cardboard spacer(s) from the brick core.
Step 6 Begin brick loading with row one by installing the rst brick face-
up and sliding to the far right side of the heater's storage cavity.
Be sure the grooved side of the brick is up and ts tight against
the right air channel and the back insulation panel. Continue
loading the bricks for Row 1 as shown in Figure 9. The insulation
on the left side may need to be compressed to install the last brick
on each row.
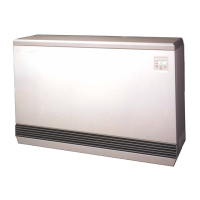
To compress the side, squeeze the inner panel towards the outer panel as shown in Figure 9
below.
Step 7 Continue the brick loading process one row at a time. All bricks in rows one through seven must be loaded
with the grooved side up. (See Figure 10.)
Step 8 Install the eighth (top) row of bricks with the grooved side of the bricks facing down. (See Figure 10.) A
3" x 11" metal brick installation tool is enclosed in the information package to assist with loading the top
row of brick. Lay the metal tool over the far right brick in row 7. Slide a brick over the metal piece and into
position. Pull the metal piece out. Continue this procedure until the entire top row of brick is installed.
Step 9 Once all bricks are loaded, replace the galvanized front panel.
Brick Placement
Figure 9
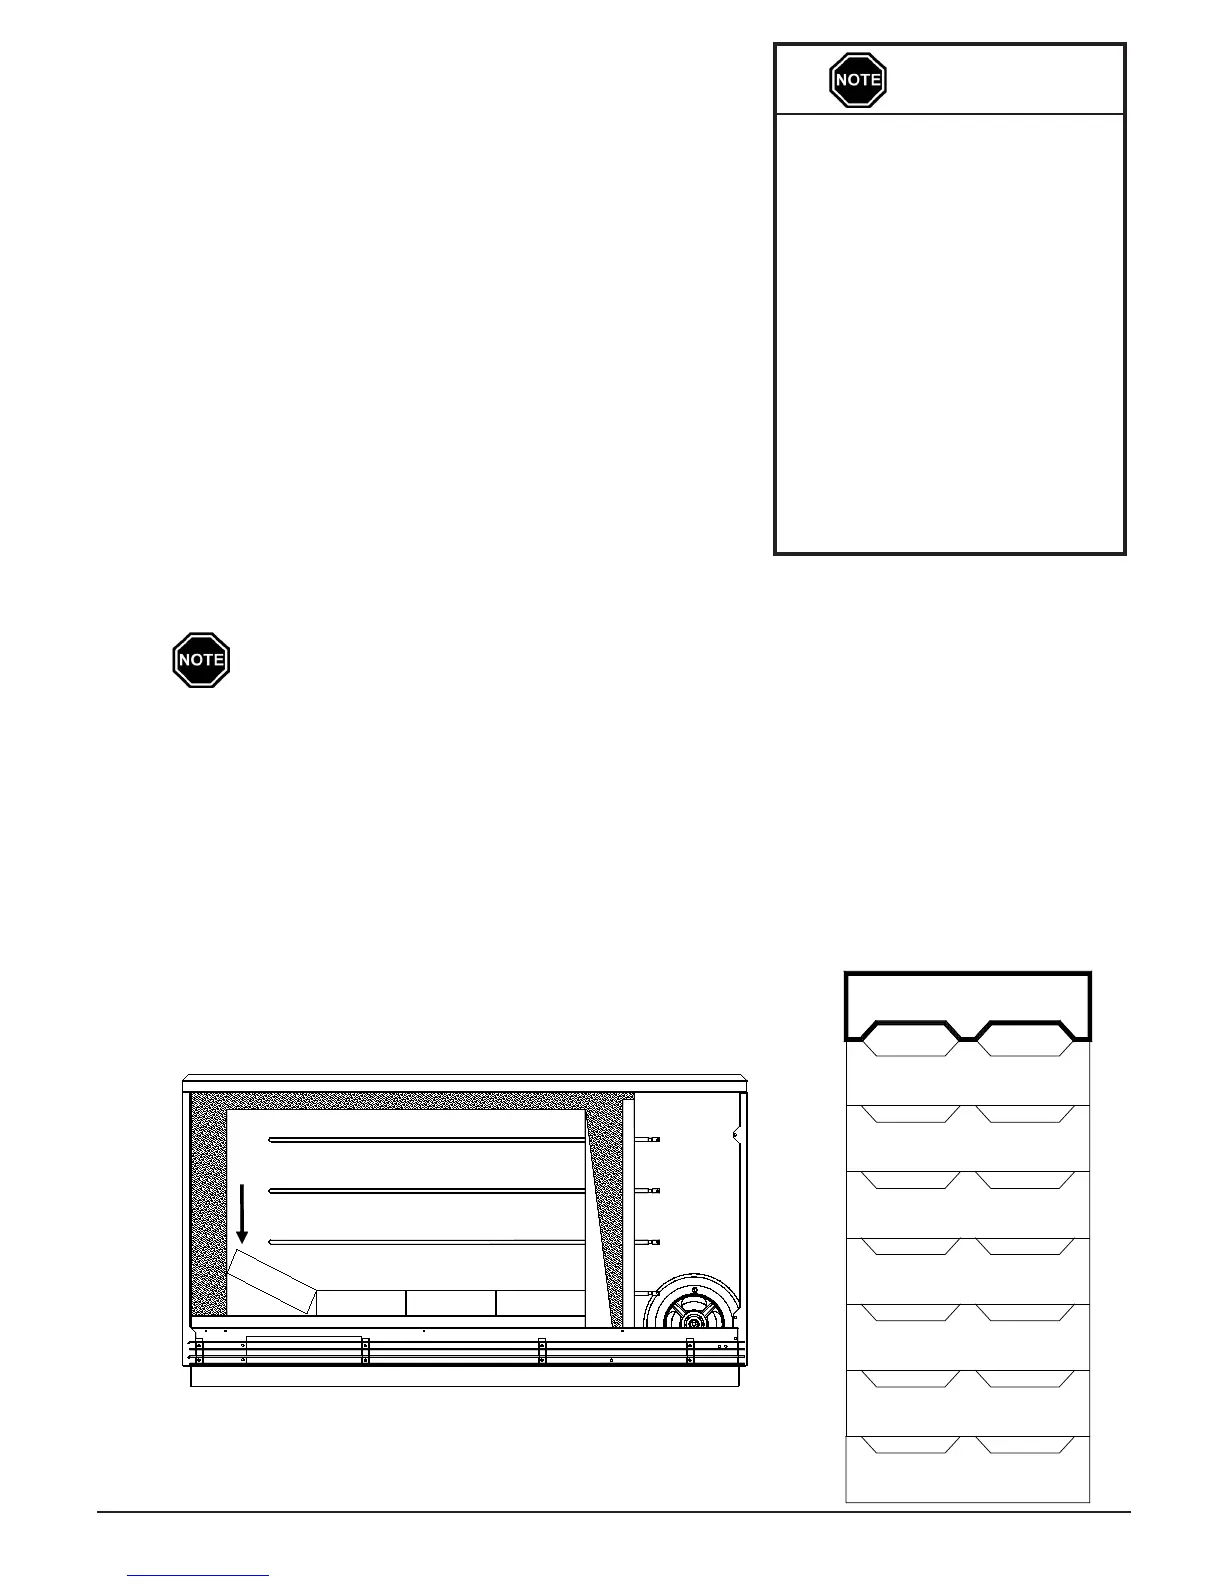
The heater MUST be securely
mounted to the wall or to its
security base prior to brick
loading.
To properly seal the brick
core, make sure all bricks are
installed correctly.
Install bricks carefully to
avoid damage to the bottom
and back insulation panels of
the storage cavity.
Maintain an even horizontal
line across the brick core
during brick installation so
airowthroughtheheater
is not obstructed.
IMPORTANT