20
15
35
18
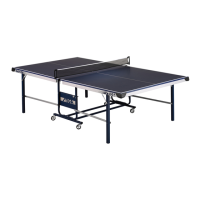
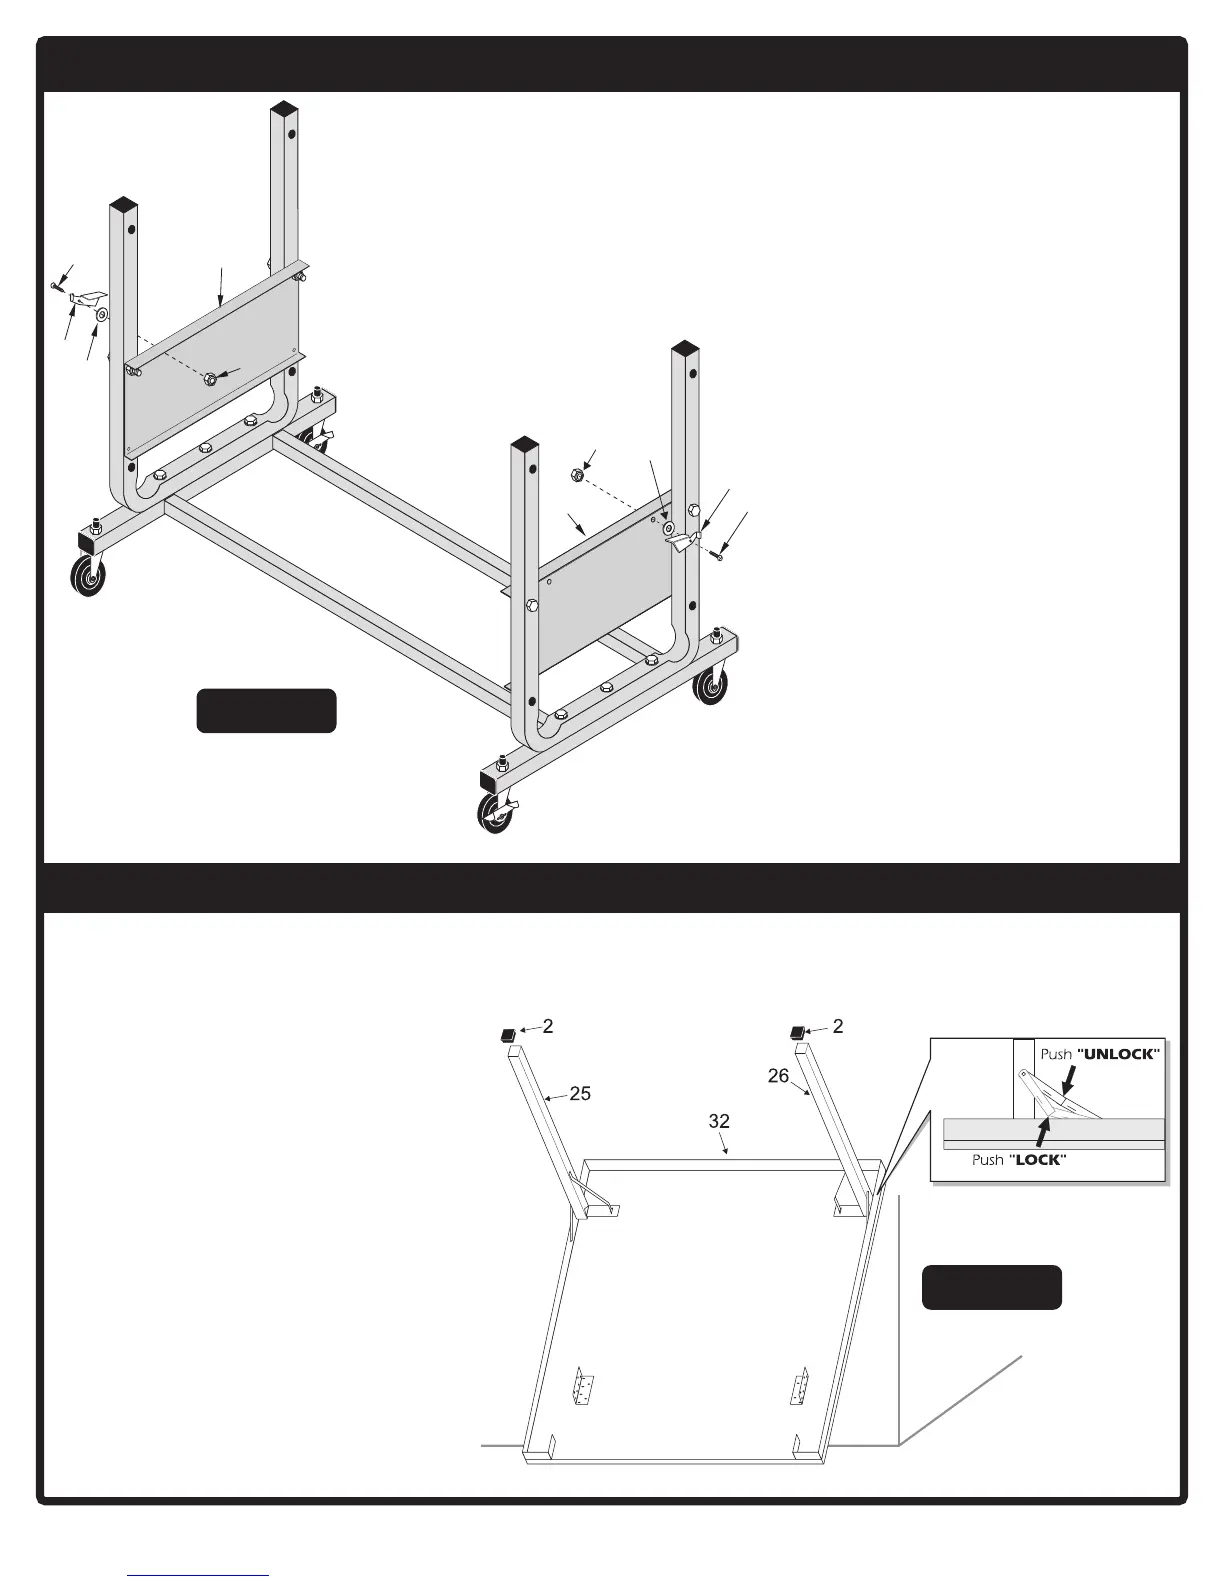
Do notovertighten
nuts.Safetylatches
must be free to pivot.
35
18
15
20
14
14
ATTACHING SAFETY LATCHESATTACHING SAFETY LATCHES
ATTACHING SAFETY LATCHESATTACHING SAFETY LATCHES
ATTACHING SAFETY LATCHES
3
6. Install the Safety Latches #18 to the
Name Plates #14 using two screws
#35, safety latch #18, washer #15 and
locknut #20. Safety Latches must
be installed opposite each other
on both sides of the assembly.
(See figure 3)
Do not over tighten nuts #20.
Safety latch #18 must be free to
pivot.
IMPORTANT: SAFETY LATCHES
MUST BE INSTALLED AS SHOWN
WITH FLANGE ON LATCH OVER
TOP OF NAME PLATE.
7. You may want to place a towel
between table top and wall to keep
from scratching wall. Take either
table half #32 and lean it up against a
wall. Turn it so that the two legs with
hinges are up farthest from the floor.
Place the bottom of the table about 12
inches away from the wall. (See
figure 4)
Note: If you desire, table can be placed
on the floor, if carpeted, or on the
shipping carton, with the playing
surface down. (Take care not to
damage the playing surface).
8. Open legs #25 and #26 and lock leg
hinges.
9. Place leg caps #2 on ends of legs #25
and #26. (See figure 4)
FIGURE 4FIGURE 4
FIGURE 4FIGURE 4
FIGURE 4
FIGURE 3FIGURE 3
FIGURE 3FIGURE 3
FIGURE 3
 Loading...