8
MODEL: SFLW6 | PRODUCT CODE: 10018 | 07/2019
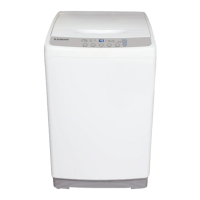
Unpacking the washing machine
Unpackyourwashingmachineandcheckifthereisany
damageduringthetransportation.Alsomakesurethatall
theitemsintheattachedbagarereceived.
Ifthereisanydamagetothewashingmachineduringthe
transportation,oranyitemismissing,pleasecontactthe
localdealerimmediately.
Disposal of the packaging materials
Thepackingmaterialsofthismachinemaybedangerous
tochildren.Pleasedisposeofthemproperlyandavoid
contactwithchildren.Pleasedisposeoftherelated
packingmaterialsaccordingtotherelevantlocal
regulations.Pleasedonothrowthepackingmaterials
awaytogetherwithotherdailyhouseholdwaste.
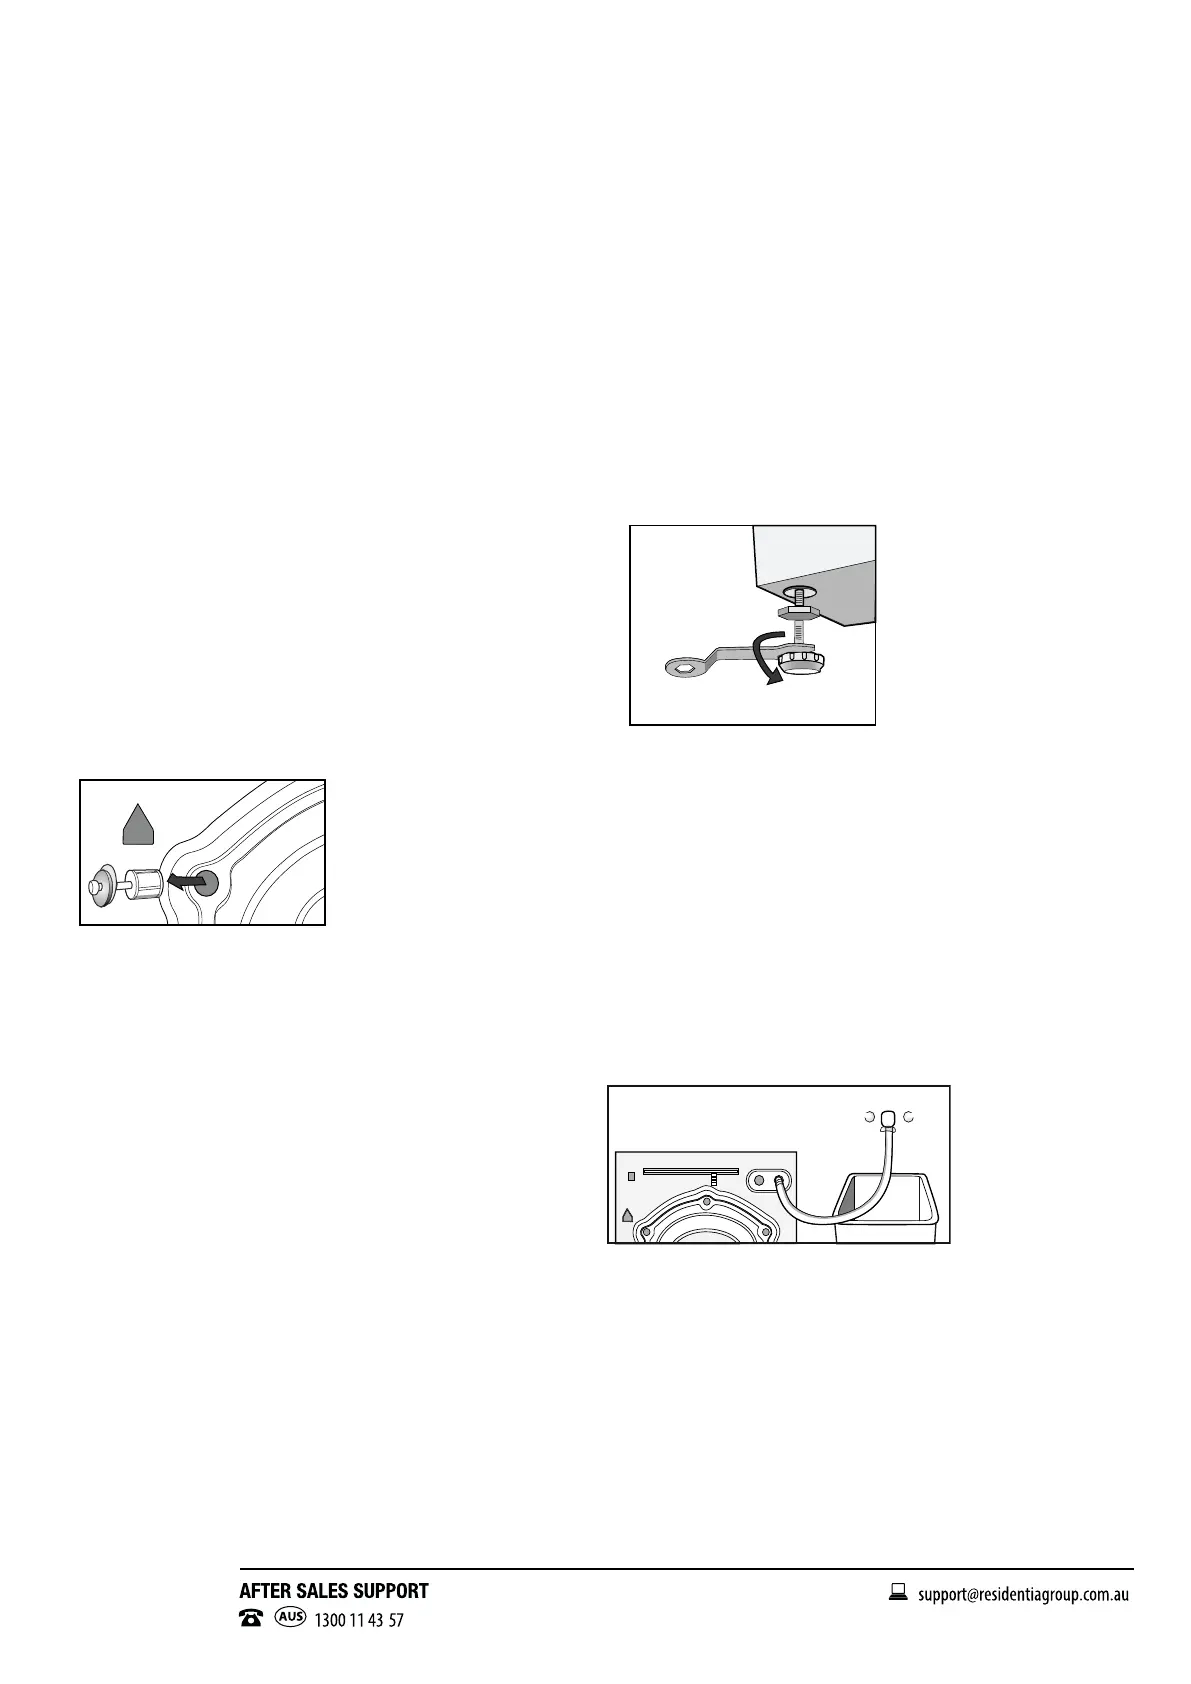
Remove transport bolts (Fig. 1)
Beforeusingthiswashingmachine,transportbolts
mustberemovedfromthebacksideofthismachine.
Pleasetakethefollowingstepstoremovethebolts:
1.Loosenallboltswithspannerandthenremovethem.
2.Stoptheholeswithtransportholeplugs.
3.Keepthetransportboltsproperlyforfutureuse.
Fig.1
Select the location
Beforeinstallingthewashingmachine,pleaseconsiderthe
locationforthefollowing;
• Rigid,dry,andlevelsurface(ifnotlevel,pleasemakeit
levelwithreferencetothefollowinggure“AdjustLeg”)
• Avoiddirectsunlight
• Sucientventilation
• Roomtemperatureisabove0C
• Keepthewashingmachineawayfromcombustible
materials.
• Makesurethatthewashingmachinedoesnotsitonthe
powercord.
• Donotinstallthewashingmachineoncarpetooring.
Adjust Leg
1.Whenpositioningthewashingmachine,pleaserst
checkifthelegsarecloselyattachedtothecabinet.
Ifnot,pleaseturnthemtotheiroriginalpositionswith
handorspannerandtightenthenutswithspanner.
2.Afterpositioningthewashingmachine,pressfour
cornersontopcoverofwashingmachineinsequence.
Ifthewashingmachineisnotstablewhenbeing
pressed,thislegshallbeadjusted.
3.Ensurethepositioningstatusofwashingmachine.
Loosenthelocknutwithspannerandturnthelegwith
handuntilitcloselycontactswiththeoor.(Fig.2)
Pressthelegwithonehandandfastenthenutclosely
tothecabinetwiththeotherhand.
Fig.2
4.Afterbeinglockedproperly,pressfourcornersagainto
makesurethattheyhasbeenadjustedproperly.Ifitis
stillunstable,repeatSteps2
and3.
5.Ensurethemachineislevel,otherwiserepeatsteps1-3.
Connect inlet pipe
Connecttheinletpipeasindicatedingure3.Forthe
modelwhichhashotvalve,pleaseconnectthehotvalveto
hotwatertap.Energywilldecreaseautomaticallyforsome
program.
Fig.3
Installation Instructions