SUPPORT@STOREITCOLD.COM
2020 © Store It Cold, LLC. 25 Rev 2020-8A. All Rights Reserved.
ROOF MEMBRANE (OUTDOOR UNITS ONLY)
IMPORTANT
Improper installation may result in water accumulation or water infiltration through the membrane.
MEMBRANE INSTALLATION ON SMALL COOLERS - ALL SIDES ARE LESS THAN 10FT
1. Extend your membrane on the roof of your walk-in with the soft smooth semi-glossy
textured side UP (overlapping seams DOWN). Ensure that it hangs approximately the same
amount on all sides. You should have the membrane hanging at least a 6” on each side of the
cooler. Don’t worry if it is too long, it can be trimmed after it’s installed in place.
2. Starting at the front of the cooler, pull down on the membrane and secure to the wall by
installing the trimming provided. Screw the trimming to the front side using the screws
provided in your installation kit.
IMPORTANT! Make sure the trim is level and below the seam in between the wall panel and
the ceiling panel. It’s important that this seam stays under the membrane.
3. Repeat the same process for the back side of the cooler, making sure your membrane is
pulled taut towards the back.
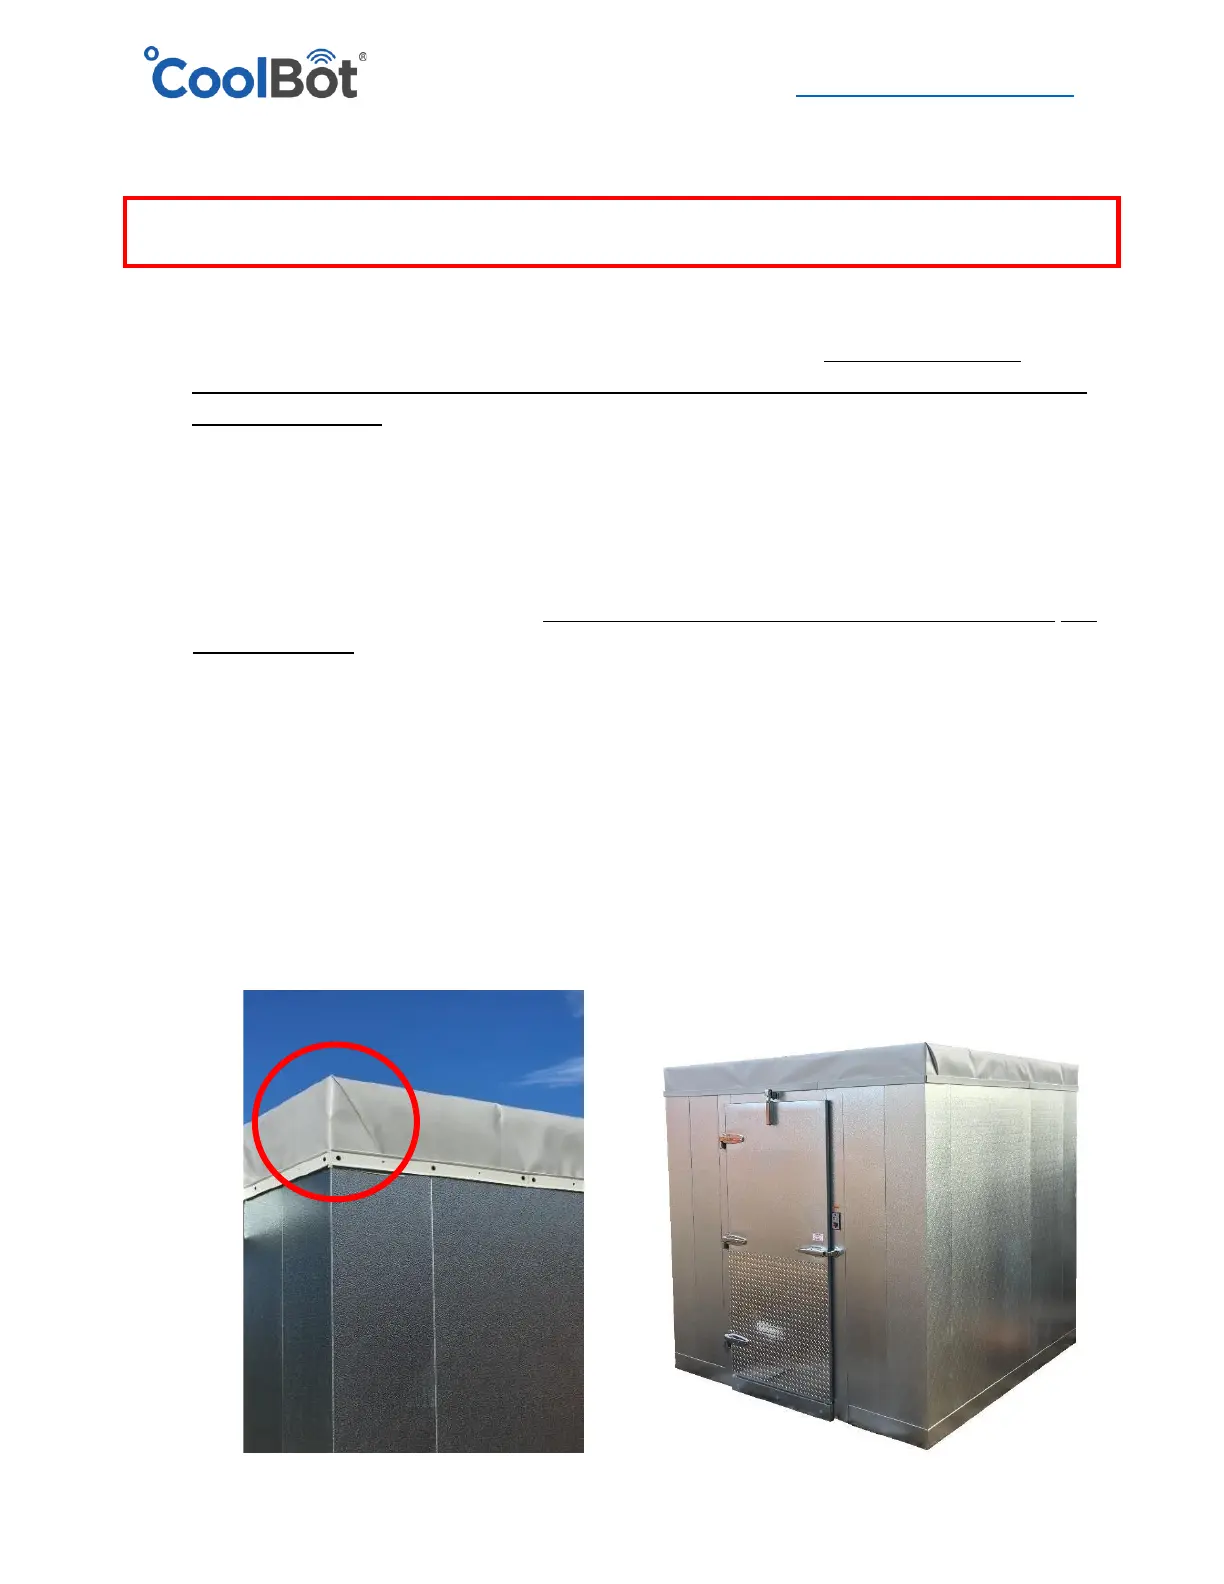
4. After the front and back part of the membrane have been secured, proceed to one of the
sides of the cooler. Tuck the excess fabric at the front corner underneath the membrane to
create a nice fold. Pull down tight and start securing the membrane to the wall panels
following the same recommendations as before. Install the trimming at the same level as you
did on the front and back to remain constant around the perimeter of the cooler. Work your
way from front to back as you pull down tight and secure (See pic on next page).