3
Installation
1) Read the instruction carefully.
2) Make sure the door structure is solid and suitable to be motor driven.
3) Make sure when the door is moving there are no friction point.
4) The door must be properly balanced and must be easily lowered and raised by hand.
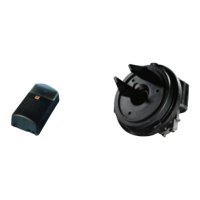
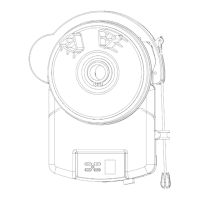
1) Track 5) Ceiling breaket
2) 24V DC flash light (optional) 6) Door opener
3) Wall switch (optional) Photo beam (optional)
Maintaining a minimum gap of 30mm from the top panel’s maximum height (Fig. 2).
Make sure the track is horizontal and vertical to the shaft. Make sure the connection of hanging
bracket F and ceiling is firm enough(Fig. 3).
Warning: Make sure the opener is affixed to noggins in ceiling and not to plasterboard. Failure
to have a safe and secure fixing will lead to opener falling, and cause serious persons and /or
property damage.
Installation
1) Read the instruction carefully.
2) Make sure the door structure is solid and suitable to be motor driven.
3) Make sure when the door is moving there are no friction point.
4) The door must be properly balanced and must be easily lowered and raised by hand.
1) Track 5) Ceiling breaket
2) 24V DC flash light (optional) 6) Door opener
3) Wall switch (optional) Photo beam (optional)
Maintaining a minimum gap of 30mm from the top panel’s maximum height (Fig. 2).
Make sure the track is horizontal and vertical to the shaft. Make sure the connection of hanging
bracket F and ceiling is firm enough(Fig. 3).
Warning: Make sure the opener is affixed to noggins in ceiling and not to plasterboard. Failure
to have a safe and secure fixing will lead to opener falling, and cause serious persons and /or
property damage.
 Loading...