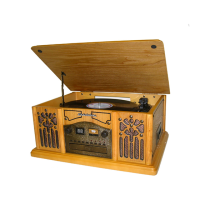
E-6
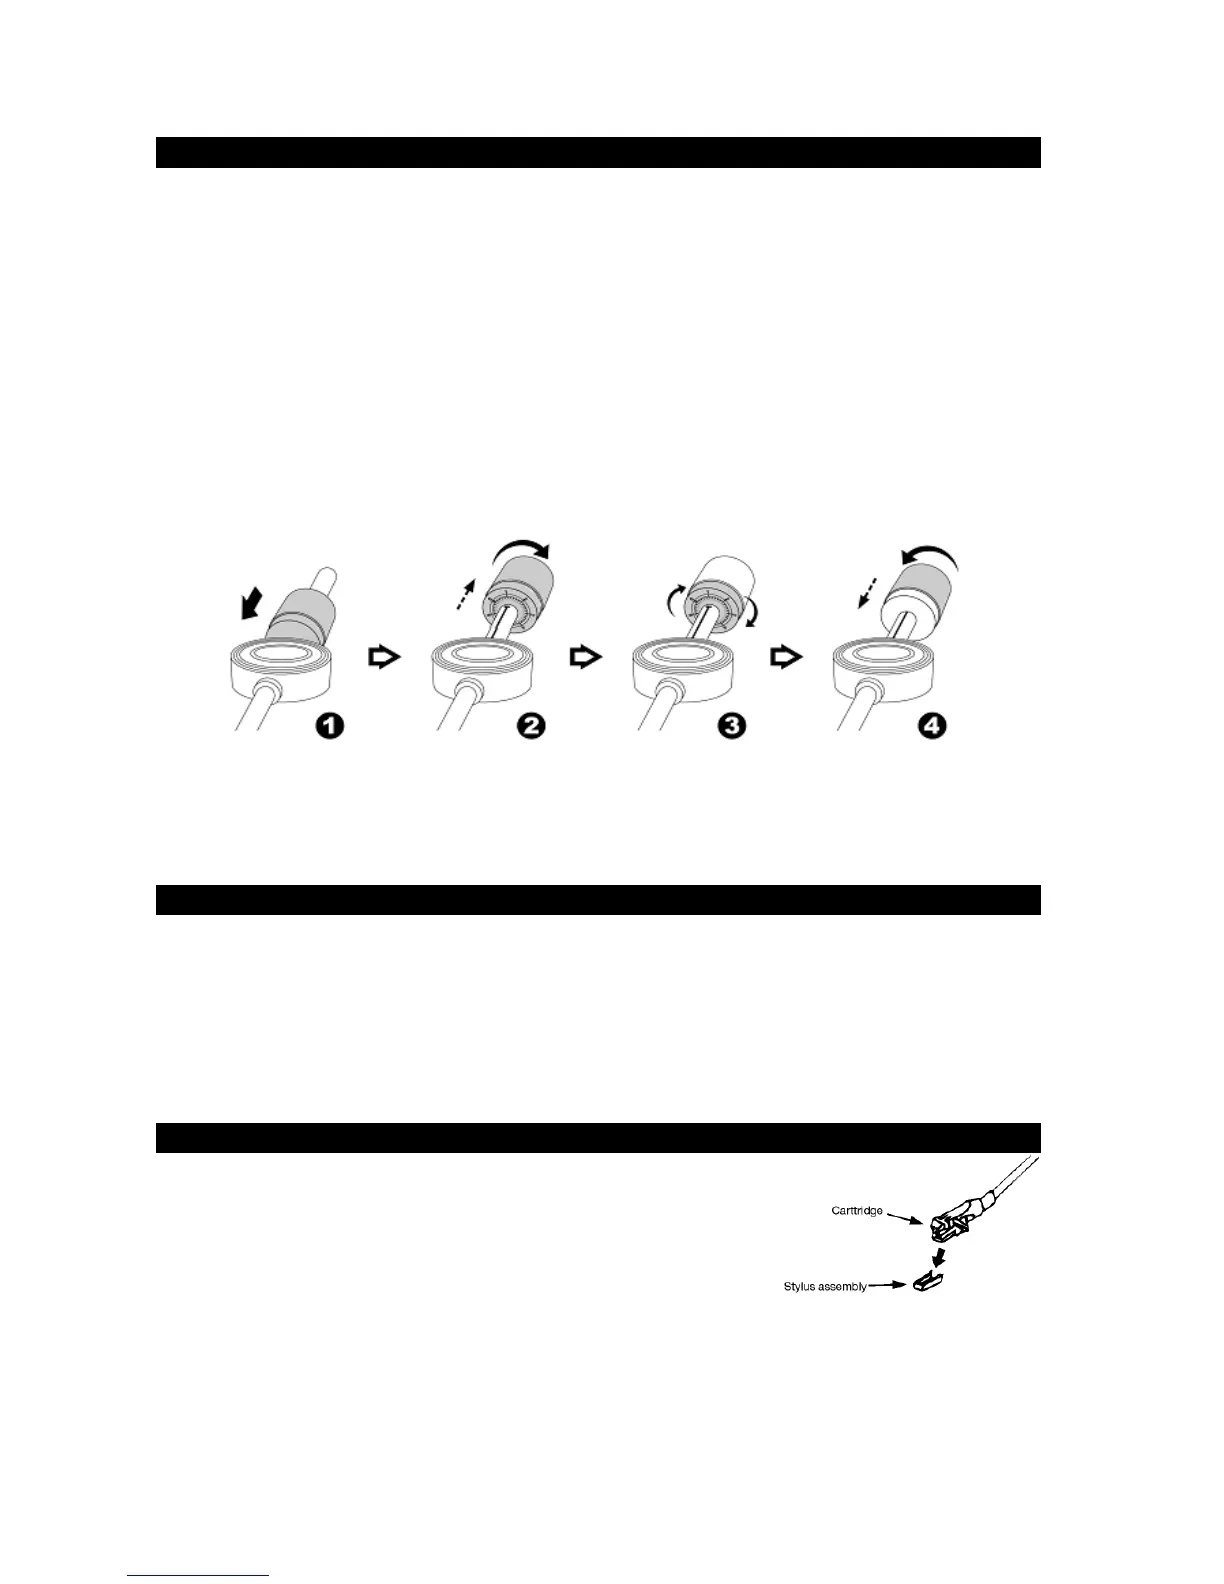
INSTALLATION OF THE COUNTER WEIGHT
1. Slide the COUNTER WEIGHT (#19) onto the back of the tone arm, and push it
forward until it reaches the pivoting hub of the tone arm as shown in figure 1 below.
2. Rotate the COUNTER WEIGHT (#19) clockwise and it will begin to move away from
the pivoting hub. Keep rotating the COUNTER WEIGHT (#19) until it reaches the
white line on the tone arm scale as show below in figure 2. Line up the “0” on the
COUNTER WEIGHT (#19) scale, so it’s lined up with the white line.
3. Slowly rotate the COUNTER WEIGHT (#19) counter-clockwise and it will begin to
move in towards the pivoting hub of the tone arm. The numbers shown on the
COUNTER WEIGHT (#19) will increase. This increases the weight applied to the
stylus needle when playing a record.
4. Adjust the COUNTER WEIGHT (#19) for the desired tracking force applied to the
stylus needle so the needle does not skip while playing a record.
NOTE : Each number on the tone arm COUNTER WEIGHT (#19) scale represents the
working pressure applied to the stylus needle. This is normally set between 4 and 6
grams depending on the stylus used, and according to the cartridge manufacturer.
CONNECTION
1. Unwind the AC POWER CORD (#26) fully and connect it to any convenient
household 120V~ 60Hz AC outlet.
2. Press the POWER ON/OFF BUTTON (#1) once to turn on the unit.
3. Set the BUILT-IN SPEAKER /LINE OUT selector to BUILT-IN SPEAKER.
4. Please refer to the Operations section of this Manual for details.
PHONO
A)
Operation
- Remove the stylus protector.
- Untie the cable holding the tone arm in place, and make
sure it’s removed from the tone arm rest before operating
the unit.
-
1. Press the POWER ON/OFF BUTTON (#1) once to turn on the unit.
2. Rotate the FUNCTION KNOB (#10) clockwise until the PHONO/AUX IN MODE LED
INDICATOR (#9) is lighted up in RED color.
3. Raise the DUST COVER (#16)
4. Set the TURNTABLE SPEED SELECTOR (#21) to the proper position for the record