4
• Observe all local building codes./Respete todos los códigos de construcción locales.
WARNING/ADVERTENCIA
Please read and understand this entire manual before attempting to assemble, operate or install the product.
Lea y comprenda completamente este manual antes de intentar ensamblar, usar o instalar el producto.
SAFETY INFORMATION/INFORMACIÓN DE SEGURIDAD
Before beginning assembly of product, make sure all parts are present. Compare parts with package contents list and
hardware contents list. If any part is missing or damaged, do not attempt to assemble the product.
Estimated Installation Time: 60 minutes
Tools and materials recommended for installation (not included): saw, hammer, variable speed drill, tape measure, level,
adjustable wrench, stud nder, lag bolts, screwdrivers (Phillips and athead), socket and ratchet (for lag bolts), toggle
bolts (optional), clear silicone caulk/sealant (do not use plumber’s putty).
Antes de comenzar a ensamblar el producto, asegúrese de tener todas las piezas. Compare las piezas con la lista del
contenido del paquete y la lista de aditamentos. No intente ensamblar el producto si falta alguna pieza o si estas están
dañadas.
Tiempo de instalación estimado: 60 minutos
Herramientas y materiales necesarios para la instalación (no se incluyen): Sierra, martillo, taladro de velocidad variable,
cinta métrica, nivel, llave ajustable, detector de vigas, tirafondos, destornilladores (Phillips y de cabeza plana), dado y
trinquete (para los tirafondos), tornillos de ador (opcionales), masilla de calafateo/sellador de silicona transparente (no
use masilla de plomero).
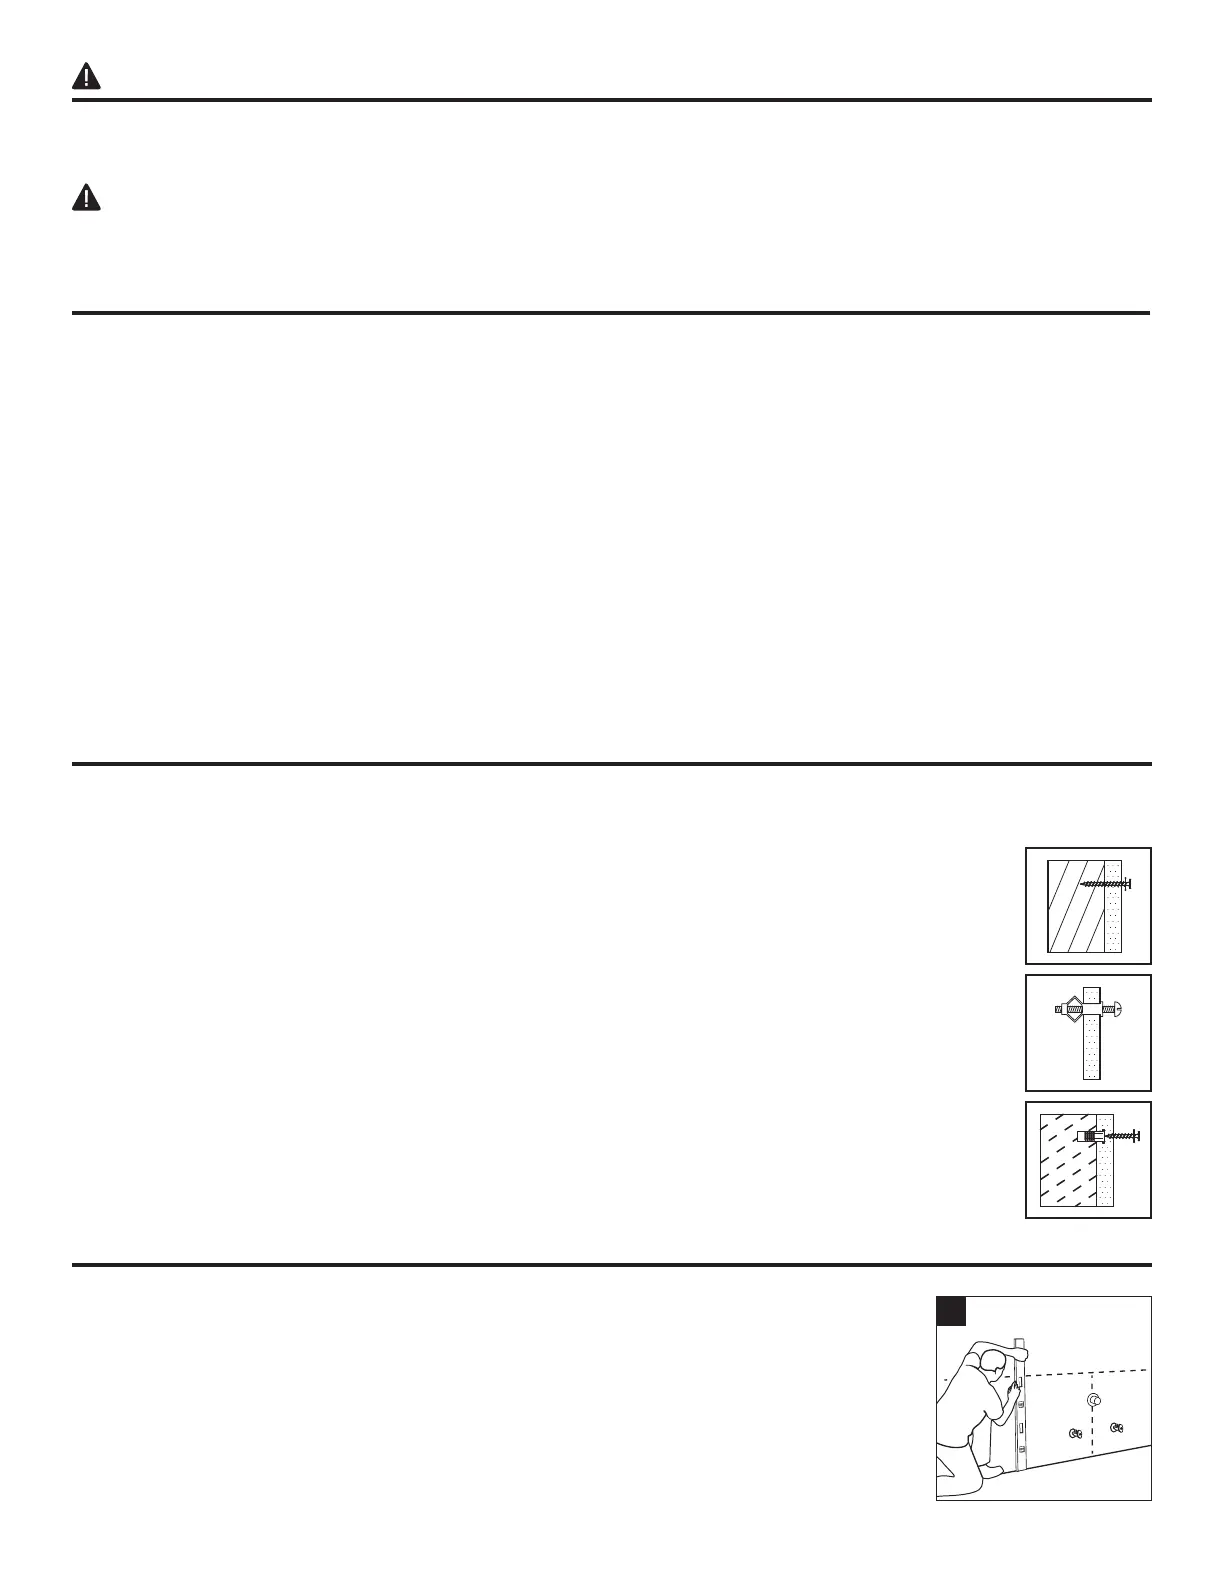
PREPARATION/PREPARACIÓN
STUD WALL: Secure to wall with #12 x 3 in. screws with a washer at stud locations.
PARED CON MONTANTES: Fije a la pared con tornillos # 12 x 3 pulg y arandelas
en donde se encuentran los montantes.
DRY WALL: Drill holes and secure to the wall with toggle bolts and a washer.
PANEL DE YESO: Taladre oricios y je a la pared con tornillos de ador y arandelas.
CONCRETE WALL: Drill 1/4 in. holes, insert #12 wall anchors and secure to wall
with #12 x 3 in. screws.
PARED DE CONCRETO: Taladre oricios de 1/4 pulg, coloque anclas de expansión
# 12 y je a la pared con tornillos # 12 x 3 pulg.
Select the hardware appropriate for wall installation./Seleccione los aditamentos adecuados para la instalación en la
pared.
MOUNTING OPTIONS/OPCIONES DE MONTAJE
INSTALLATION INSTRUCTIONS/INSTRUCCIONES DE INSTALACIÓN
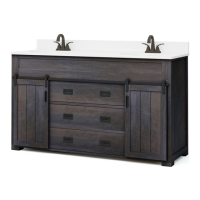
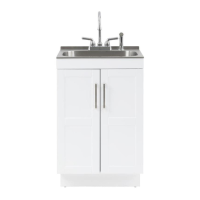
1. Mark wall for vanity placement and note the location of the water supply lines and drain
on the back panel of vanity.
Determine y marque en la pared la ubicación del tocador y tenga presente la ubicación
de las tuberías de suministro de agua y el desagüe en el panel posterior del tocador.
1