7-46
Component Access / Removal
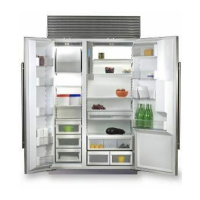
Built-In
Built-In
(600-
(600-
2
2
)
)
Series
Series
#3758407 - Revision B - August, 2006
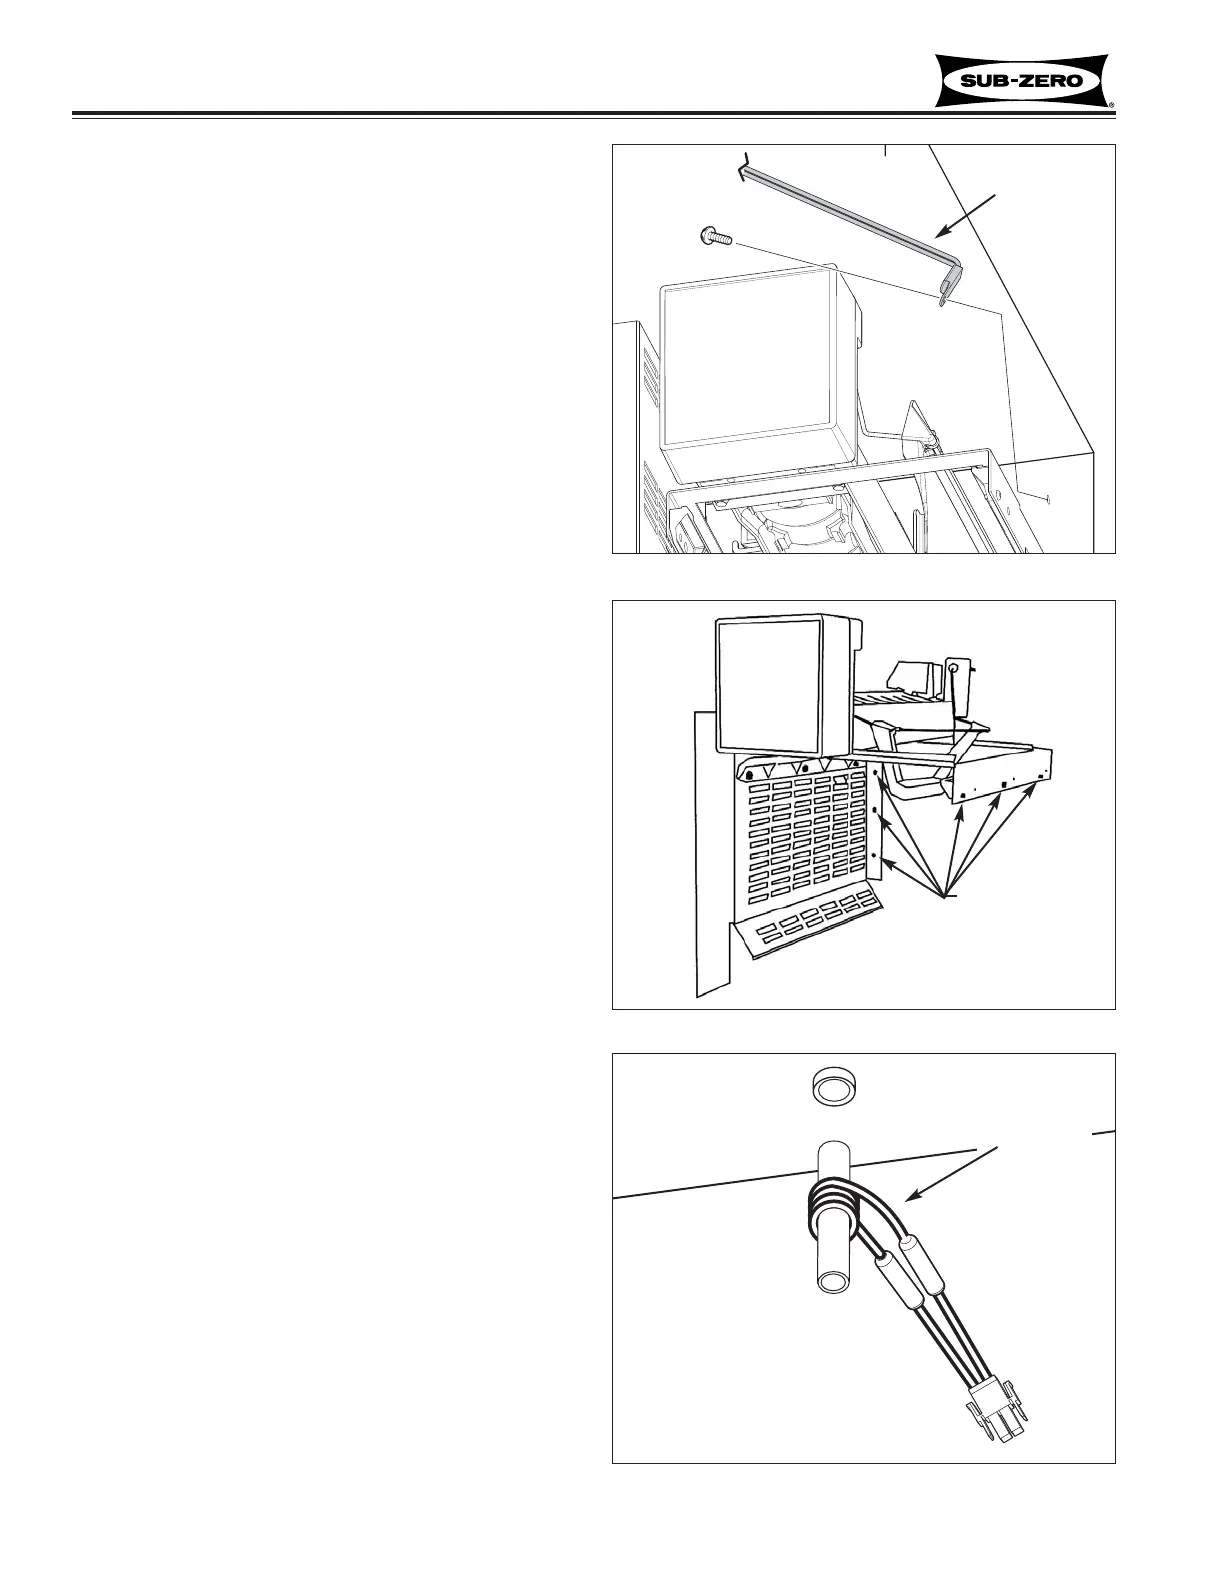
Figure 7-120. Ice Bucket Carriage Assembly
Extract screws
Freezer Compartment Thermistor (685-2, 695-2)
The freezer compartment thermistor is attached to the
mullion wall by the icemaker, with a screw.
To remove the freezer compartment thermistor, the juice
can rack and ice bucket must be removed first, then
(See Figure 7-119):
1. Disconnect thermistor electrical leads.
NOTE: On newer models the thermistor is hard-
wired to the control board, so it will be necessary to
cut the thermistor wires to remove it.
2. Extract screw securing thermistor to wall.
Ice Bucket Carriage Assembly (685-2, 695-2)
The ice bucket carriage assembly is secured by screws,
to the right side wall and rear wall.
To remove the carriage assembly, the evaporator front
cover/light assembly, rear duct and lower evaporator
cover must first be removed, then (See Figure 7-120):
1. Extract mounting screws from rear wall.
2. Extract mounting screws from mullion wall.
3. Pull ice bucket mainframe assembly down slightly
and disconnect icemaker electrical leads.
Icemaker (685-2, 695-2)
The icemaker is attached to the ice bucket carriage
assembly with screws.
To remove the icemaker, the ice bucket carriage
assembly will need to be removed from the freezer sec-
tion first, then (Not Pictured):
1. Extract mounting screw which secure icemaker to
carriage assembly.
2. Lift icemaker assembly off of carriage assembly.
Icemaker Fill Tube Heater (685-2, 695-2)
To remove the icemaker fill tube heater, the juice can
rack, evaporator front cover/light assembly, rear duct,
lower evaporator cover and ice bucket carriage assem-
bly will need to be removed first, then (See Figure 7-
121):
1. Disconnect heater electrical leads.
2. Extract retaining screw and clamp (if present).
3. Pull heater and aluminum fill tube extension out as
one.
Icemaker
Figure 7-121. Icemaker Fill Tube and Heater
Fill Tube &
Heater
Figure 7-119. Compartment Thermistor
compartment
thermistor
 Loading...