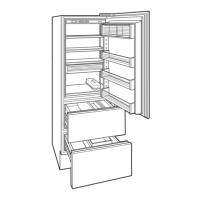
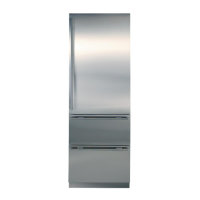
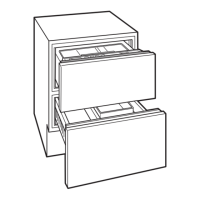
Troubleshooting Guides
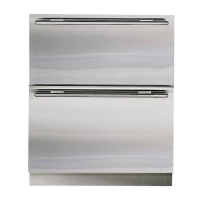
Integrated (
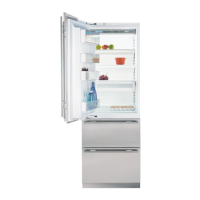
Integrated (
700-
700-
2) Series
2) Series
8-22
#3756780 - Revision D - July, 2005
PROBLEM POSSIBLE CAUSE TEST / ACTION
AA. Warm Freezer Temp. in
BF/I-2 without “SERVICE”
Flashing
Pointers:
Verify freezer comp is running &
unit is not in defrost, then initiate
Diagnostic Mode and observe
freezer evaporator temperature.
1. Evaporator temp -20°F or
lower , see:
• Drawer ajar
• Lights ON w/door closed
• Evaporator fan fault
• Compartment thermistor mis-
read
• Evaporator heavily frosted
• Sealed system fault - leak or
partial restriction
2. Evaporator. Temp. between
-19°F & 10°F, see:
• Warm food load
• High room ambient
• Drawer ajar
• Condenser air flow
• Sealed system fault, leak
3. Evaporator. Temp. 20°F or
higher, see:
• Unit in Showroom Mode
• Power To Compressor fault
• Sealed system fault, leak
restriction or inefficient com-
pressor
(NOTE: “Pointers” do not apply to
cabinet initial pulldown from
ambient temperatures.)
(Continued)
No Power to Unit
Unit Switched OFF
Unit in Show Room Mode
Control Set Too High
Warm Food Load
High Room Ambient
Drawer Ajar
a. Food product obstruction
c. Drawer closer tripped backwards
Condenser Air Flow
a. Dirty condenser
b. Condenser fan blade obstructed or
loose
c. Condenser fan motor disconnected
d. Condenser fan motor defective
(NOTE: Compressor must be running)
Light ON with Drawers Closed
b. Faulty Reed Switch
Check power to unit, plug unit in or switch
supply circuit breaker ON.
Check for “OFF” displayed at LCD. If off,
press UNIT ON/OFF key.
Press UNIT ON/OFF key to OFF, then press
and hold WARMER& COLDER keys, and
press UNIT ON/OFF key.
Check set-point. If high, adjust.
Check contents of freezer for warm food
load. Instruct customer.
Instruct customer unit performs best
between 60°F(16°C) and 90°F(32°C).
a. Move obstruction.
c. Trip drawer closer forward
a. Clean condenser.
b. Remove obstruction or tighten nut on motor
shaft.
c. Check continuity from motor to compressor.
Reconnect / repair wire or connections.
d. Check for 115V AC to motor, replace motor
if defective.
Check for 24 V AC to Reed Switch, depress
switch and check for 24 V AC from Reed
Switch. Replace Reed Switch if defective.
(NOTE: there are two Reed Switches)
Low Voltage Circuit.
Do NOT apply 115V AC.