11
Dimensions in parentheses are in
millimeters unless otherwise specified.
Pre-level the unit before moving into position.
This is to allow the unit to engage the anti-tip
b
racket properly.
S
lide the unit into position, making sure the
anti-tip bracket is engaged properly. Screw the
front leveling legs out approximately
3
/1
6
" (5) to
m
ake any future adjustments easier.
IMPORTANT NOTE:
When the Integrated unit
is installed, the anti-tip bracket will be posi-
tioned just below the engaging bracket on the
unit. It is not necessary to raise the unit up so
that it locks into the anti-tip bracket, but the unit
must be in alignment with the anti-tip bracket.
IMPORTANT NOTE:
The floor under the
Integrated unit must be at the same level as
the surrounding finished floor to allow the
compressor tray to be slid forward for service.
Illus. 4
Illus. 5
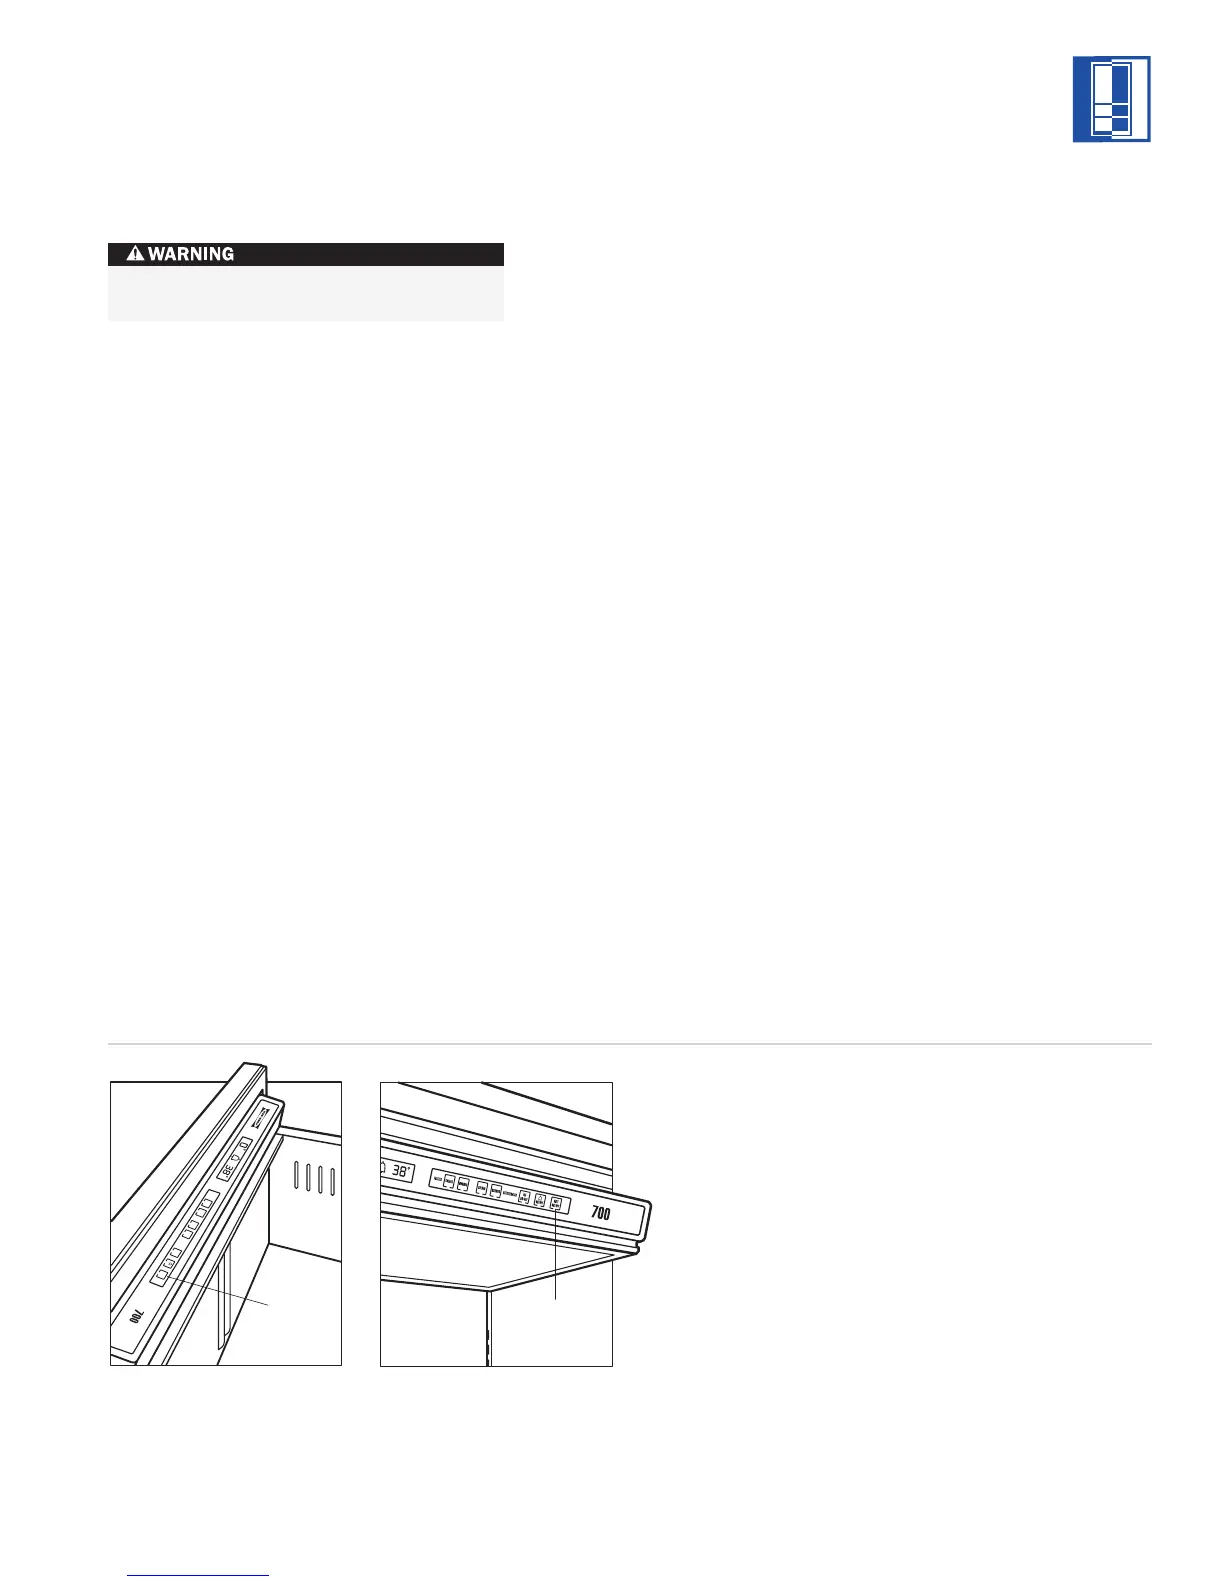
INTEGRATED INSTALLATION INSTRUCTIONS
COLDER
WARMER
REFRIGERA
TOR
FREEZER
COLDER
WARMER
ICE
ON/OFF
ON/OFF
UNIT
ON/OFF
Unit
On/Off
Shut off the power to the electrical outlet.
Before moving the Integrated unit into position,
t
ape down the water supply line for the ice
maker so it will stay in place as you move the
unit. Refer to the Installation illustration for your
unit on pages 4–6 for placement of the water
line.
IMPORTANT NOTE:
If for any reason the
Integrated unit has been laid on its back or side,
you must allow the unit to stand upright for a
minimum of 24 hours before connecting power.
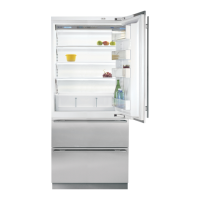
Plug the power supply cord into the 15 amp
grounded electrical outlet. With power applied
to the appliance, check for lighting and cooling
before going any further. Press the
UNIT
ON/OFF
key pad on the control panel. Refer to
illustration 4 below for the location of the
UNIT
ON/OFF
key pad for base units and illustration
5 for tall units. Once you are satisfied that the
unit is operating properly, shut off power to the
electrical outlet at the circuit breaker and
proceed.
 Loading...