EI-73
Trunk Room Trim
EXTERIOR/INTERIOR TRIM
8. Trunk Room Trim
A: REMOVAL
1) Remove the trim panel - trunk lid.
2) Tilt the rear seat backrest forward.
3) Remove the mat - trunk.
4) Remove the trim panel - trunk rear.
5) Remove the trim panel - trunk side.
B: INSTALLATION
NOTE:
• When installing a new trim panel - trunk side, perform the work described in step 1).
• Left and right parts of the trim panel - trunk side differ in shape. However, procedures for the left side can
be performed in the same way as for the right side.
1) Perform the work for installing the flexible draw stiffener - rear.
(1) Print out and cut the pattern papers named as “Patern paper for a trim”.
CAUTION:
Confirm that the pattern paper is printed out with accurate size.
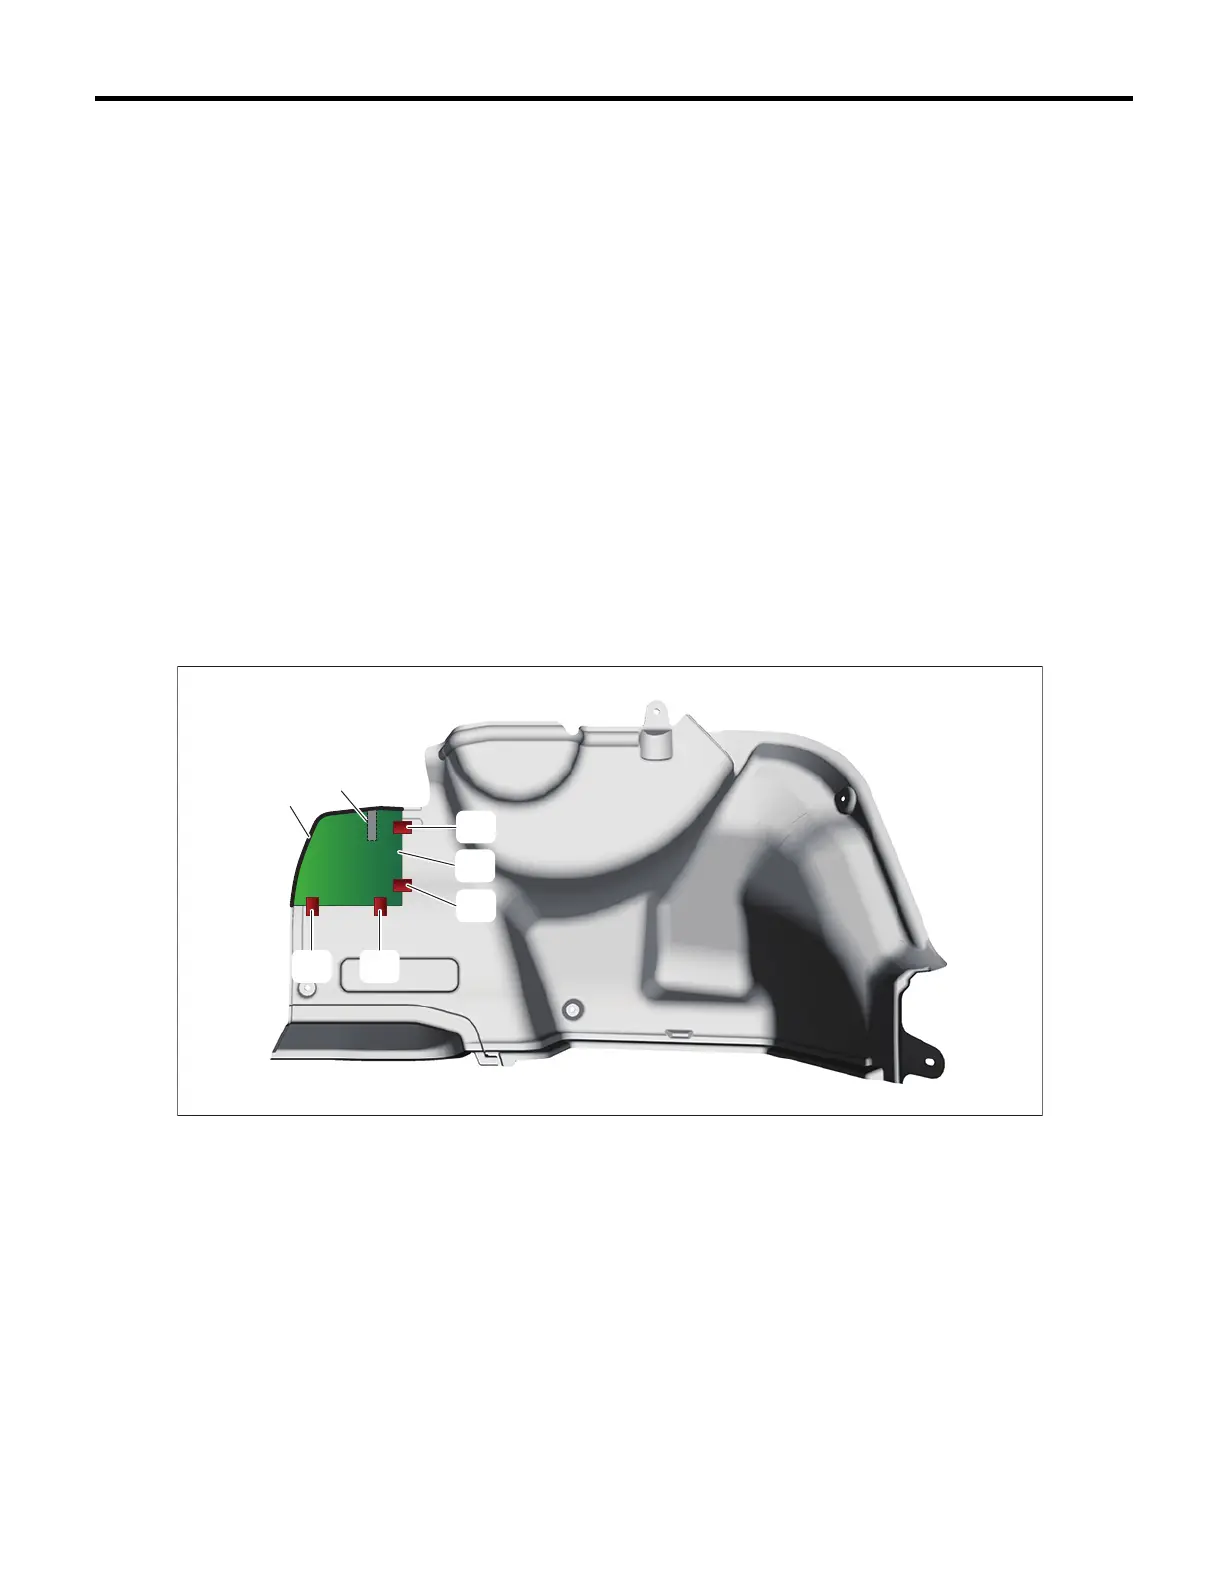
(2) Press the pattern paper (a) against the trim panel - trunk side, and attach masking tapes (b).
NOTE:
Align the pattern paper (a) to the trim line (c) shown in the figure, and attach masking tapes (b).
(a) Pattern paper, right side (c) Trim line (d) Cutting plane line
(b) Masking tape
AA-13037
(a)
(c)
(d)
(b)(b)
(b)
(b)