ASSEMBLY
Your Sun Bicycle is 90% assembled at the factory,
therefore is easily set up in a few minutes.
T
ools Needed for Assembly
2 mm Hex wrench
5 mm Hex wrench
6 mm Hex wrench
15 mm open-ended wrench
Adjustable wrench
Scissors
Unpack Carefully as F
ollo
ws:
1. Carefully remove the bike by lifting it straight out of the box. Be careful not to scratch the bike or yourself on the carton
staples.
2. Carefully remove the packing material from the frame.
3. Carefully clip the plastic ties that secure the handle bar and front wheel to the bike during shipping.
You are now ready to begin assembly. Please read carefully the following directions.
Handlebar and Front
Wheel Installation
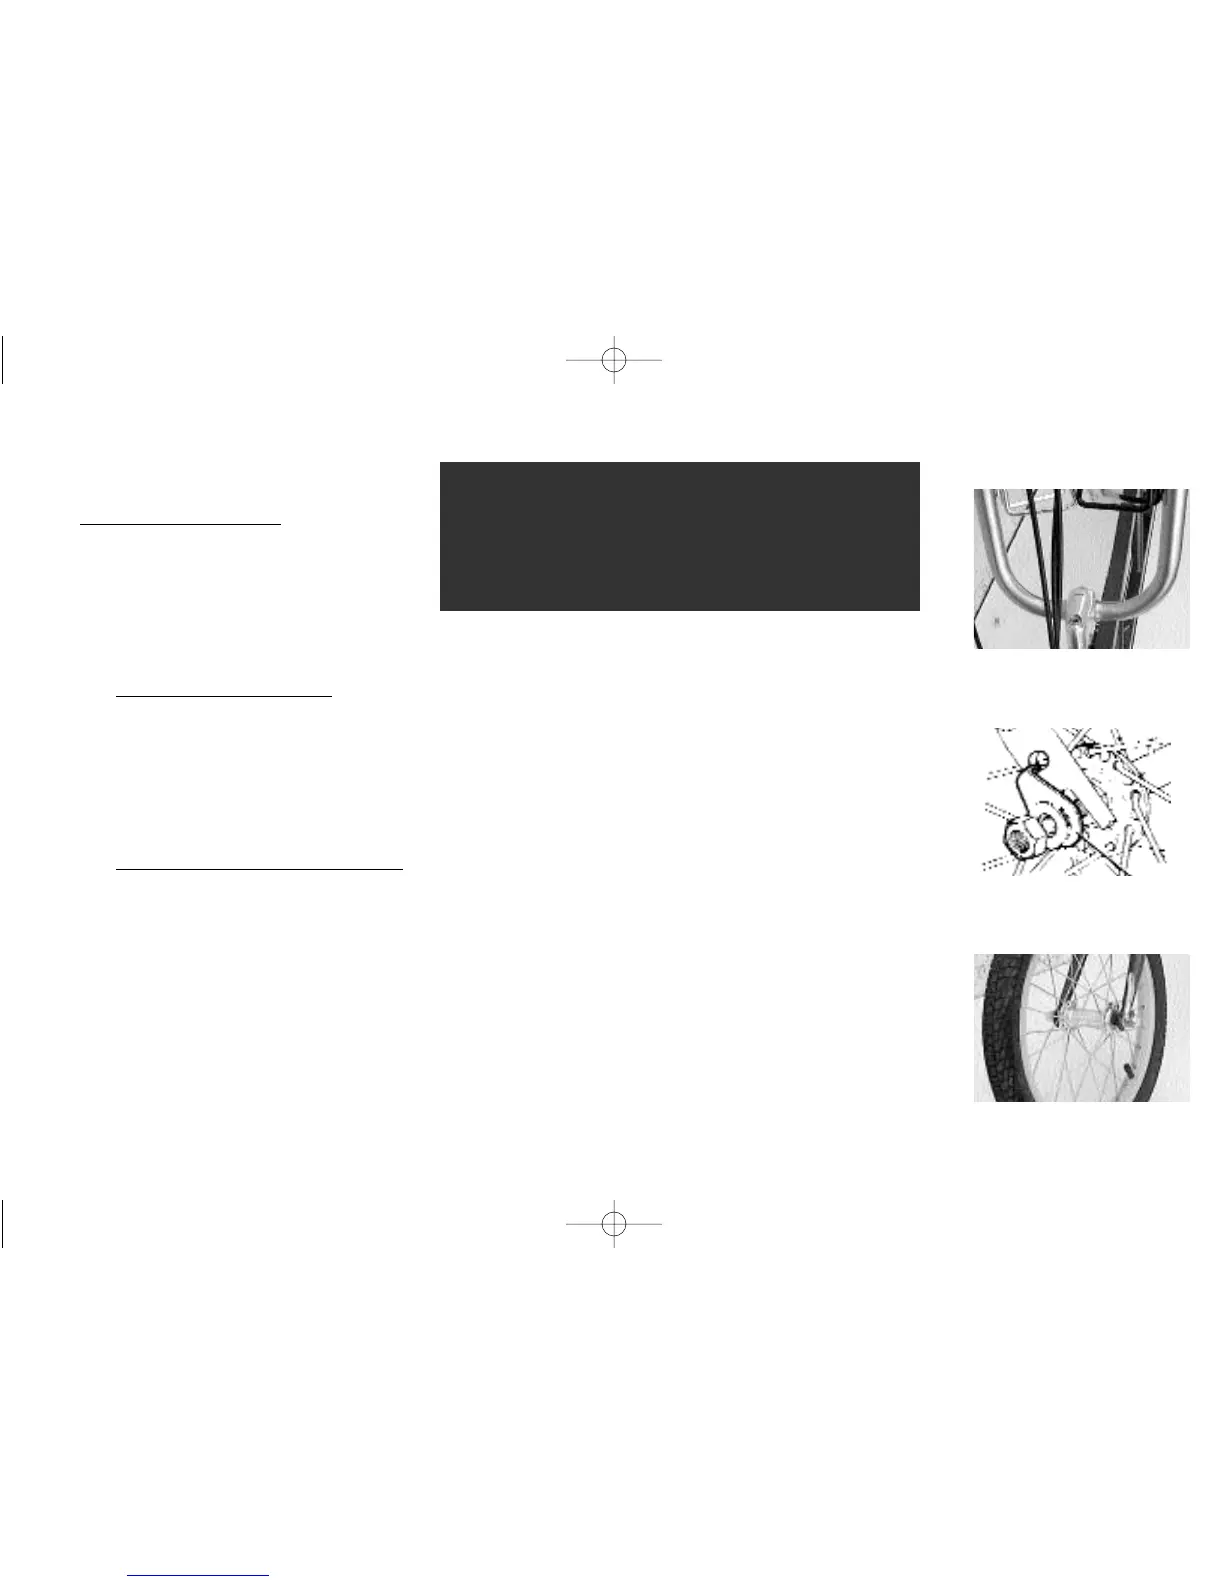
1. Loosen the stem bolts and position the stem down parallel to the handlebar. Retighten the stem bolts. (Fig. a)
2. Apply a light coat of grease to the expander wedge.
3. Place the bottom end of the stem into the fork. Be sure that the minimum insertion line is not exposed. Tighten the
expander bolt.
4. Remove the spacer from the front fork.
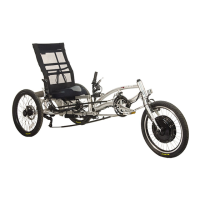
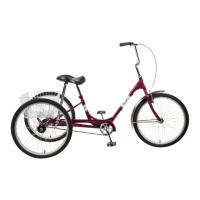
5. Loosen front nuts. Or for QR: Open the front wheel quick-release lever. Loosen the QR nut a few turns.
6. Seat the wheel axle in the slot on the front fork dropouts. Make sure it is fully seated in the slot. Attach front wheel
retaining clips and tighten nuts (Fig. b). Or for QR: Tighten the nut and close the quick-release lever with firm pressure
(see Quick Release Lever Operations on page 7, for full operation instructions). Traditionally the QR lever is on the left
hand side from the seated position. (Fig. c)
8. Make sure the front wheel is centered property between the fork blades.
Page 3
Notice:
Sun Bicycles are partially assembled. They are intended
to be sold in a fully assembled and fully adjusted condi-
tion. Final assembly and adjustment are to be per-
formed by your SUN BICYCLE dealer.
(Fig. a)
(Fig. b)
(Fig. c)