8
11
9
12
10
13
6 7
14
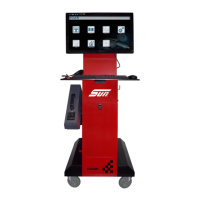
Remove the ROTI (RPM Oil Temperature
Interface) device from the box, connect the
oil temperature probe and hook on the back
of the keyboard shelf.
Unpack the printer and connect the
printer power cable to a wall outlet.
Insert A4 paper into the paper tray.
Turn on the printer.
Remove the leak check tool from the box and
place into the hole on the keyboard shelf.
Remove the EOBD device from the box and
place into the hole on the keyboard shelf.
Insert the DGA 5000 power cable to the rear
of the unit. Plug the DGA 5000 into the wall
outlet.
Place batteries into the Air Mouse.
Turn on the DGA 5000 at the back of the
unit. The switch should illuminate when
power is on.
Connect the petrol
hose to the filter bowl
on the back of the
workstation.
Connect the
diesel hose to
the diesel probe.
Connect the
diesel probe
and hose to the
smoke analyser
head. Place the
smoke analyser
head on the dock,
located on the
left hand side of
the workstation.
Power up checks
• PC will start up (white light on when
viewed in rear vision panel).
• Smoke Head status lights will flash.
(Green flashing whilst warming up.
Steady green light when ready.)
• Gas module will have a green light on
constantly.
• When switched on the unit will
automatically start up the software
programme and complete the warm
up checks on both the gas and smoke
modules.
Hang the hose
on the support
supplied and place
the probe into the
hole in the base of
the unit.
Example A
Example A
Example B
Example B
Place the
exhaust probe
into the support
supplied below.
 Loading...