Document No. 8128000560
Software Revision – N1B (07 Oct 04)
7-22
RT-9000 B
Completing the “Simplex Operation” process prepares the RT-9000 B Transceiver to Receive and
Transmit using the SAME operating frequency for the currently selected Pre-set Channel. If this type
of operation desired, skip over the following “Half-Duplex Operation
” heading and proceed directly to
the later headings dealing with entering or modifying the required Pre-set Channel settings.
If Half-Duplex operation is desired, continue to next heading, “Half-Duplex Operation
” and complete
the described steps before proceeding.
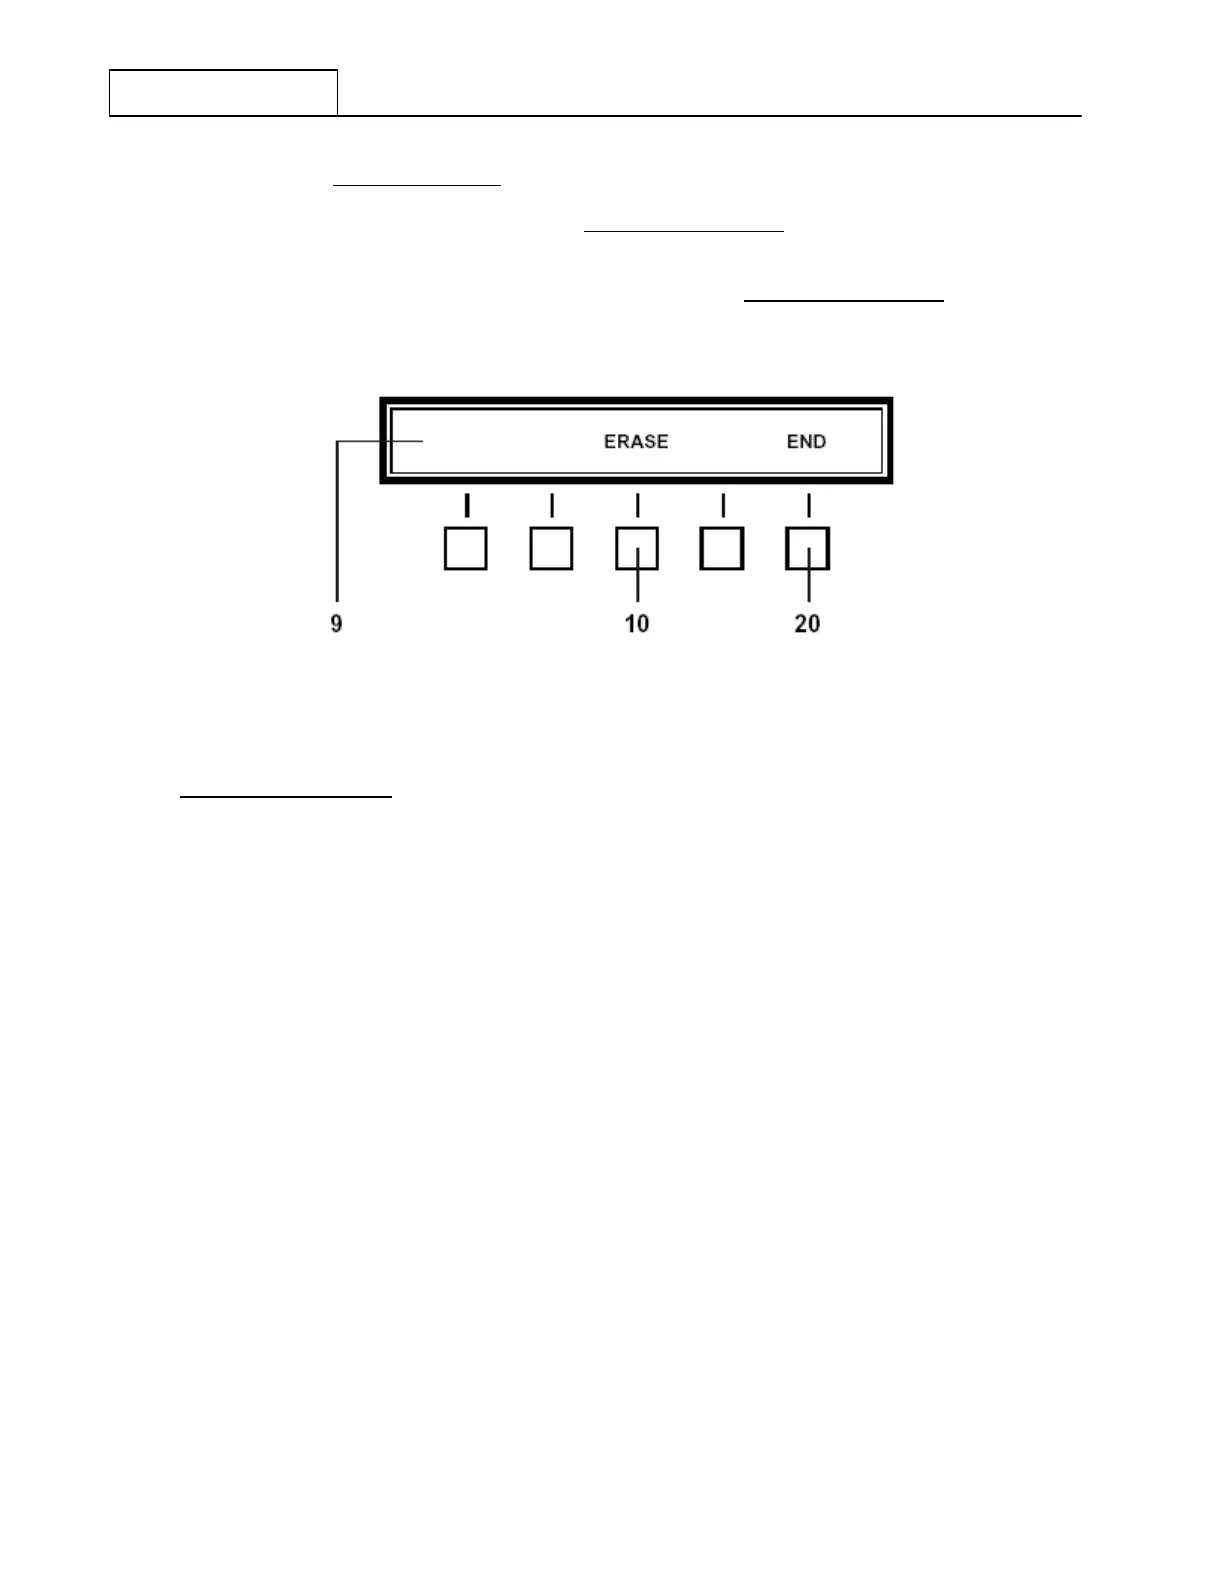
Figure 7.3.2.8 Erase Feature Menu
Half-Duplex Operation
Complete all previously outlined steps for Simplex Operation. This process enters the Receive
Operating Frequency.
Depress the Load Transmit (‘LOAD XMT’) key at 11. The frequency display at 8 will go blank and
the “Receive/Transmit” mode designator at 12 will change from the Receive (‘RCV’) to Transmit
(‘XMT’) indication.
Using the Numeric Keypad at 5, key in the desired Transmit frequency (between 1.6 MHz and
29.99999 MHz). As each digit is keyed in, it will appear in the Operational Display at 8 in order of
entry (left to right).
After the desired Transmit frequency has been completely keyed in, depress the Enter (‘ENTR’) key
at 6 to enter it into the currently selected Channel Number. Immediately after depressing the ‘ENTR’
key, the frequency display in the Operational Display will momentarily blank and return to the stored
Receive frequency. Additionally, the “Receive/Transmit” mode designator at 12 also will revert back
to the Receive (‘RCV’) indication.
NOTE: After the ‘LOAD XMT’ key is depressed, the Feature Menu Display
shown in Figure 7.3.2.8 will appear and provide an Erase (‘ERASE’)
choice at 10 . This allows the user to erase a frequency just entered, one
digit at a time, beginning with the last digit entered (most right-hand).
After the desired digit(s) are erased, simply resume the frequency entry
process using the Numeric Keypad. DO NOT depress the End (‘END’)
key at 20.
 Loading...