54
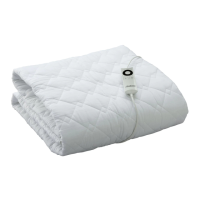
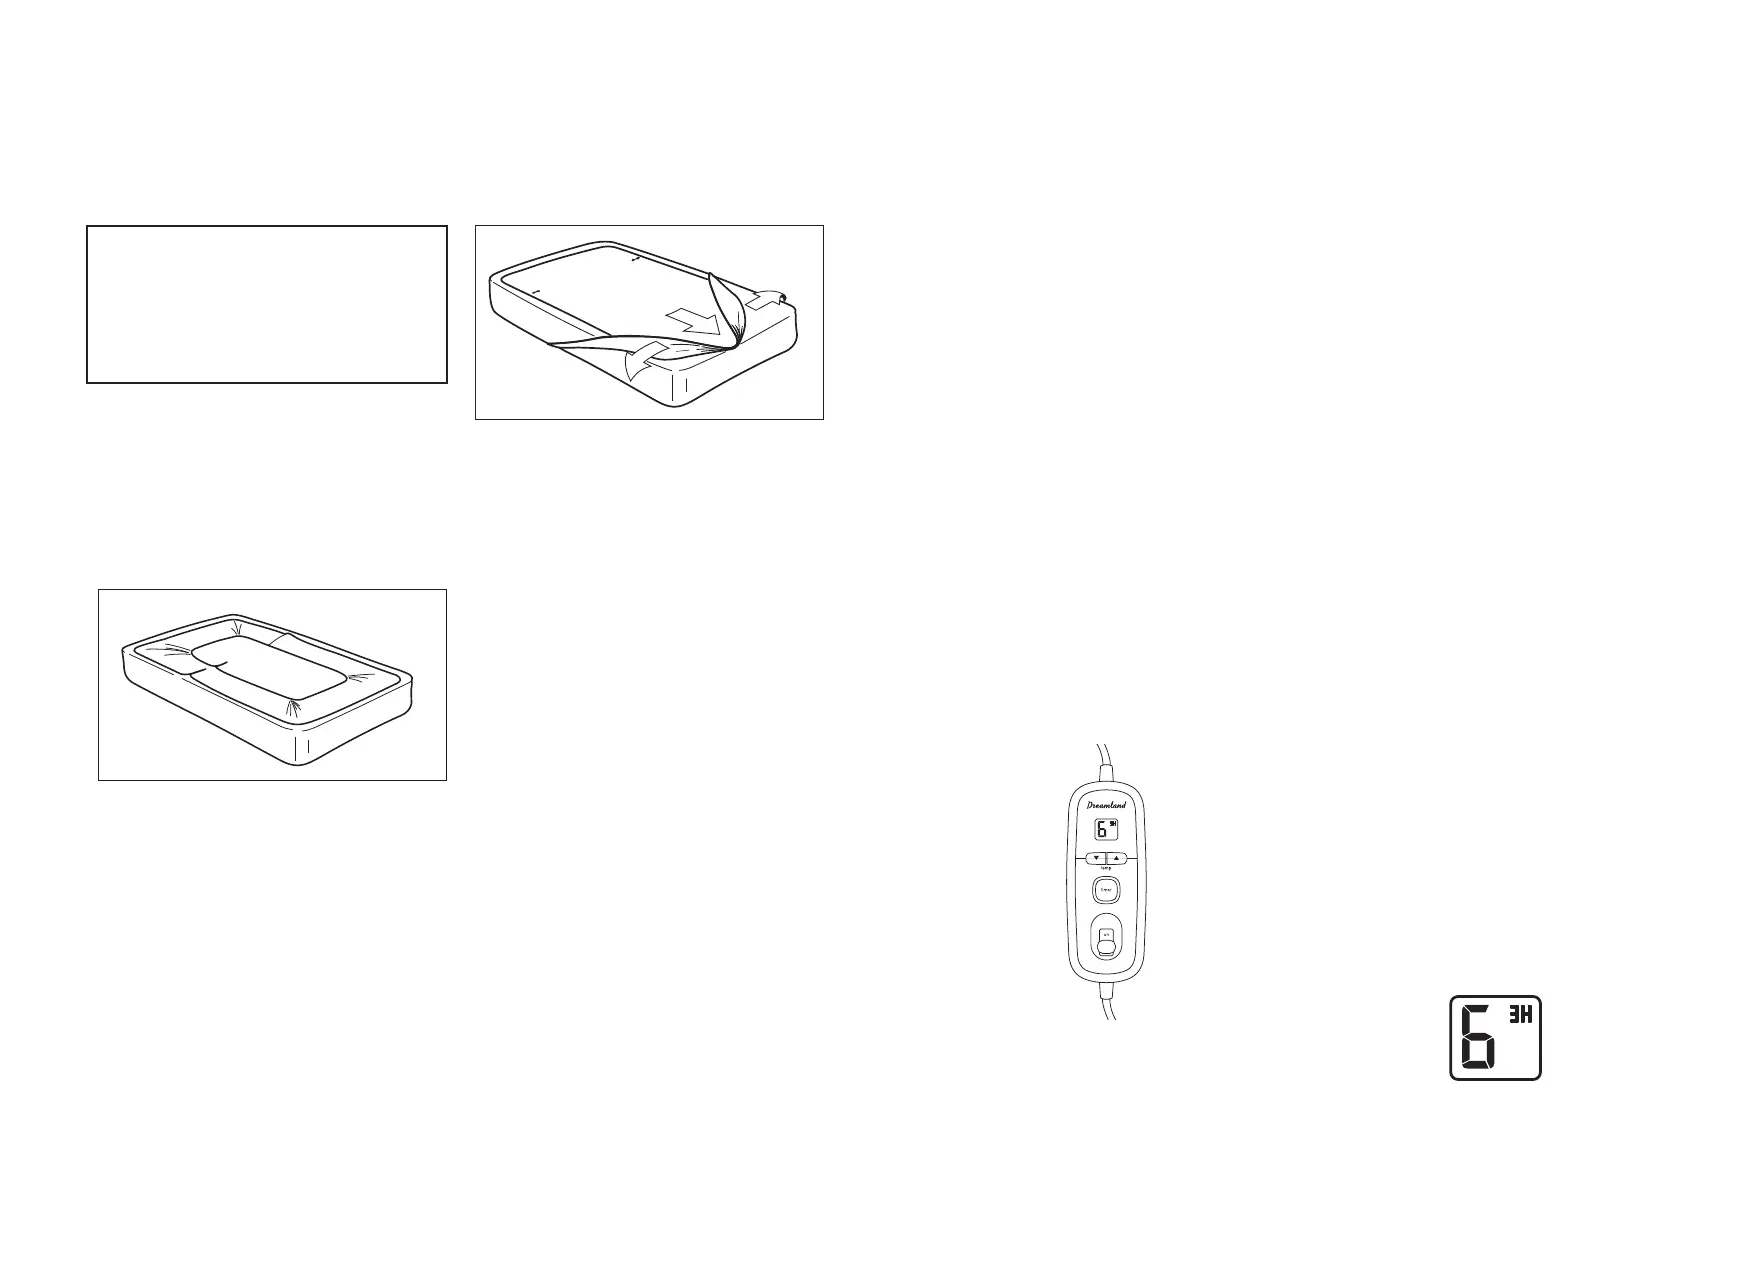
Note: The heat pad is designed to fit within
the edges of your mattress (see Figure 3).
This ensures the best, smoothest and firm
fit of your blanket to the mattress. As the
blanket settles in to the fit of the bed, any fold
ridges should smooth out over time.
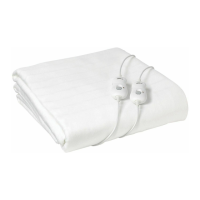
Place the electric blanket on your mattress
with the control sockets on the underside of
the blanket near the head of the bed
(see Figure 3). Ensure the heating wires do
not extend under the pillows.
A single or king single fitted electric blanket
can be turned over so that the control is on
the preferred side of the bed if desired.
Pull the elasticised skirt over the top corners
of the mattress. To fit the foot of the bed,
pull from the centre of the blanket to the foot
of the bed, and fit one corner at a time while
holding the centre (see Figure 4). Ensure
the fitted skirt goes completely under the
mattress. Pull on the edges of the blanket
to ensure that it is flat and square on the
mattress.
Connecting the controls
To connect the controls, remove one corner
of the blanket at the head of the bed. Insert
the connector plug into the socket and push
firmly until it clicks into place. Repeat on the
other side if required. Plug the controls into
a 230-240V power outlet and turn the power
on.
Caution: The cord and controls must be kept
outside the bed and away from external
heating sources, such as heaters and lamps.
Do not cover the control.
Fitting your electric blanket
Figure 3.
Figure 4.
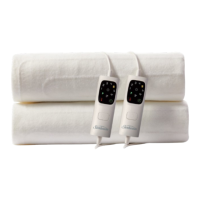
Using your electric blanket
9 heat timer control
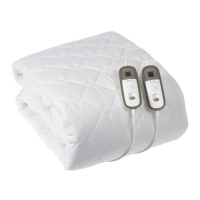
Your fitted electric blanket is supplied with
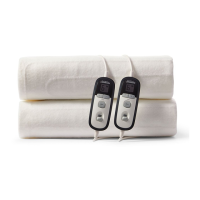
a 9 heat timer control. Two controls are
supplied with Double, Queen and King size
electric blankets. The control features an
on/off slide switch to operate the control
plus a choice of three timer settings which
automatically switch the blanket off after
three, six or 12 hours. The illuminated LCD
displays the selected heat and timer settings
(see Figure 6).
Operating your 9 heat timer control
Slide the on/off switch to the ON position.
Select your desired heat setting using the up/
down arrow buttons. Sunbeam recommends
that you only use settings 1, 2, 3 or 4 for all
night use.
Operating the timer
When switched on, the control automatically
defaults to the three hour (3H) timer setting.
To change the timer setting, press the timer
button to scroll through the three options.
Press the timer button once to set the timer
to six hours (6H), press it twice to select the
twelve hour (12H) timer setting. Press the
timer button again to return to the three hour
(3H) setting.
The selected timer setting is displayed on the
LCD, along with the selected heat setting.
You may change the heat setting at any time
during the timer period using the up/down
buttons.
You may change the timer setting at any time
– you do not have to wait for a timer period
to finish before selecting a new timer setting.
Note: pressing the timer button during the
timer period will restart the timer.
For example, pressing the timer button while
the timer is set to three hours (3H) will scroll
to the six hour timer setting (6H) and restart
the timer for six hours.
At the end of the selected time period, the
temperature and timer settings will flash and
the blanket will automatically switch off.
To reset the control after the selected time
period has elapsed simply slide the on/
off switch OFF and then ON again. When
switched on again, the control automatically
defaults to the last temperature and timer
settings selected.
Low, gentle heat for all night use
Medium heat
High heat, for preheating only
1 – 4
5 – 7
8 – 9
Figure 5.
Figure 7.
 Loading...