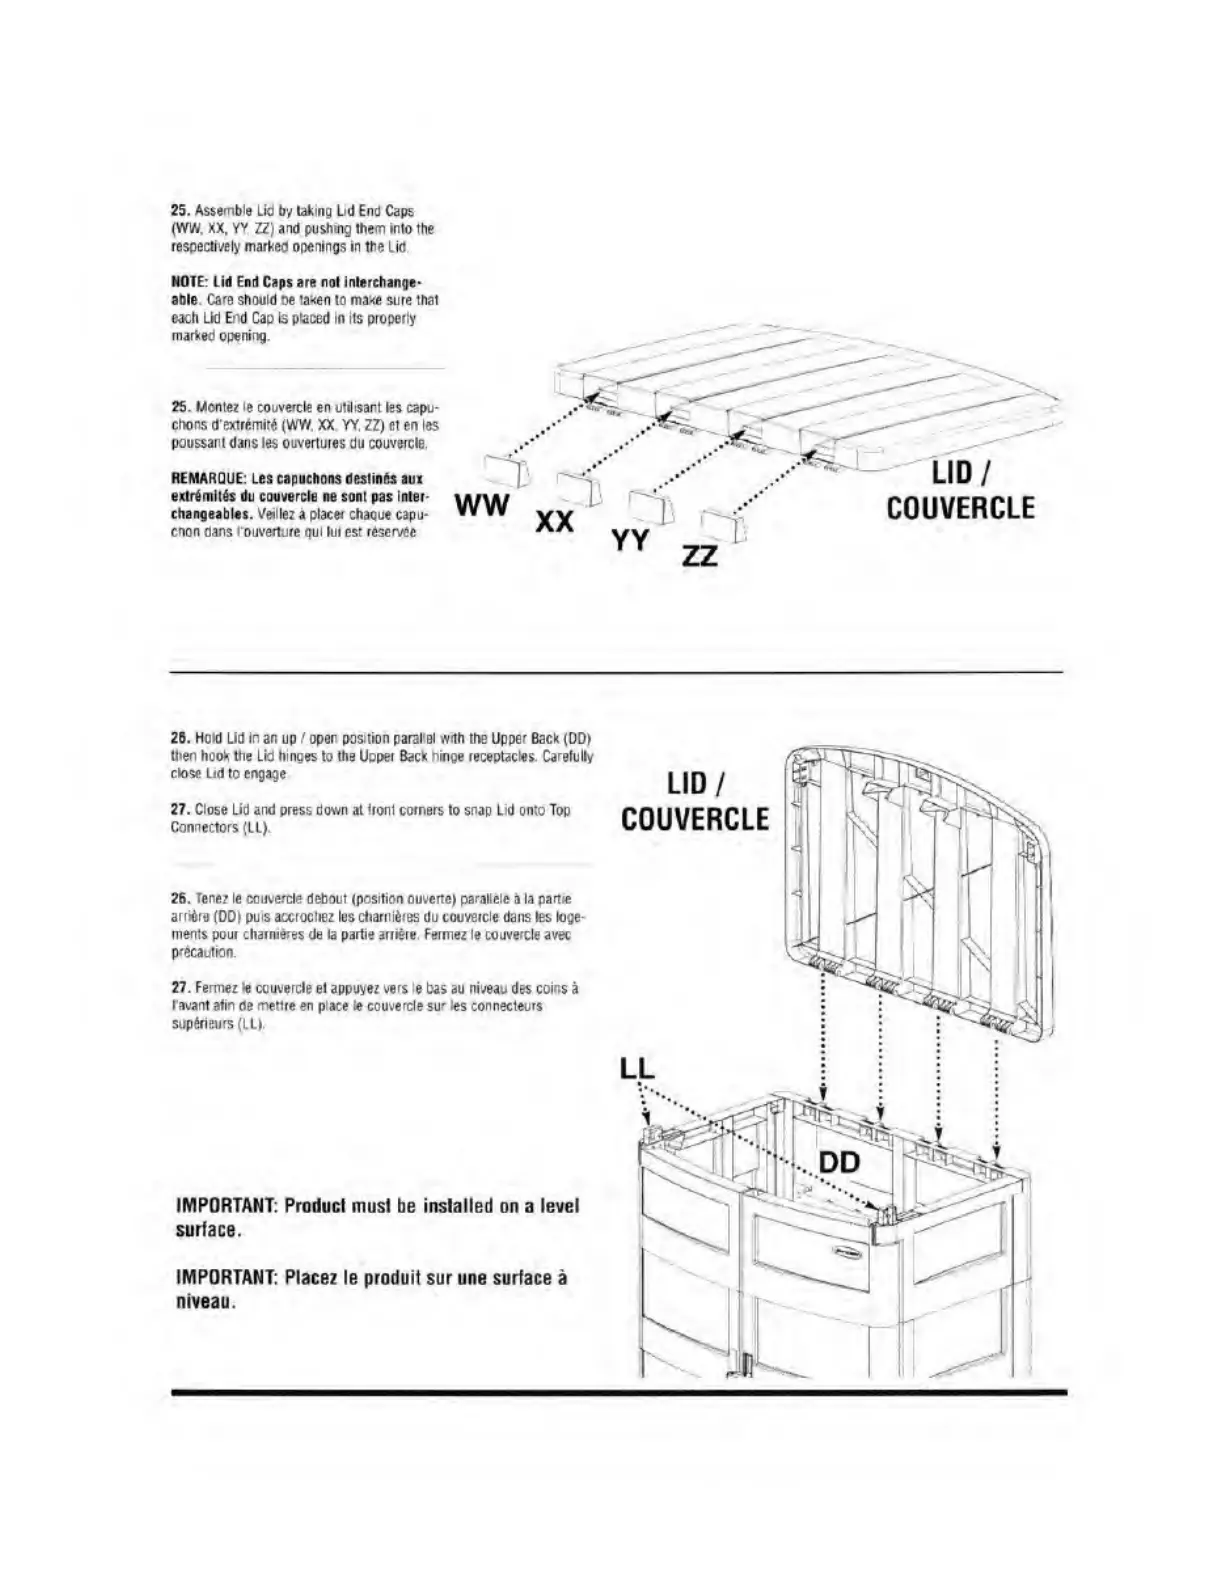
25. Assemble Lid
by
taking Lid
End Caps
(WW, XX, YY ZZ) and pushing them into the
respectively marked openings in the Lid.
NOTE: Lid End Caps are not interchange-
able. Care should
be
taken
to
make
sure
that
each LkJ
End
Cap is
placed
in
its
properly
marked opening.
25. Monte? le couvercle en utihsant les
capu-
chons d'extremitfi (WW. XX YY. ZZ) et en les
poussant dans les ouvertures dj couvercle.
REMARQUE: Les capuchons destines aui
ertrtmlles
du
couvercle
ne son! pas
inter*
changeable*. Veillez a placer
chaoue capu-
cnon dans rouverture qui lui
est
reservfie
WW
XX
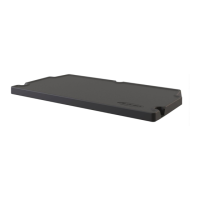
LID
/
COUVERCLE
YY
26. Hold
Ud
in an
up f
open position parallel with
the
Upper Back
(DD>
then hook
the Lid hinges to the Upper Back hinge receptacles. Careful
close
Ud to engage
27.
Close
Lid and press down at
tiont
corners to snap Lid onto Top
Connectors
(LL).
26.
Tenez le couvercle
debotit
(position
ouverte)
paraliele
a la
part*
arriere
(DDI
puis accrochez
les
charnieres
du
couvercle
dans tes loge
ments
pour
charnieres
de la partie antere Fermez le couvercle avec
precaution.
27.
Fermez le
couvercle el appuyez vers le
bas au
niveau
des
coins
a
ravant atin
de
mettre en place le couvercle sur les connecteuis
superieurs
(LL).
IMPORTANT: Product must
be
installed on
a
level
surface.
IMPORTANT: Placez le produit sur une surface
a
niveau.