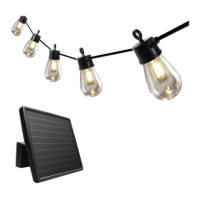
Prior to hanging the bulbs, make sure they do not rest upon any hot surface or
where they could become damaged. If you are charging the batteries without
attaching the bulbs, keep the bulbs in the retail box or safely store them indoors to
prevent any potential damage.
CAUTIONS: SAFETY INFORMATION
Your solar string lights are not a toy. Keep them out of reach of small children.
Your solar string lights and solar panel are both fully weather-resistant.
The solar panel must be mounted outdoors to maximize sun exposure.
Prior to installation, lay out all components and check against the parts list section of this manual.
Never look directly into the solar string lights.
Do not hang any other objects on the solar string lights.
Do not cut the wire or make any wiring changes to the solar string lights.
CAUTIONS: BATTERY INSTRUCTIONS
1) The solar string lights are shipped with the batteries pre-installed. Before starting any installation, test
the bulbs for illumination.
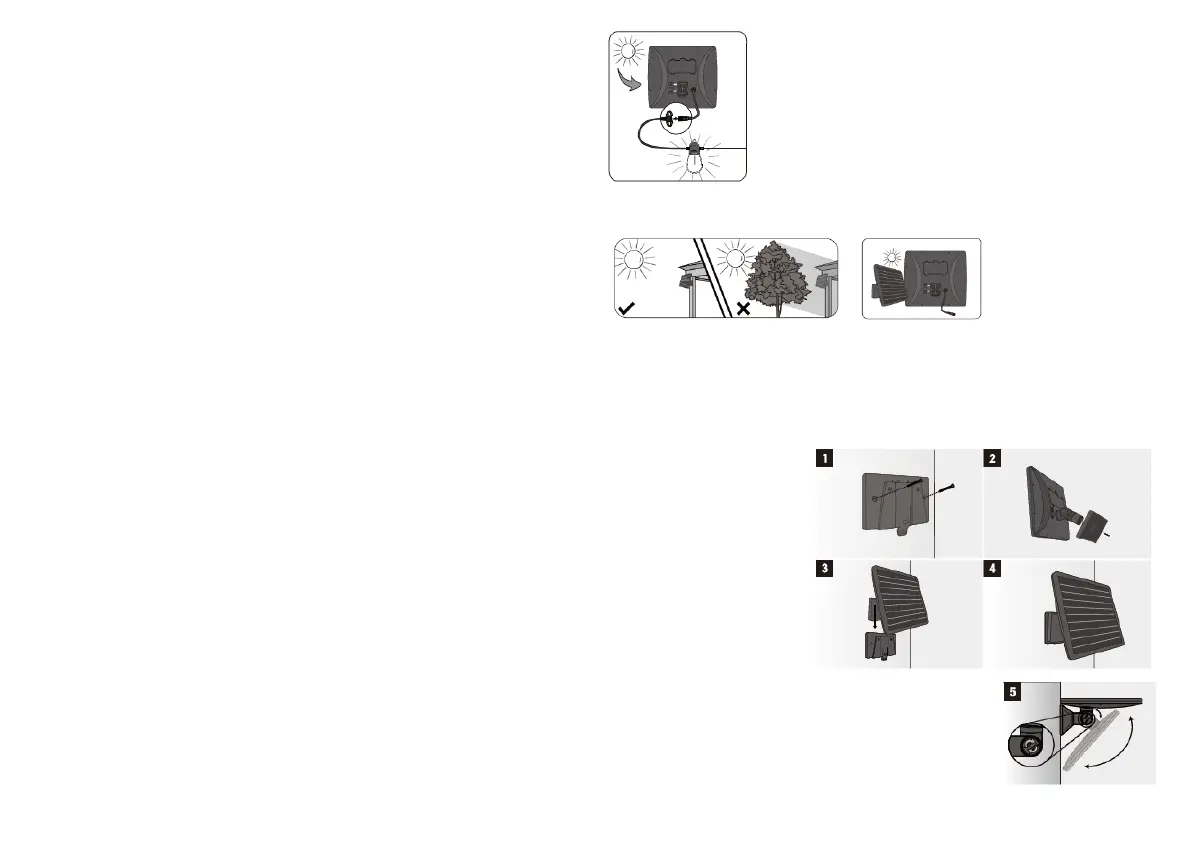
a) Connect the solar panel to the connector on the string lights.
b) Turn the solar panel over so the glass solar collector is facing down on a
flat surface. It is best to use a cloth for this to prevent scratching the solar
glass. No light should be detected on the solar glass.
c) Select ON on the back of the solar panel.
d) The bulbs should now illuminate.
Once the bulbs are all illuminated, turn the switch to OFF and continue
with the installation.
2) Ensure your solar panel is placed so that its exposure to sunlight is optimized. Be aware of objects such as
trees or property overhangs that may impede the panel’ s ability to generate a charge.
3) Prior to using your solar string lights, the solar panel needs sunlight for a period of three days. This initial
charge should be done without the string lights connected or with the solar panel in the OFF position. After
the third day, your included batteries will be fully charged.
Note:The solar panel should be mounted in a place where the ON/OFF switch is easily accessible.
MOUNTING THE SOLAR PANEL: THE SOLAR PANEL HAS TWO MOUNTING OPTIONS
(1) If required use the two wall plugs (H)
along with the two large screws (G).
Install the screws utilizing the two outer
holes of the mounting bracket to secure
the bracket to the chosen surface.
(2) Insert the mounting base (D) onto the
back of the solar panel (B). Use the
included small screw (F) to tighten the
connection.
(3) Slide the solar panel down
onto the mounting bracket (E)
until you feel and hear the
connection click into
place.
For recycling and disposal of batteries to protect the environment, please check the internet or your local
phone directory for local recycling centers and/or follow local government regulations.
For more information on battery housing and location, refer to Step 7 on page 4.
Use rechargeable batteries only.
Always purchase the correct size and grade of battery most suitable for the intended use: for this
product use two rechargeable 18650 3.7V lithium-ion batteries.
Always replace the whole set of batteries at one time, taking care not to mix old and new ones, or
batteries of different types.
Clean the battery contacts and also those of the device prior to the battery installation.
Ensure the batteries are installed correctly with regard to polarity (+ and -).
Remove batteries from equipment which are not to be used for an extended period of time.
Remove any defective or ‘ dead’ batteries immediately and replace.
(4) Adjust the solar panel to the
desired angle to optimize
sun exposure.
(5) The angle of the solar
maximize sun exposure
by loosening, adjusting
and then re-tightening
• Vintage looking Edison LED light
• 10.67 m / 35 ft total cable length
• Integrated mounting loops
• Remote control included
• 3V, 0.3W LED replaceable bulbs
 Loading...