CHAPTER
SEVEN
SETTINGS FOR RASPBERRY PI
7.1 Adjust the Resolution
For the Raspberry Pi 3 and the lower versions, you need reset the resolution ratio as follows. As for Raspberry Pi 4,
when you start up it, the resolution is optimum. If you want to change its resolution, please refer to the next part.
For Raspberry Pi 3 or Lower Version
Step 1: Open config.txt.
sudo nano /boot/config.txt
Step 2: Modify the /boot/config.txt file.
1) Define a custom CVT mode (since Raspberry Pi uses the standard rate when 1024x600 is not included, you need
to set the aspect ratio close to 16:9) and add the following lines below #hdmi_force_hotplug=1.
hdmi_cvt=1024 600 60 3 0 0 0
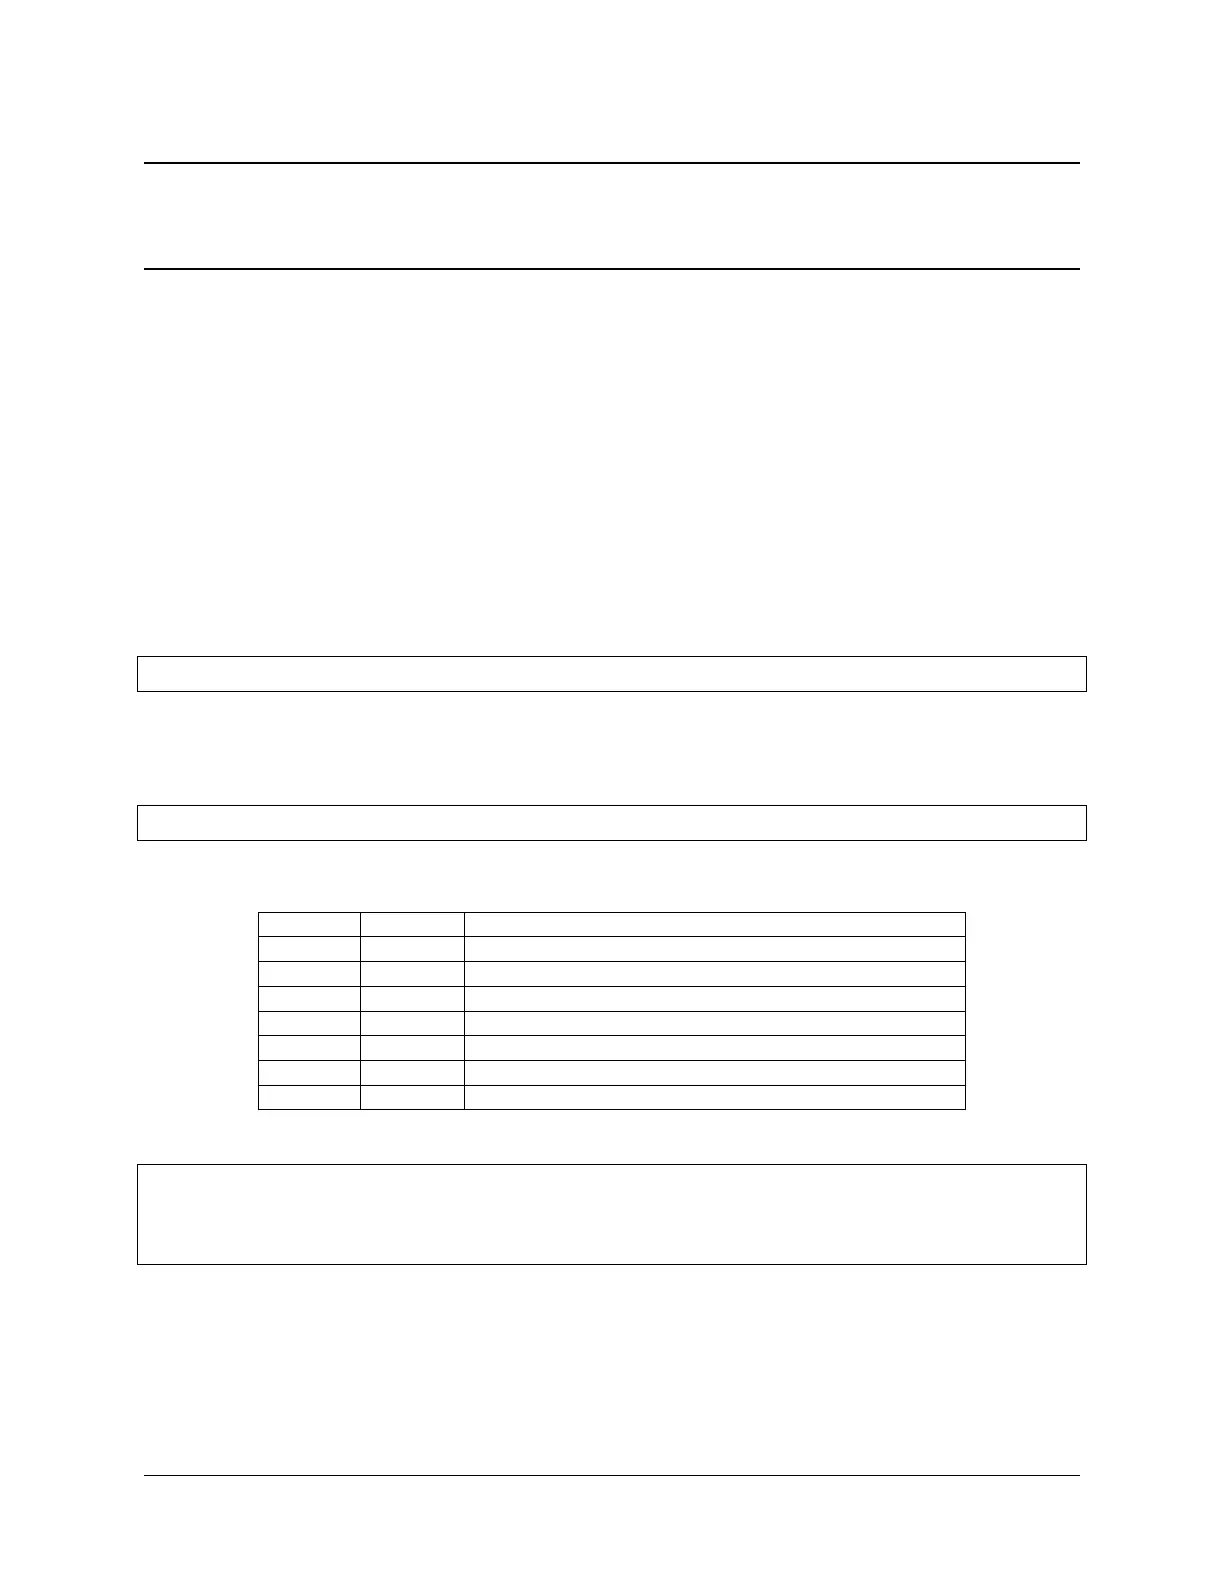
hdmi_cvt=<width> <height> <framerate> <aspect> <margins> <interlace>
value Default Description
width (required) width in pixels
height (required) height in pixels
framerate (required) framerate in Hz
aspect 3 aspect ratio 1=4:3, 2=14:9, 3=16:9, 4=5:4, 5=16:10, 6=15:9
margins 0 0=margins disabled, 1=margins enabled
interlace 0 0=progressive, 1=interlaced
rb 0 0=normal, 1=reduced blanking
2) Find the following lines, delete the “#” mark and modify the value like this:
hdmi_group=2
hdmi_mode=87
....
hdmi_drive=2
hdmi_group=2 means DMT (Display Monitor Timings, the standard typically used on monitors) hdmi_mode=87 in-
dicates we create a new hdmi mode named 87. hdmi_drive=2 selects the Normal HDMI mode.
After the modification is done, save and exit. For more details about configuring config.txt, refer to Raspberry Pi
official website: https://www.raspberrypi.org/documentation/configuration/config-txt.md.
Step 3: Reboot Raspberry Pi.
21