Troubleshooting Tips
If the Helios 1 is not performing as expected, try the following:
a. Conrm that your power input is active from your breaker panel and providing 120
Volts/50 Amps/60 Hz to the controller.
b. Check the voltage input of your incoming cord set using a voltage test meter to verify
power is owing to the controller.
c. Make sure all of your connections are tight. Loose connections can cause “arching”.
d. Then conrm that power is active and proper at your 120 volt outlets.
e. Verify that your power cords and ballasts are functioning properly and that there are
no shorts or arching occurring.
f. Should you nd your circuit breaker keeps tripping, check your breakers to verify that
they are the right amperage for your application.
g. If you turn ‘OFF” the power switch and your lights remain on, contact us immediately
for resolution.
h. Still having problems with your Helios1? Please contact our Technical Service
Representative to assist you further.
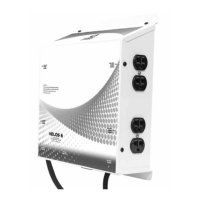
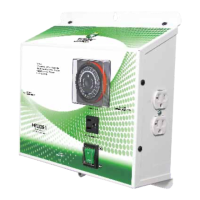
Controller Specications:
• Size = 11”H x 11”W x 4”D
• Weight = 4 lbs.
• Voltage Input = 120 VAC
• Voltage Output = 120 VAC
*Relay Coil Voltage = 120 Volts
• Maximum Amperage = 50 Amps
*Maximum Wattage = 4000 Watts (1000 watts per outlet)
• Hertz = 60Hz
*Time Switch = 24 hours with 15 minute increments
• Mechanical Relay Operations = 500,000 Cycles
*Electrical Relay Operations = 100,000 Cycles
• RoHS compliant = Yes
• Storage Temperature = 32°F (0°C) to 135°F (57°C)
• Operating Temperature = 40°F (5°C) to 125°F (52°C)
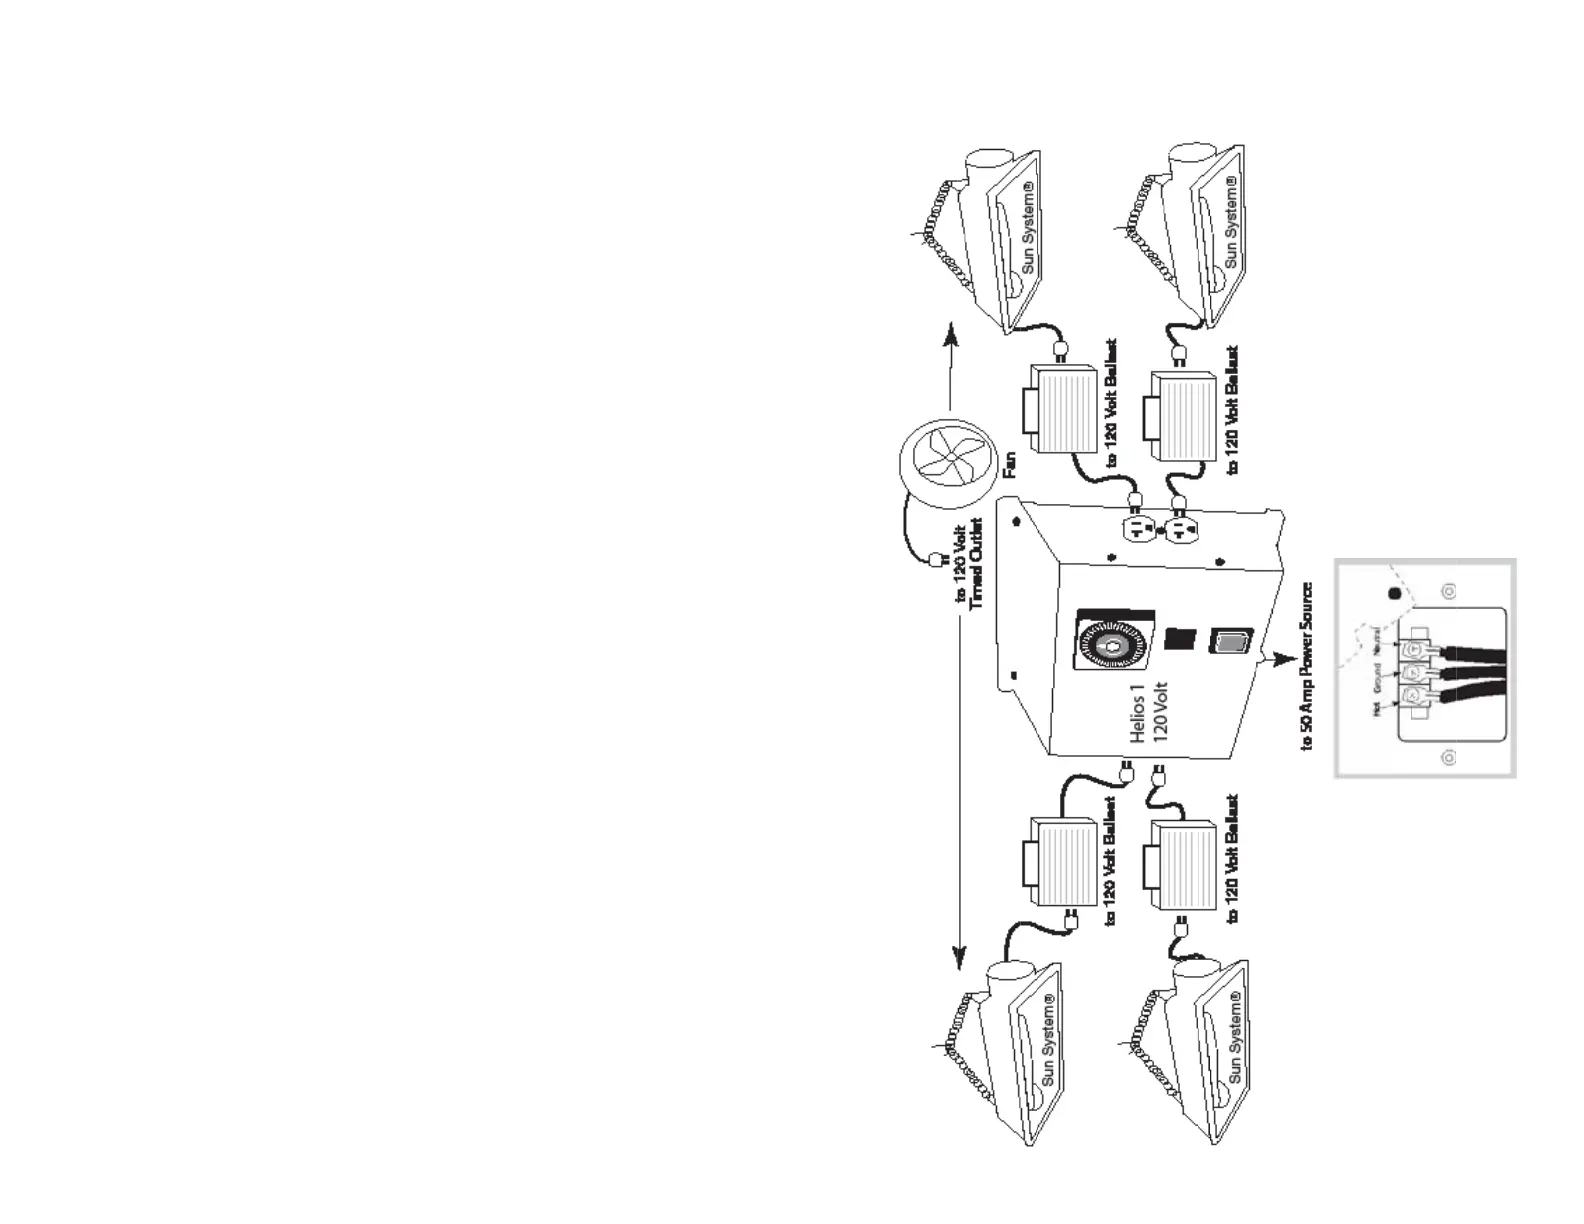
Installation Example
Controlling a Light Bank
Installation
Wiring Diagram
 Loading...