Timer On setting dehumidifying:
- Choose the dehumidifying mode as described in 4.
- When the air-conditioner OFF, press “Timer” button and select a desired ON time through the temperature and time setting buttons.
- Time can be regulated at any time in 0-24 hours.
- Press the “Timer” button to confirm your setting.
Timer OFF setting dehumidifying:
- When the air-conditioner ON, press the “Timer” button and select a desired OFF time through the temperature and time setting buttons.
- OFF time can be regulated at any time in 0-24 hours.
- Press the “Timer” button to confirm your setting.
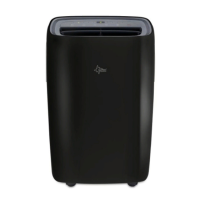
6. Drainage
- When you plan to leave this unit unused for a long time, please remove the rubber blockage from the drainage hole at the bottom of unit, and
connect a drain hose to the lower fixing clip. All the water in the water tank will drain outside.
- If water pump is damaged, continuous drainage can be used, and under this condition, the water pump is not activated. The unit can also
work well.
- If water pump is damaged, intermittent drainage can also be used. Under this condition, when the water full indicator lamp lights up, please
connect a drain hose to the lower fixing clip, then all the water in the water tank will drain outside. The unit can also work well.
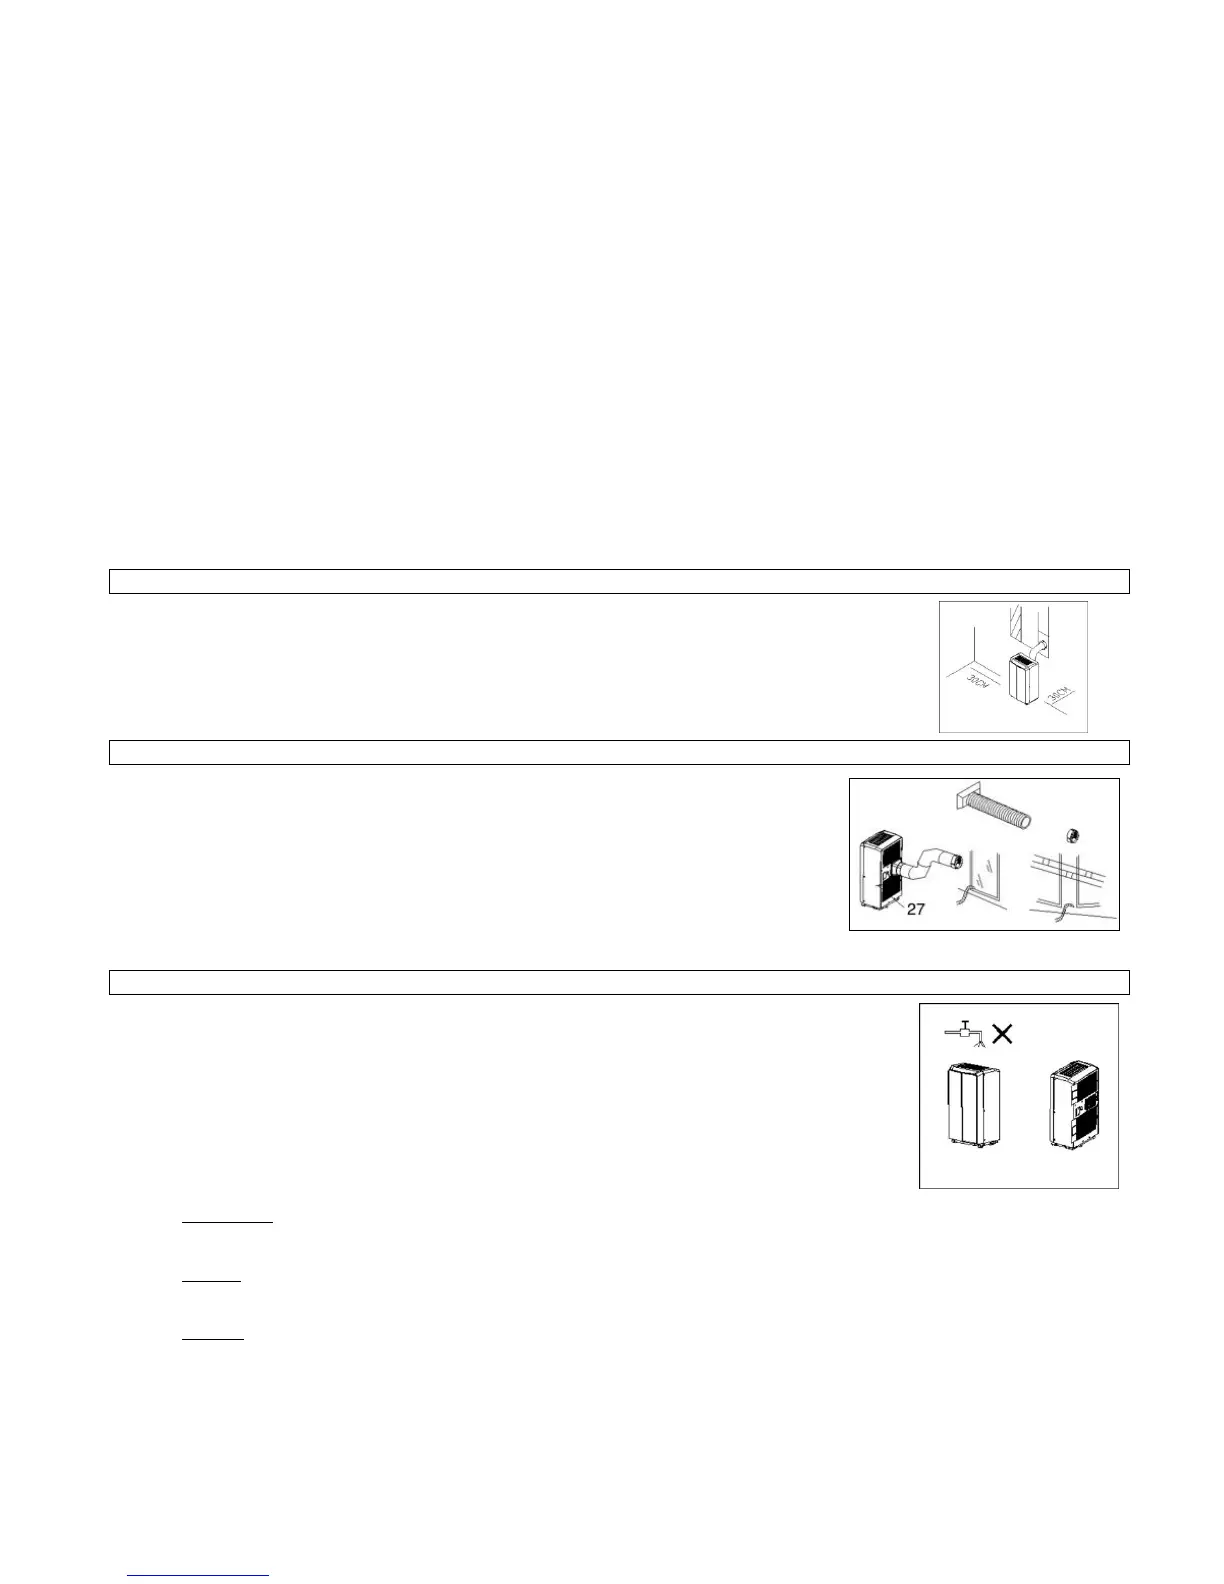
Installation Explanations
- A removal air-conditioner shall be installed in the flat and empty place all around.
Don’t block the air outlet, and the required distance around should be at least 30cm.
- The unit should not be installed in dry-cleaner.
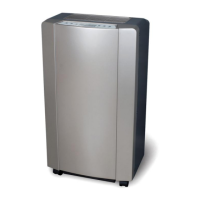
Introduction to Exhaust Hose Installation
A) Temporary installation
1. Twist both ends of the exhaust hose into the square fixing clip and the flat fixing clip.
2. Insert the square fixing clip into openings at back of the air conditioner.
Hook the left side of the adapter into the opening at the rear cover. Conduct the right side at the
rear cover and press it down until the Adapter engages.
3. Put the other end of the exhaust hose to the near windowsill.
4.
Maintenance Explanations
Declaration:
1) Before cleaning, be sure to disconnect the unit from any electric supply outlet;
2) Do not use gasoline or other chemicals to clean the unit;
3) Do not wash the unit directly;
4) If the conditioner is damaged, please contact the dealer or repair shop.
1. Air Filter
- If the air filter becomes clogged with dust/dirt, the air filter should be cleaned once every two weeks.
- Dismounting
Open the air inlet grille and take off air filter.
- Cleaning
Clean the air filter with neural detergent in lukewarm(40°C)and dry it up in the shade.
Mounting
Putting the air filter into the inlet grille, replace the components as they were.
- Clean the Air-conditioner Surface
First clean the surface with a neutral detergent and wet cloth, and then wipe it with a dry cloth.