6. Lower the machine onto the base and fi x it in place
7. Remove the hoist rope and then remove the pipe.
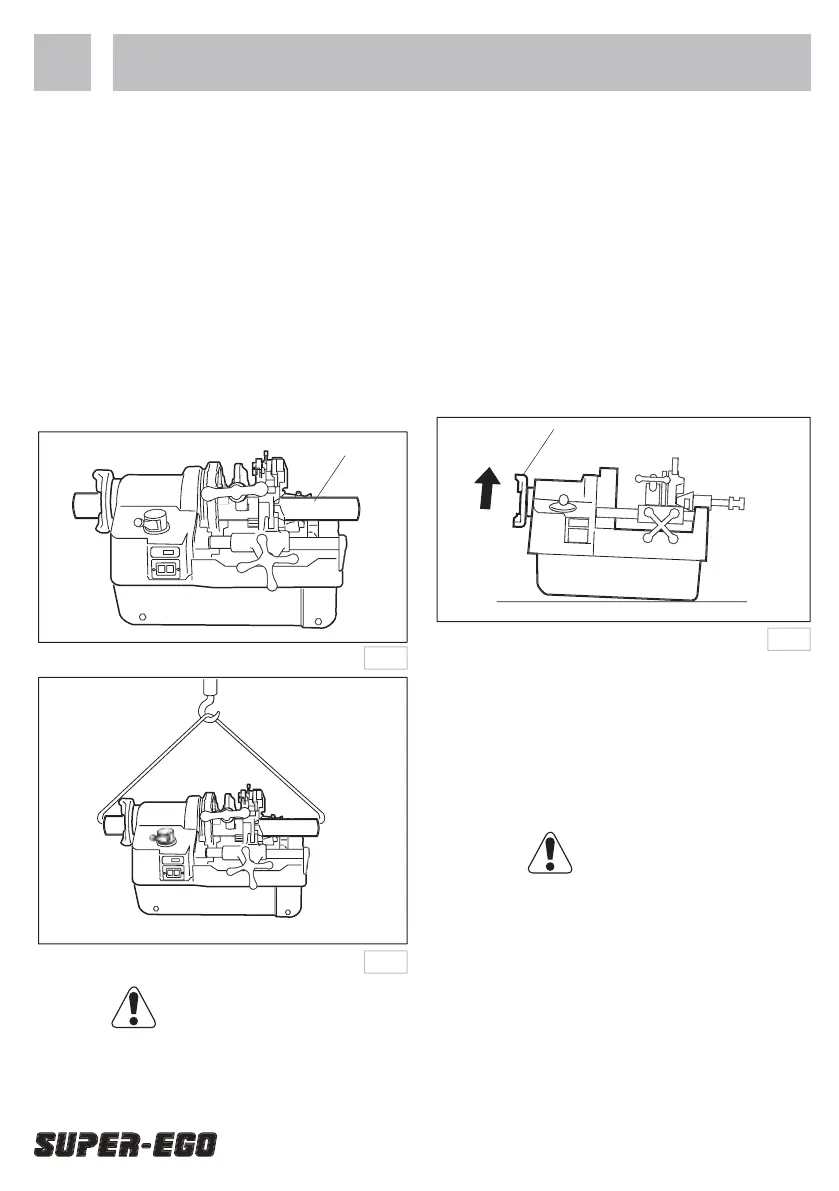
1. When setting up the machine, the legs should
be adjusted with the rear chuck higher than the
hammer chuck so that oil does not fl ow back down
the pipe being cut. (See fi g. 4)
2. Remove the upper cover of the tank and check that
the level of the oil adequately covers the strainer.
3. Place the oil cover and scrap receiver in the right
Before you use the machine, check the voltage on the
nameplate. Ensure the voltage selector switch located
on the nameplate above the On-Off switch is set to
the appropriate voltage (110/220V).
Before changing the voltage, be sure to remove the
plug from the power supply.
1. Remove the cover on the voltage switch using the
Phillips screwdriver supplied with the machine.
2. Select the appropriate voltage by pressing the
switch to either 110V or 220V. If you select 220V,
the lamp to the left of the switch comes on when
the machine is turned on again. (This does not
happen if 110V is selected.)
3. Make sure you replace the switch cover.
Moving the machine with a hoist
It is not necessary to drain off the oil when
transporting the machine.
2. When chucking the pipe, use one that is of the
largest diameter possible. The pipe should also be
about 30cm (12 inches) longer than the overall
length of the machine, with each end protruding
3. Fix the carriage in position by lowering the cutter
onto the pipe and turning the cutter handle so as
to lightly engage the pipe.
4. Pass the hoist rope through the pipe.
To avoid cutting the rope, make sure you ream each
end of the pipe before inserting it.
5. Lift the machine with the hoist.
 Loading...