FRANÇAIS
ENGLISH
7
the spacer from the bottom of the shoe (FCN50-
24).
Replace the spacer with the other spacer included
and attach it with the three screws (FCN50-26).
After reading and understanding this entire
manual, connect tool to air supply.
Turn on the air compressor and adjust the
regulator to the proper pressure for the fastener
size you are using. (See Using the Tool, below
with regard to adjusting this.)
CAUTION:
=Keep the tool pointed away from yourself and
others at all times.
=Always connect the tool to air supply before
loading fasteners.
=Do not load fasteners with safety or trigger
depressed.
=Always wear approved safety glasses and
hearing protection when preparing or operating
this tool.
=Never use a tool that leaks air or needs repair.
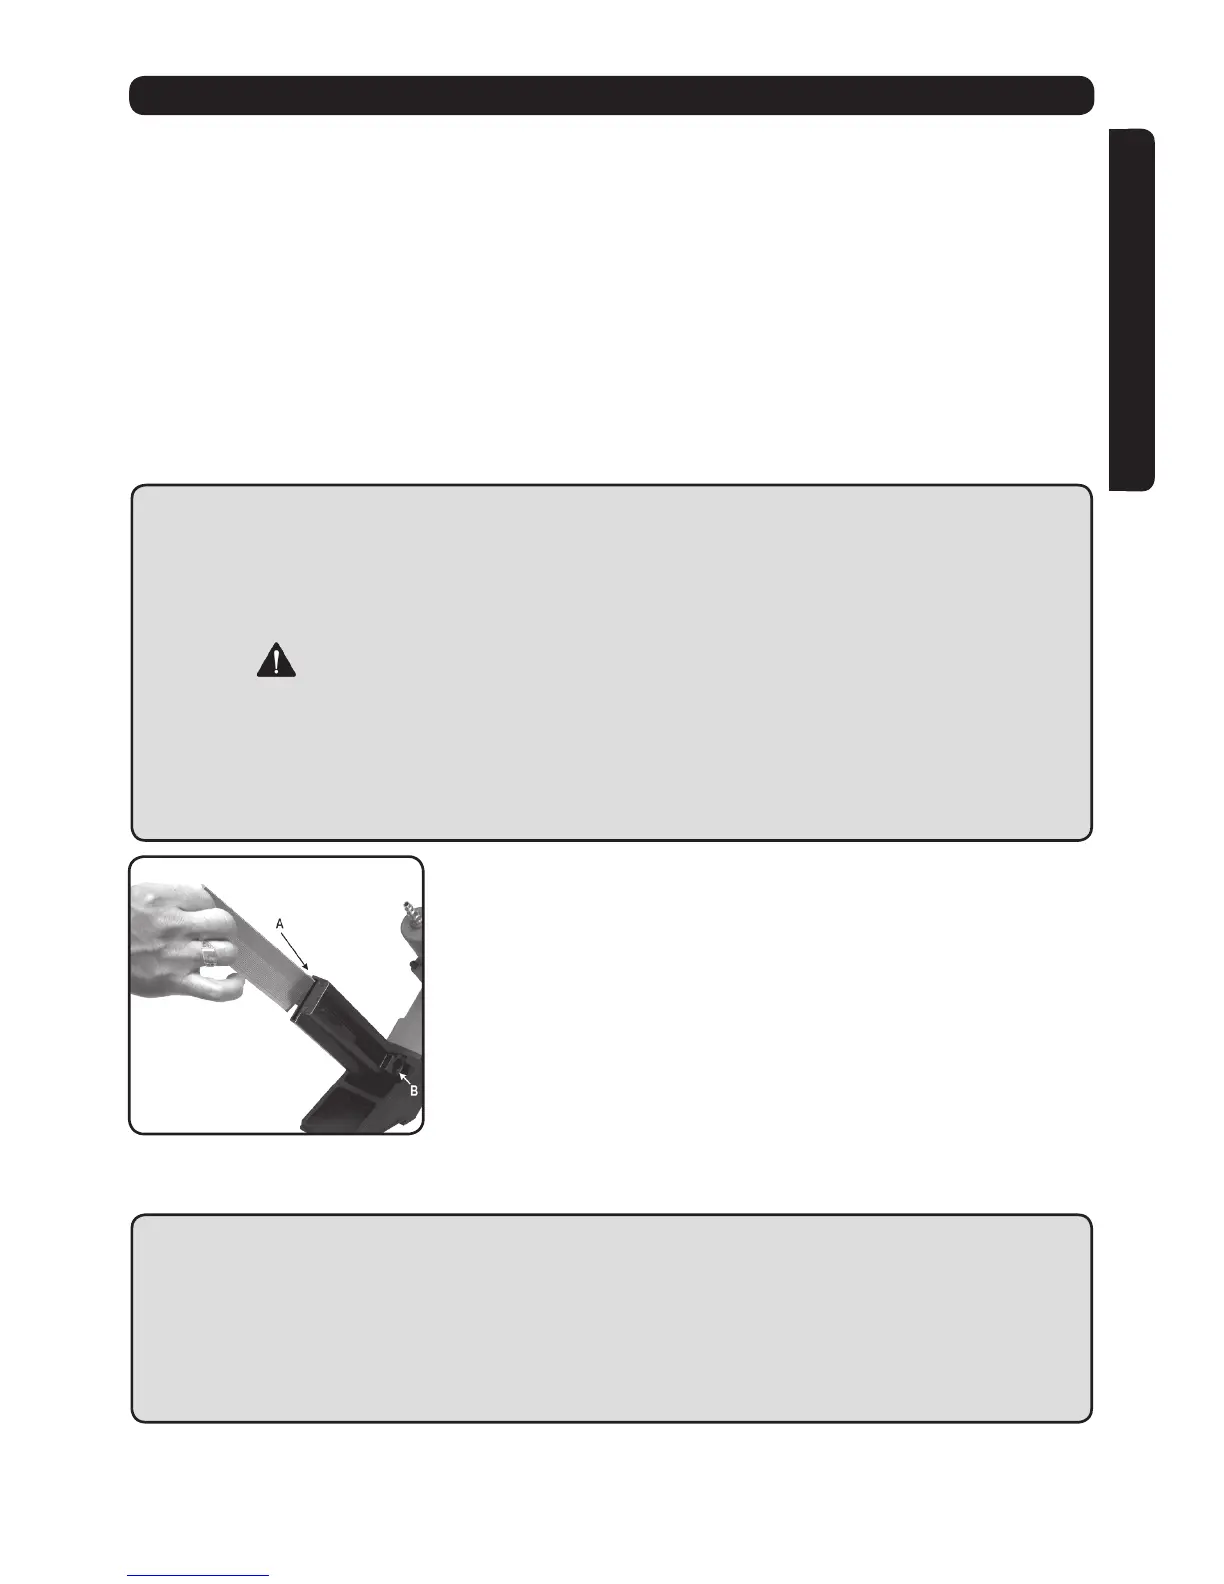
LOADING FASTENERS
Drop a stick of cleat nails into the L-shaped hole
at the back of the magazine (A). Pull back the
slide (Bracket- FCN50-39) until the feeder shoe
(FCN50-41) clicks behind the cleat nails to hold
them against the front of the magazine with the
spring.
The tool is ready to operate.
USING THE TOOL
Complete all the steps in Preparing the Tool and
Loading Fasteners, above, before using the tool.
NOTE: Use care when installing pre-nished
ooring with this tool. It is designed to install
unnished ooring and may leave marks on the
nish of pre-nished ooring. Always test re
the FCN50 on a sample piece of ooring before
starting a new job to ensure it does not damage
the oor nish.
Connect the tool with the air supply. Make sure
the air pressure is within the range given in
SPECIFICATIONS above.
3.
4.
5.
1.
2.
1.
2.
3.
OPERATING PROCEDURES