Super TPM User's Manual
2-2
2.2 Enabling the TPM via the BIOS and Intel
®
Provision
Utility
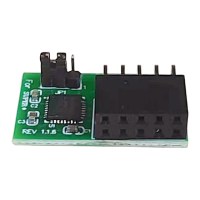
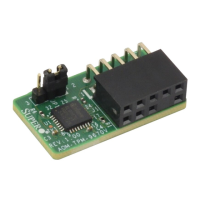
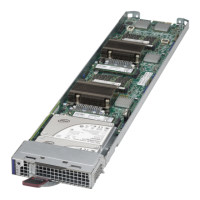
There are two components to the process of enabling the TPM. After you have
installed the TPM onto the motherboard, you must rst "verify" the TPM for the
motherboard; this is done through the BIOS. (Also in the BIOS, you should enable
TXT support.) After that, you then "lock" the TPM in the rmware. This is done
through the provision utility provided by Intel.
A. Enabling the TPM in the BIOS
1. Enter the BIOS setup screen. You may do this either from the IPMI remote
console or from the server directly using KVM. Reboot the system, and press
the <Del> key as the system boots until you reach the BIOS screen.
2. You will be presented with the BIOS Setup main screen. Using your arrow
keys, navigate to the "Advanced" tab. From there, navigate down and select
the "CPU Conguration" option. Press <Enter>.
3. You will then be taken to the CPU Conguration page. Using your arrow keys,
navigate down to the "Intel Virtualization Technology" option, as shown
below, and press <Enter>. If this item is not already enabled, select Enable
and press <Enter>.
 Loading...